|
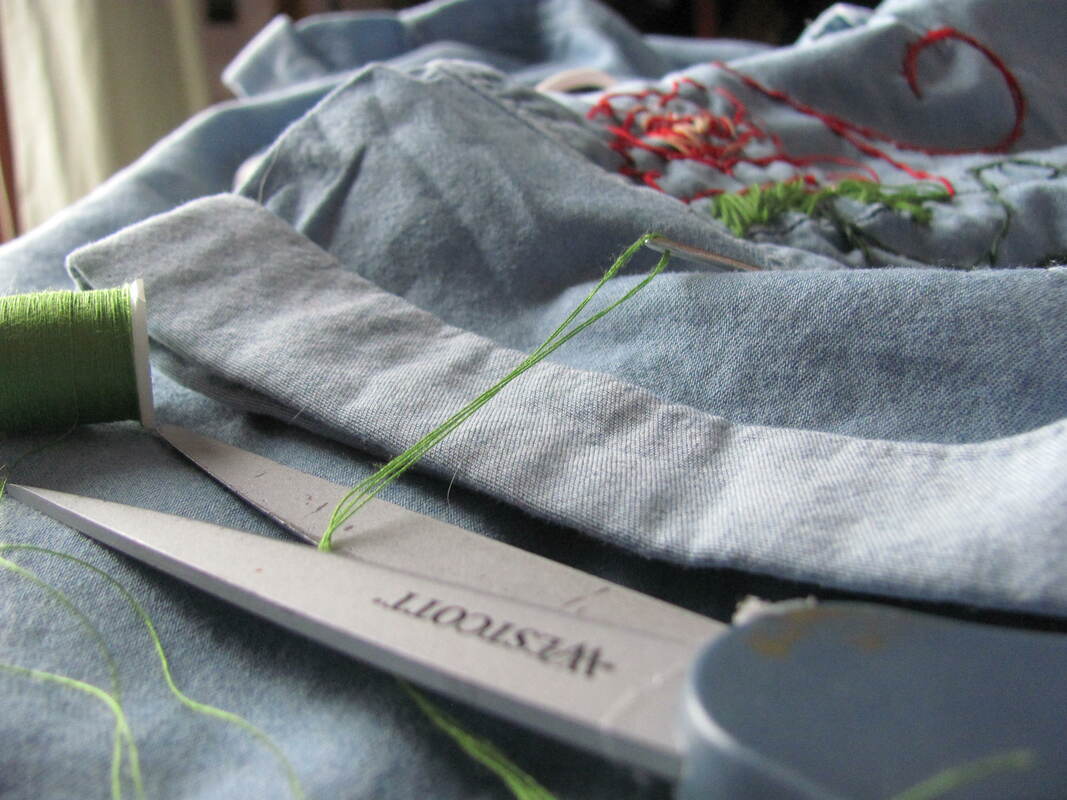
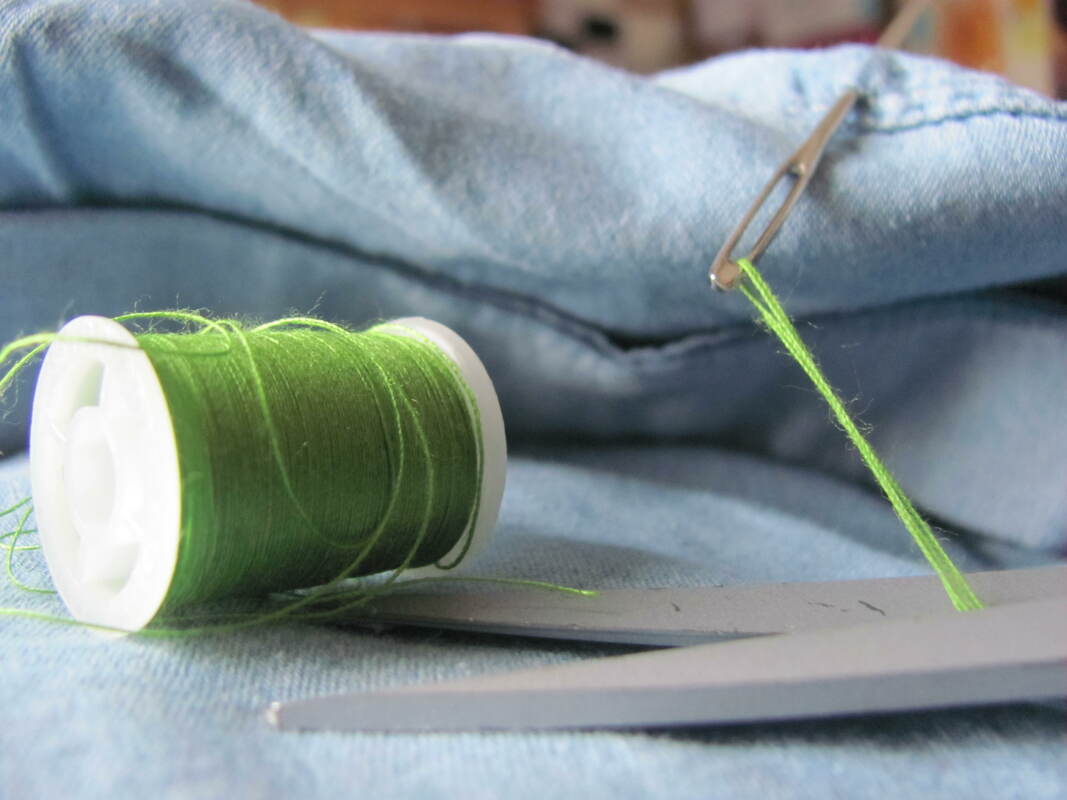
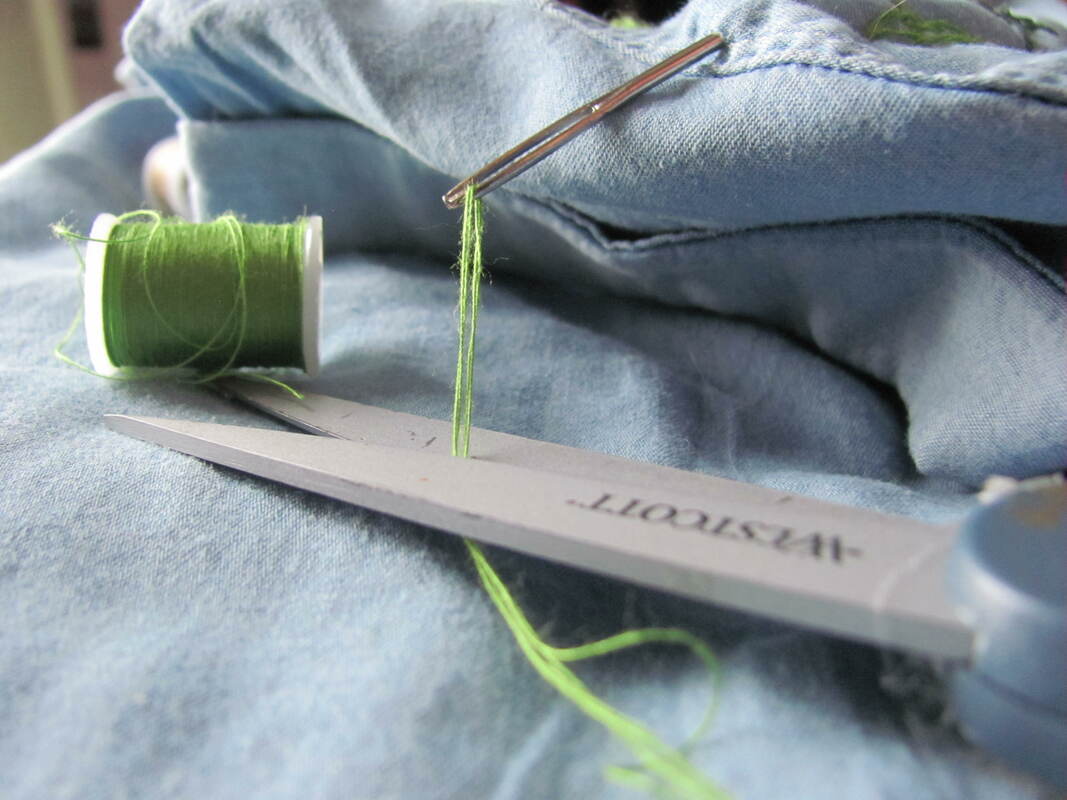
For this project I was instructed to take some time to set up a still life to photograph to tell a story. I decided to tell the story of my embroidery project, so I took the time and effort to set up the shirt I'm embroidering, the thread and the needle, the scissors, in such a way that it tells the story of the project. I then photographed it from different angles to highlight different parts of the project, such as this picture highlighting the thread, which is what I'll be turning into my teacher: 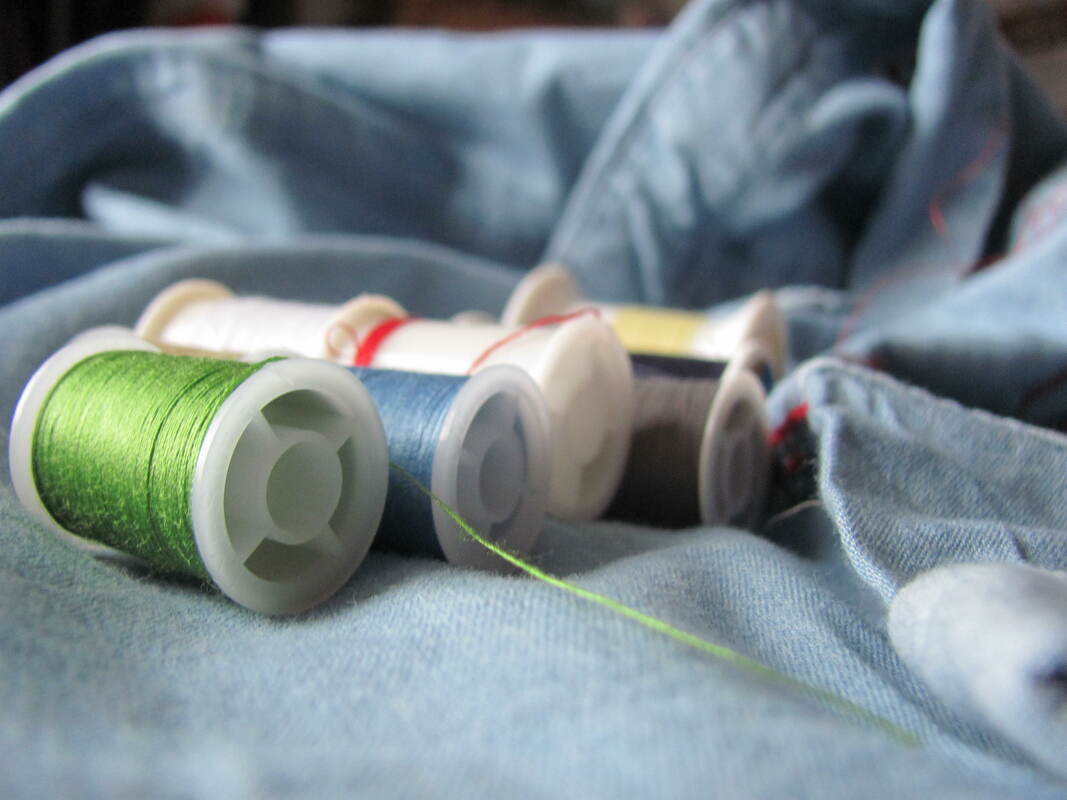 This photo hasn't been edited at all in photoshop and had an aperture of f2.8, a shutter speed of 1/30, and an ISO of 250. Here are five more of my best pictures from this assignment: All in all, I think I learned a lot about how to set up a scenario for photography in this project. I think it turned out pretty well!
0 Comments
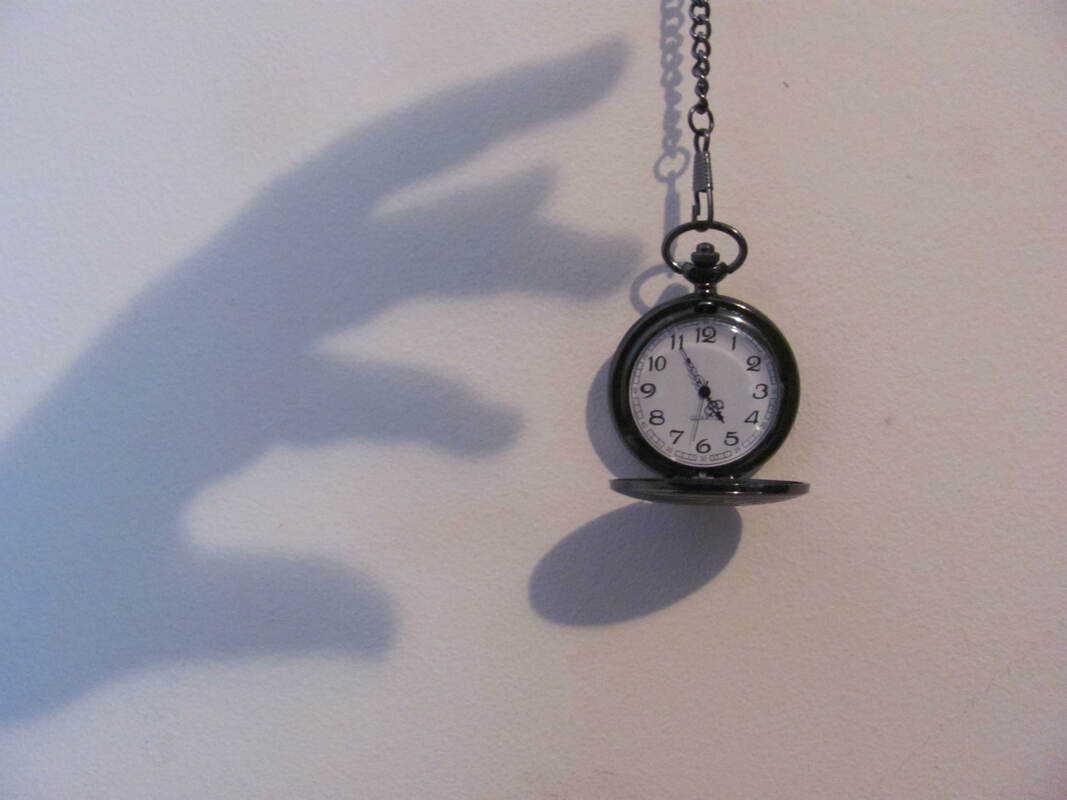
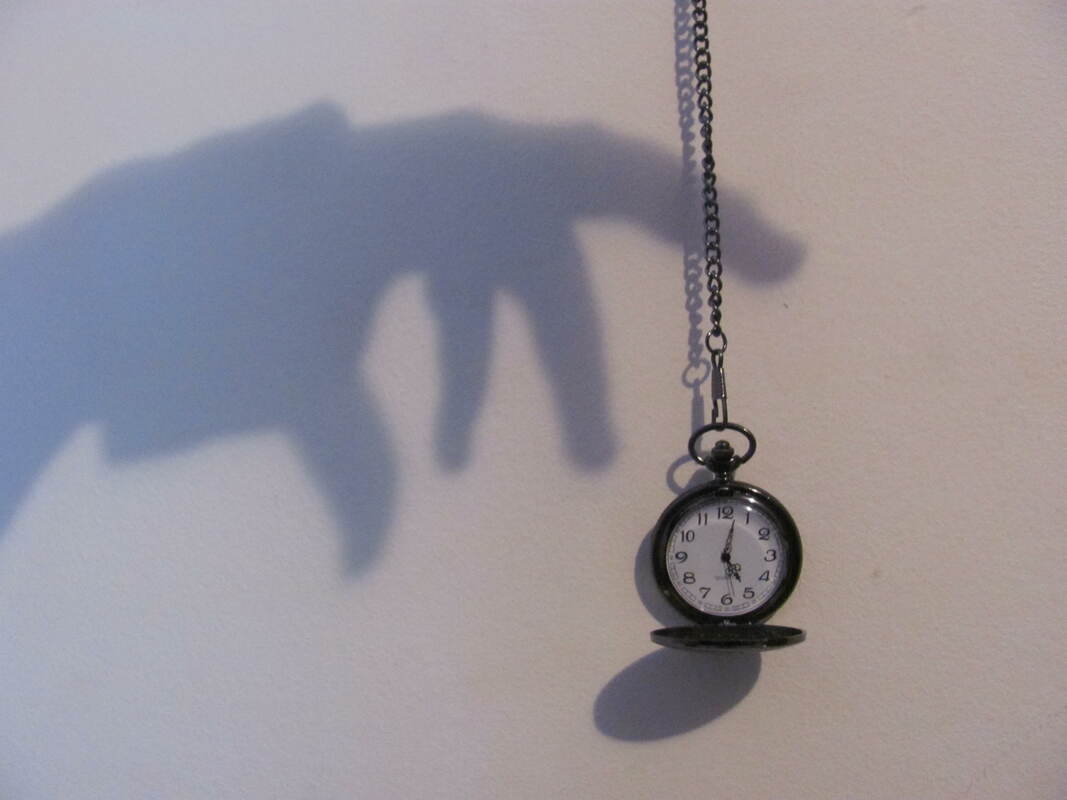
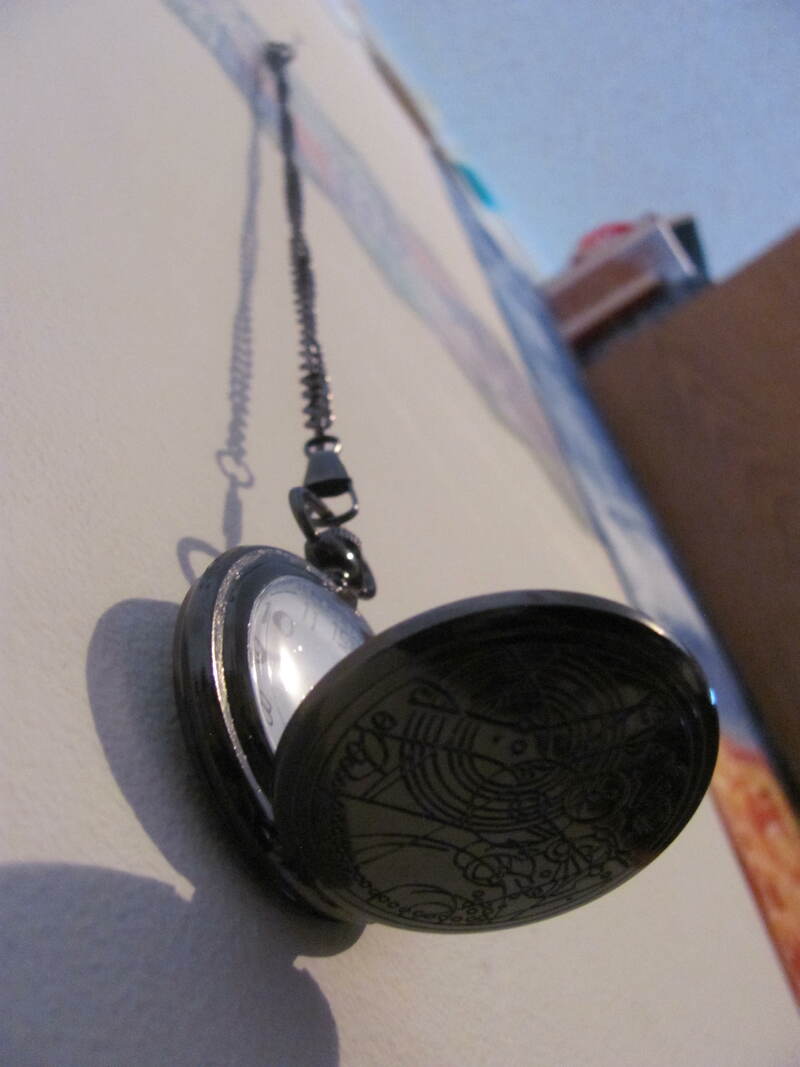
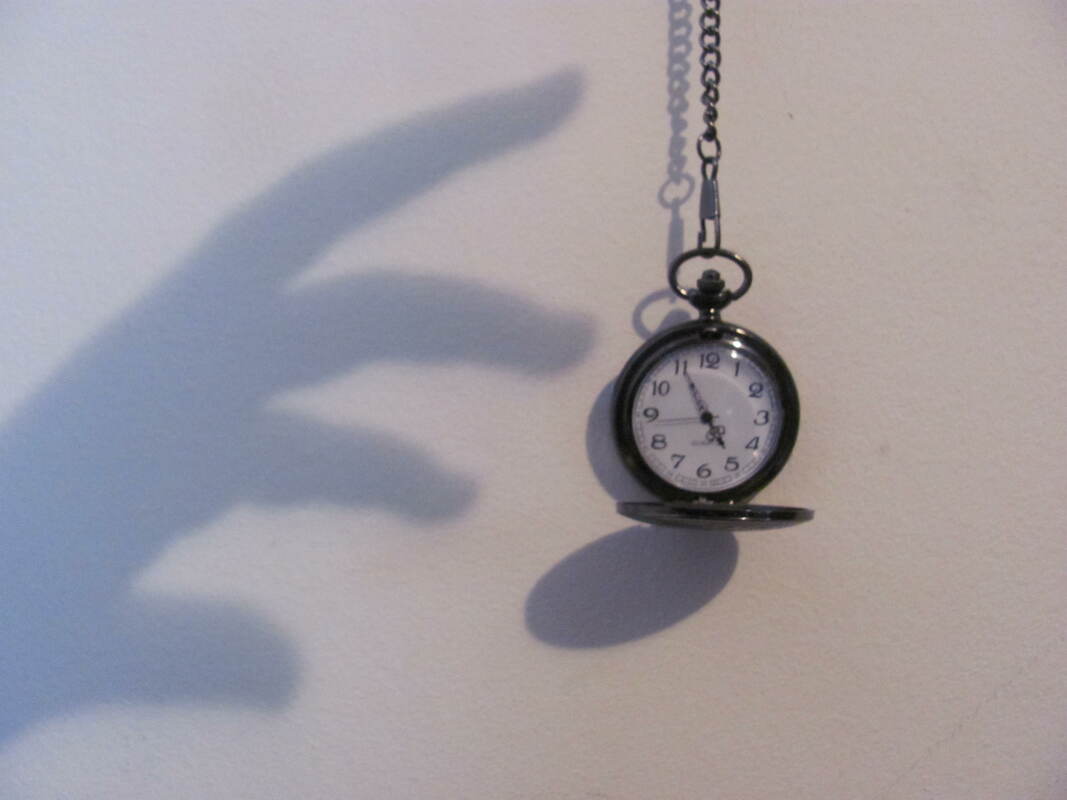
For this assignment, I was asked to take photos utilizing the shadows and light in my environment. This is the best photo, which I will be turning in to my teacher to be graded: 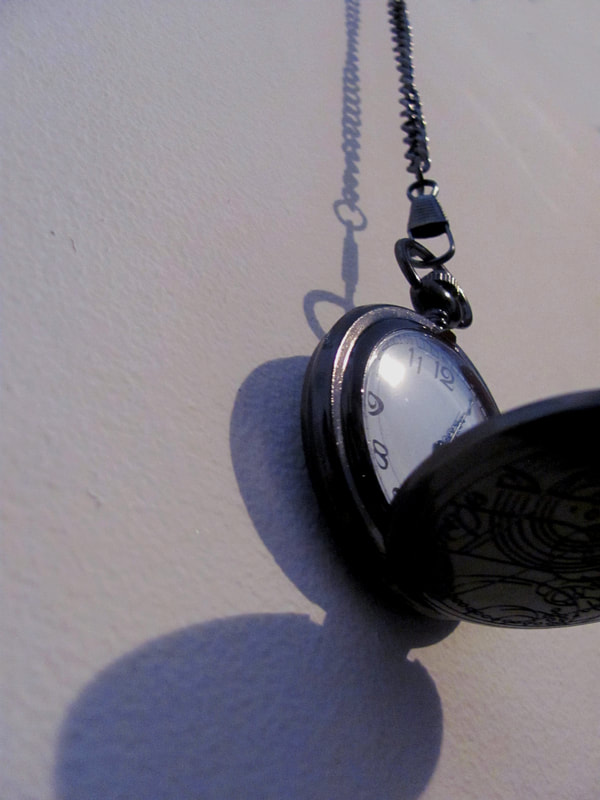 For this photo, my camera settings were aperture f2.8, shutter speed 1/20, and ISO640. Here are five more of my best photos from this assignment: I think I learned a lot through this assignment, specifically about how to utilize and manipulate my environment and angles to produce a striking photo.
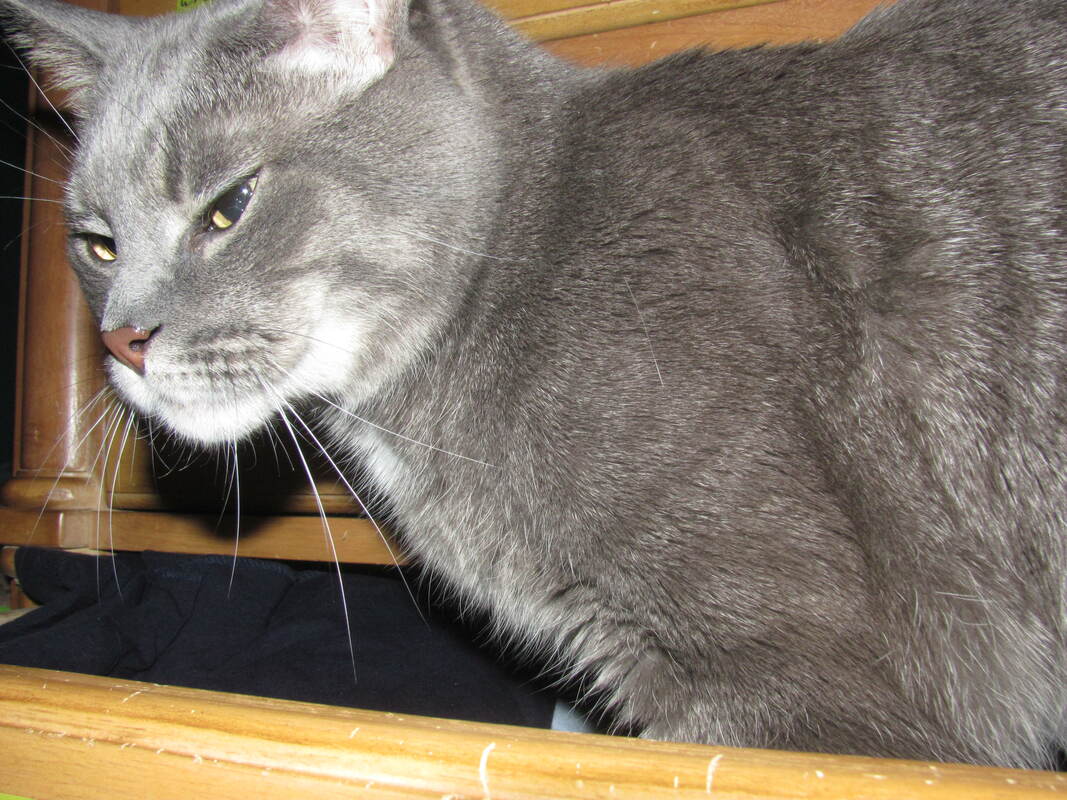
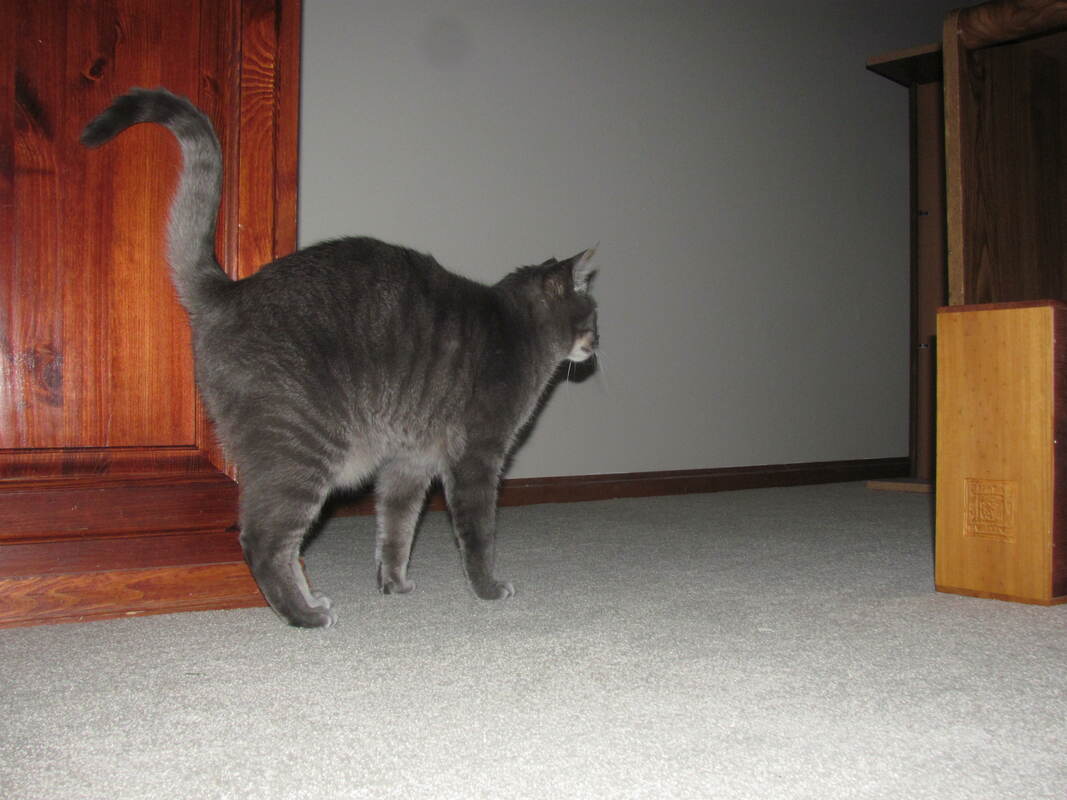
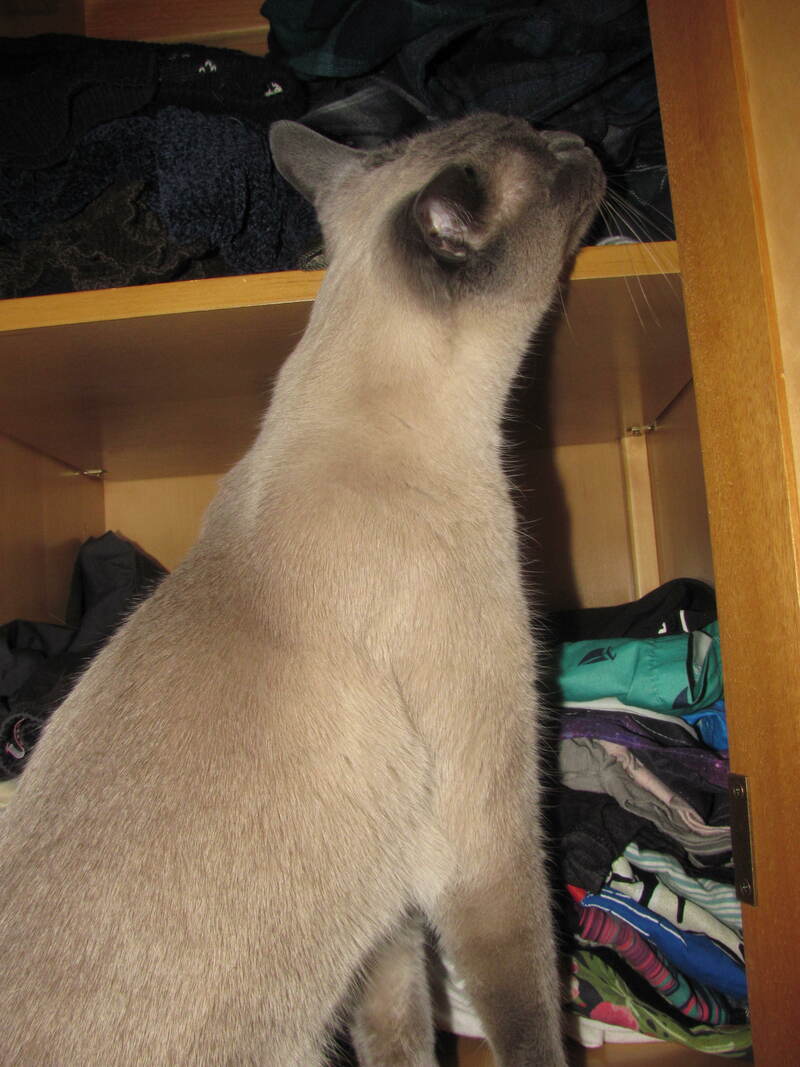
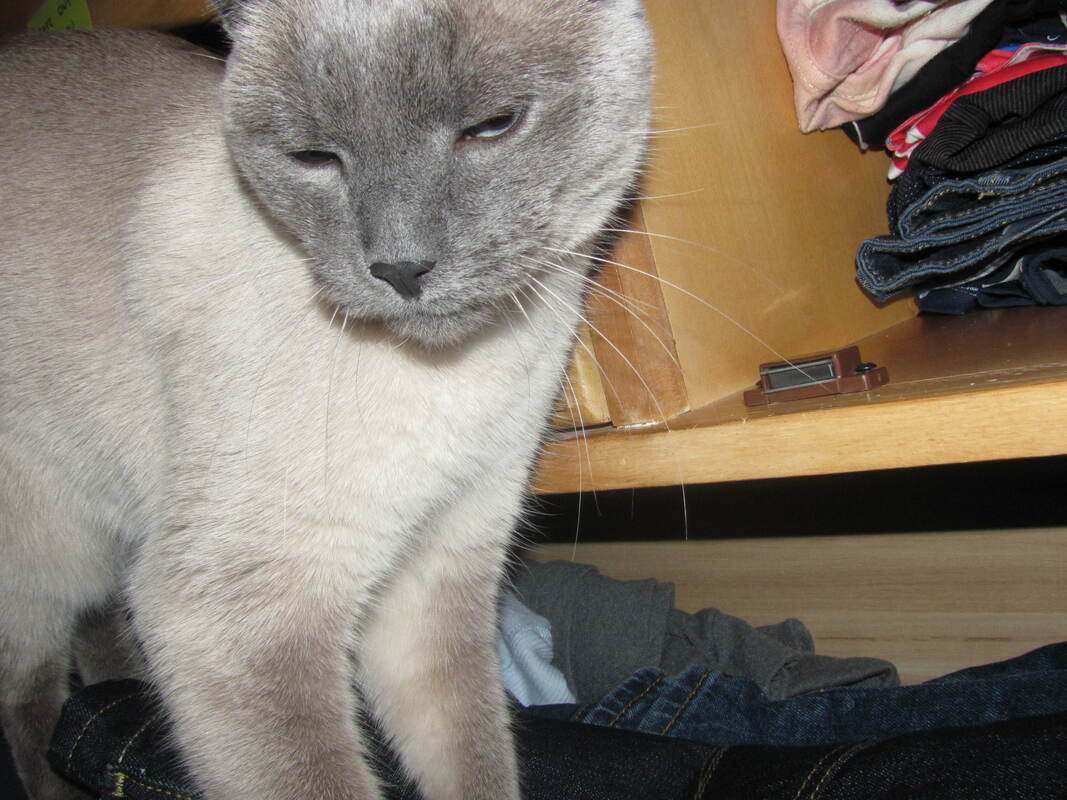
In this assignment we were asked to take photos of animals to capture the animal's spirit. I took upwards of fifty photos of my cats, ended with about ten pretty good ones and this one, which I will be turning in to my teacher: 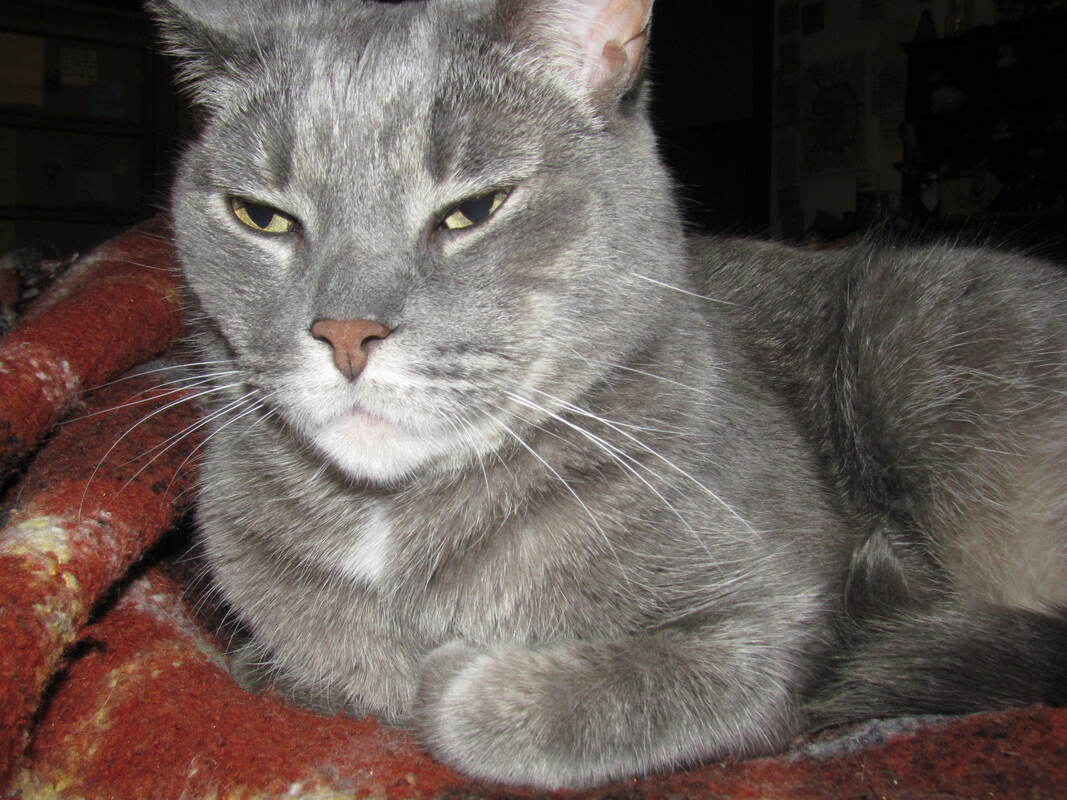 I like to think this photo perfectly describes my cat Sterling; he's lazy and doesn't really care about whoever else wants his blanket. It's his. This photo was taken with the aperture at f5.6, the shutter speed at 1/60, and the ISO at 200. These are also five more of my good photos, though not as good as the one I will be turning in: All in all, I think I learned a lot with this photoshoot. Cats are very difficult to photograph, because they move around so much and do their own thing. They won't sit still for a picture and won't position themselves in spots that are ideal for photos. So, I learned quite a bit about taking candid photos of cats despite the obvious challenges.
In this project we were supposed to touch up a photo taken by a past student of a red car, and attempt to make it look exactly like out teacher's demo version. Then we were instructed to touch up another car however we'd like, so I did a VW bug, of course! This is the original picture of the red car: 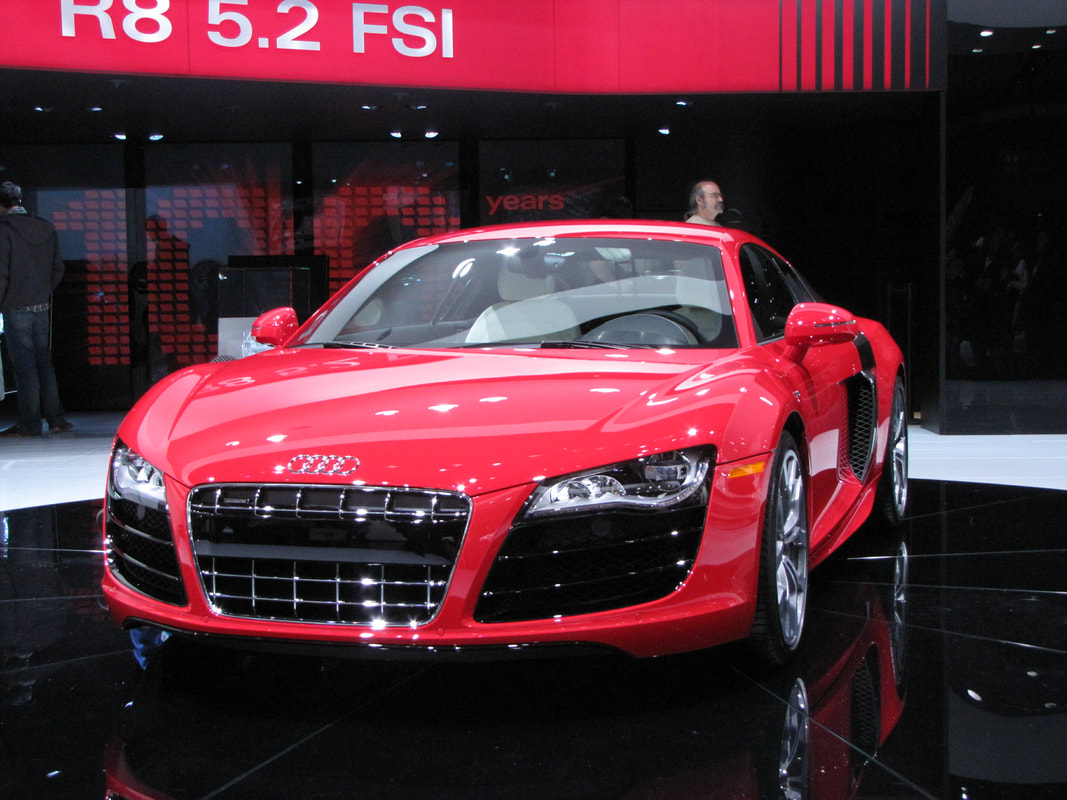 This is my teacher's demo of retouching the car: 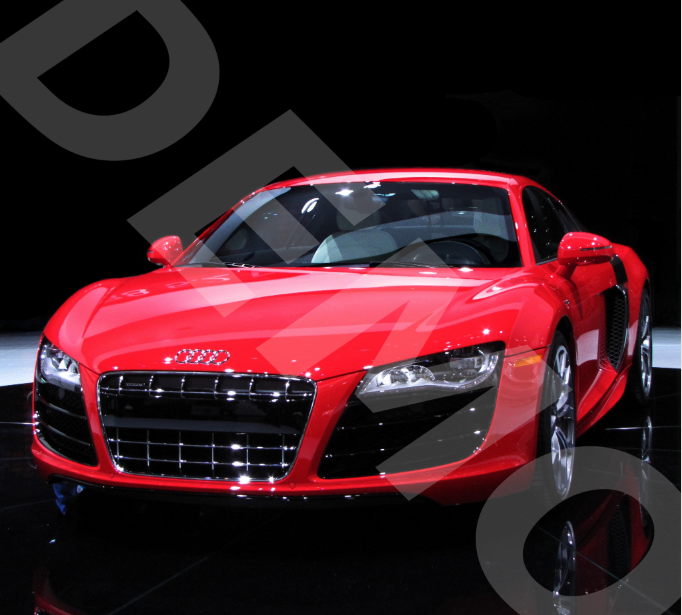 And then this is my retouching of the original image: 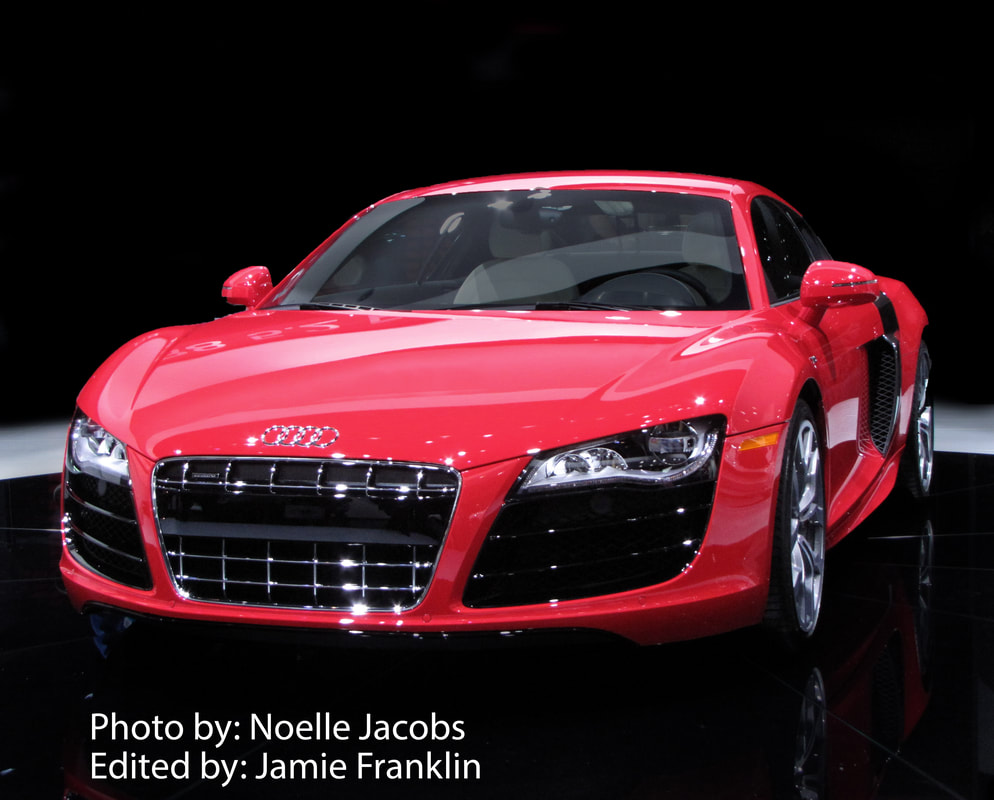 Now, this is the original picture of the VW bug that I was retouching: 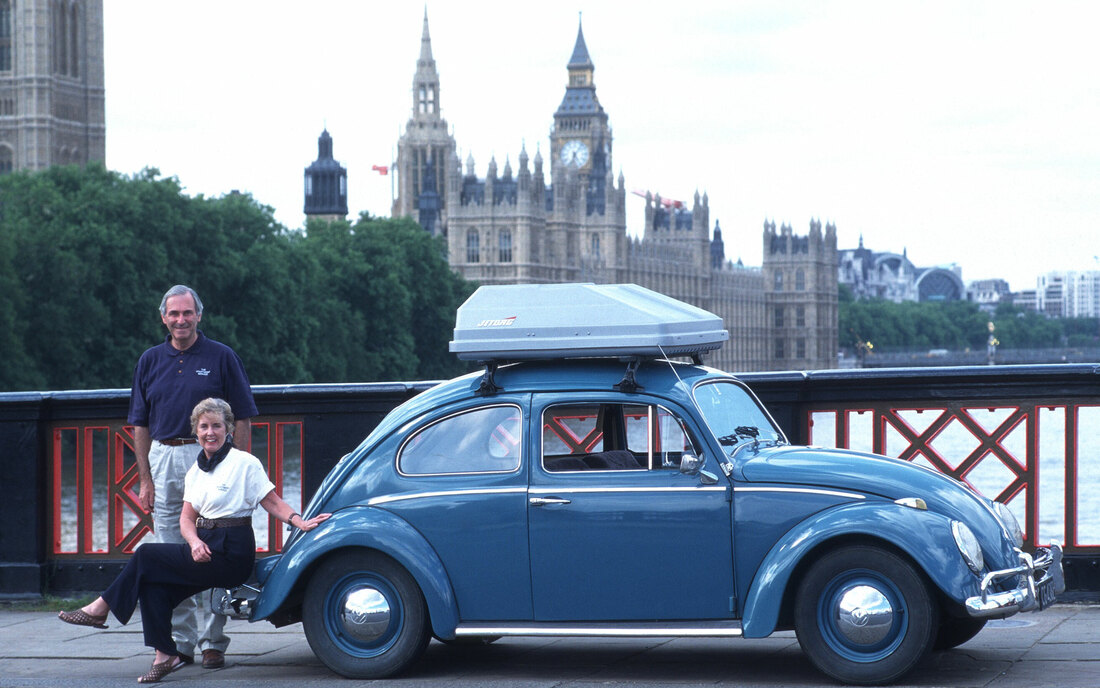 And this was my souped up version of this picture: 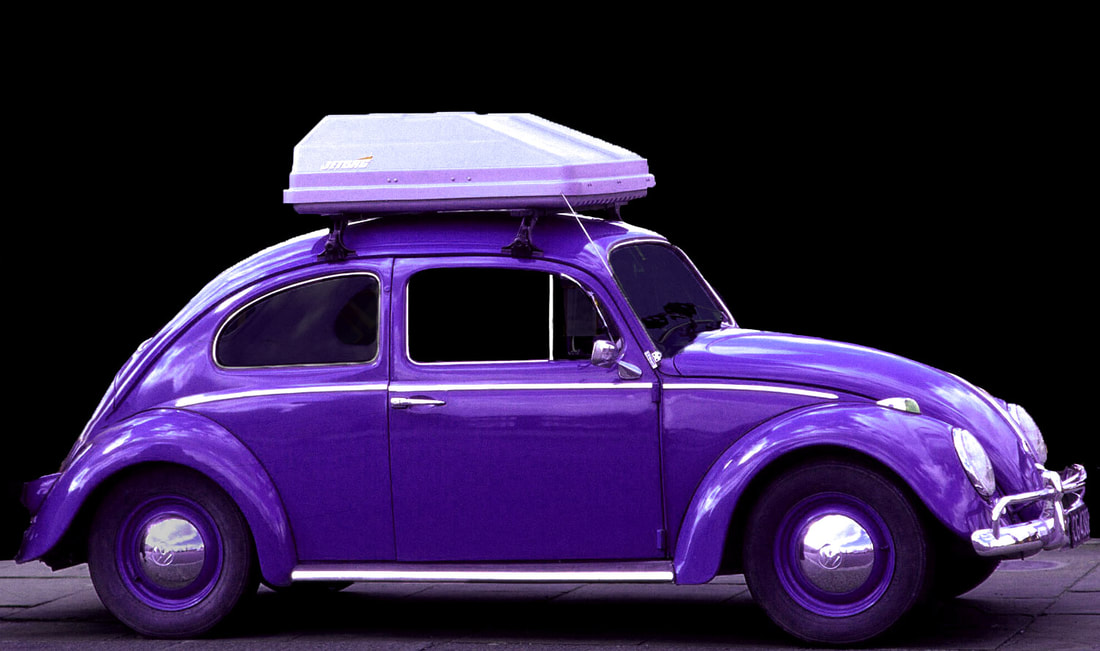 I learned a lot about photoshop in this project! I learned how to use a number of the tools effectively, including the quick selection tool, the clone-stamp too, and the brush tool (I know that last one seems kinda basic, but I can now adjust the opacity and brush size and brush hardness to create a wide variety of effects). This project was a lot of fun!
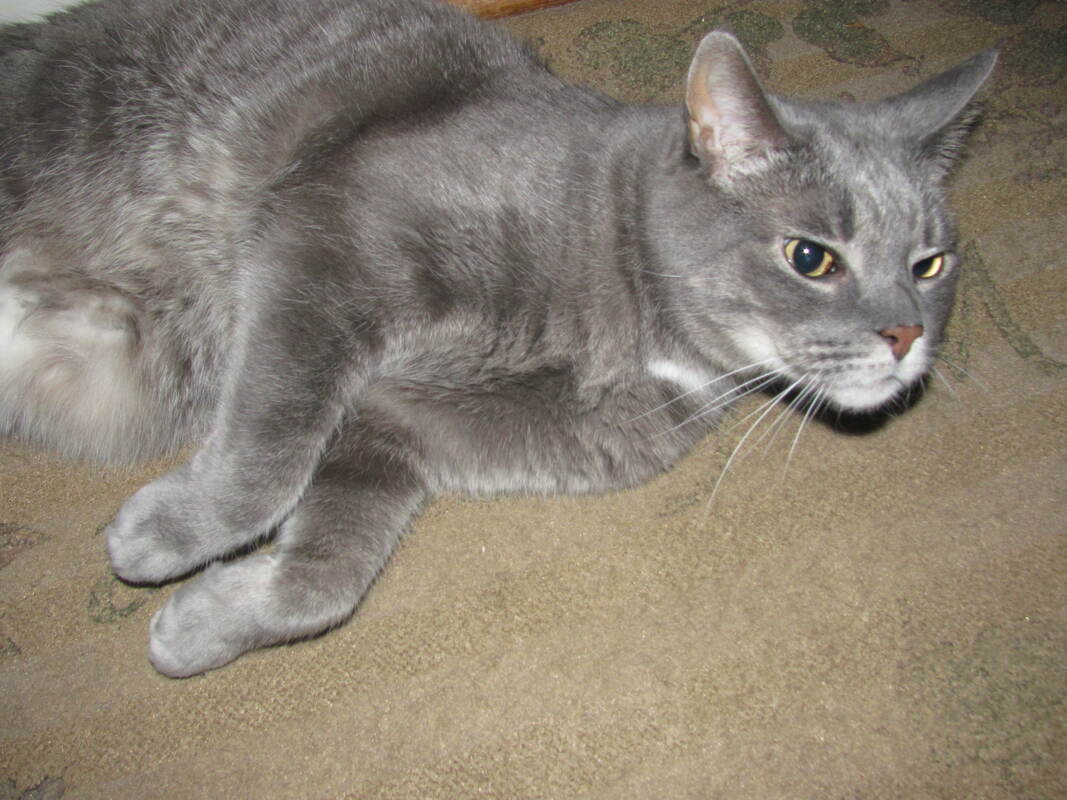
For this assignment I have to take photos of animals, trying to display the animal's personality. Here are some inspiration pictures that I'm going to look at to help me out when taking these photos! 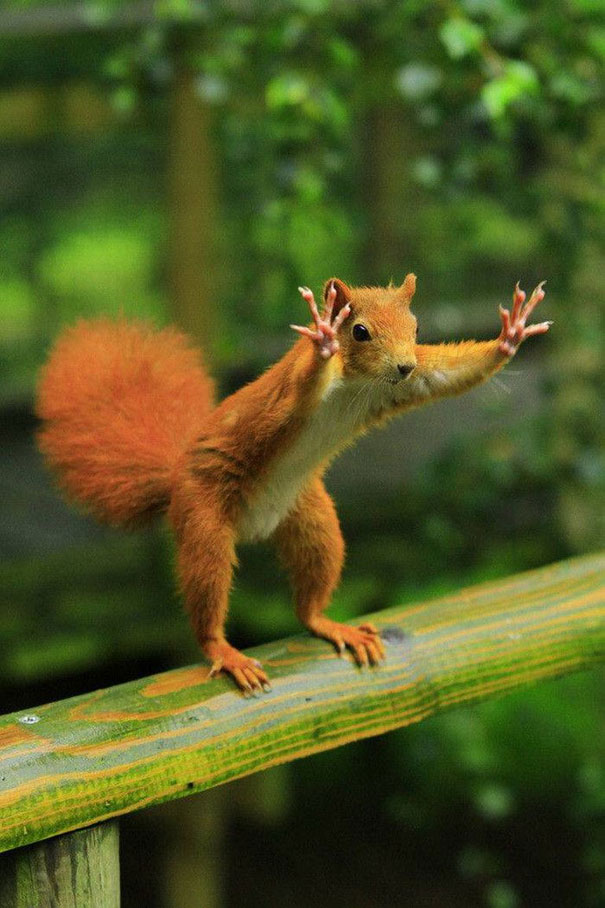 This image shows the squirrel's energetic personality, and will be great use for me photographing animals in this project. Since squirrels move quickly, like many animals, this picture was probably taken with a fast shutter speed, so I'll likely do the same when taking my pictures.  This picture shows the playful and lazy nature of the cat, as well as showing its gorgeous eyes. The aperture seems to be on a setting which blurs the background, creating a nice effect. I'll see if I can do something similar to this when taking my photos.  This picture of a duckling shows the detail of his fluff, which could be using the macro setting on a camera. Though it's unlikely I'll use that setting, I will try to get the detail of the animal in the photos I take. These photos will be great inspiration and example for me in this assignment. I'll be taking pictures of my cats, trying to capture either my siamese cat Betsy's nervous, curious personality or my gray tabby cat Sterling's constantly annoyed and lazy one.
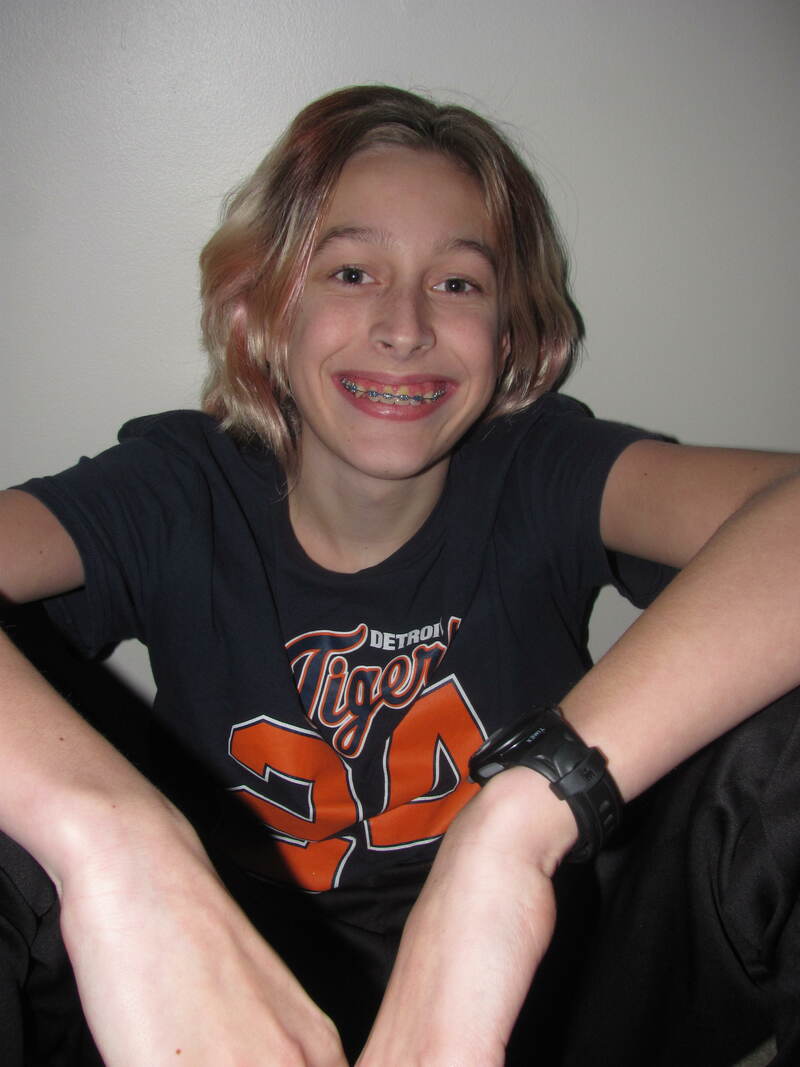
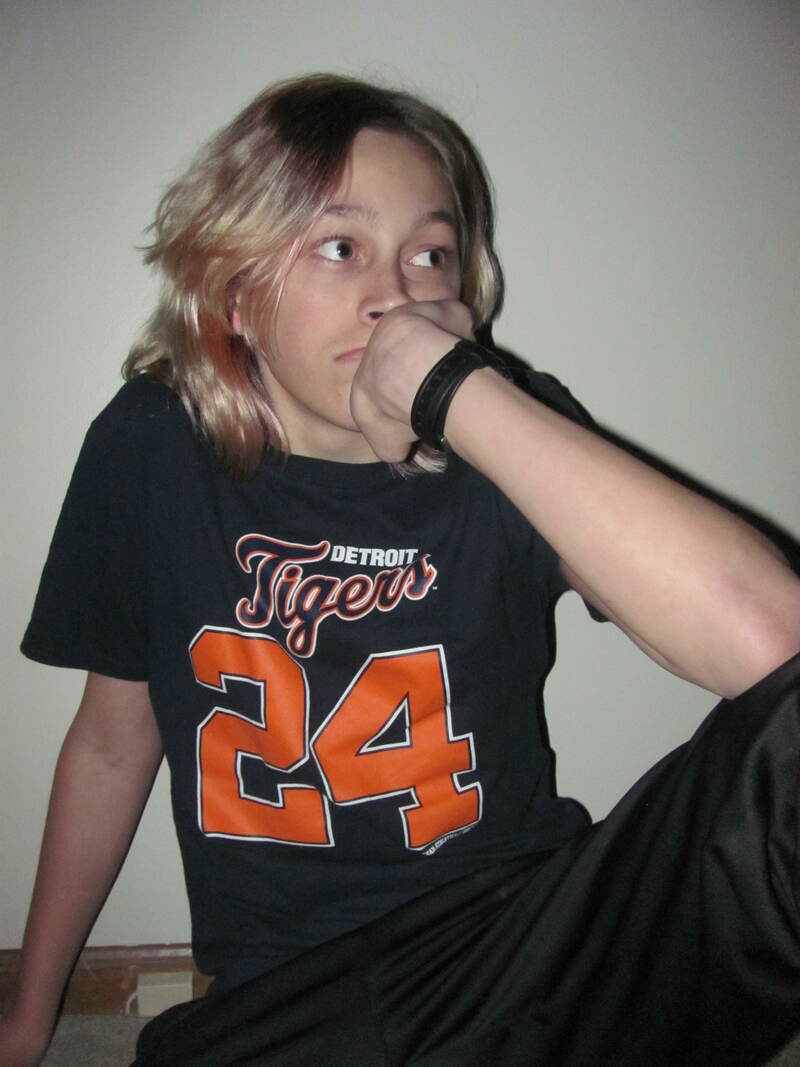
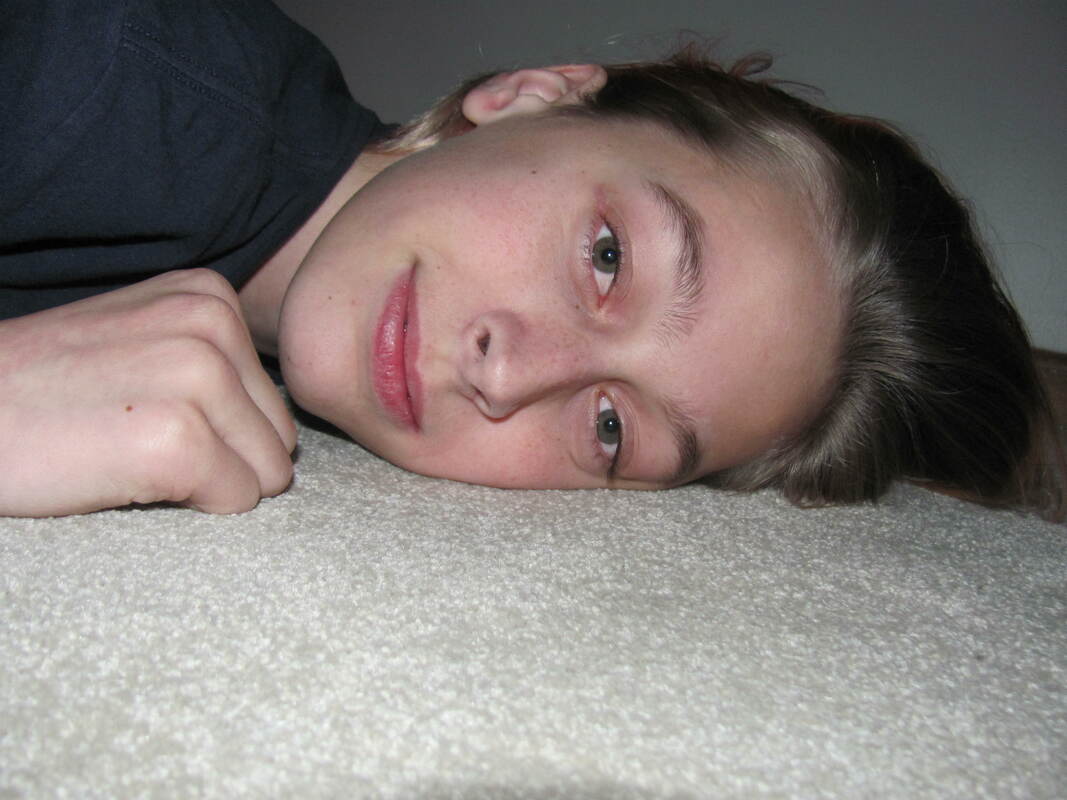
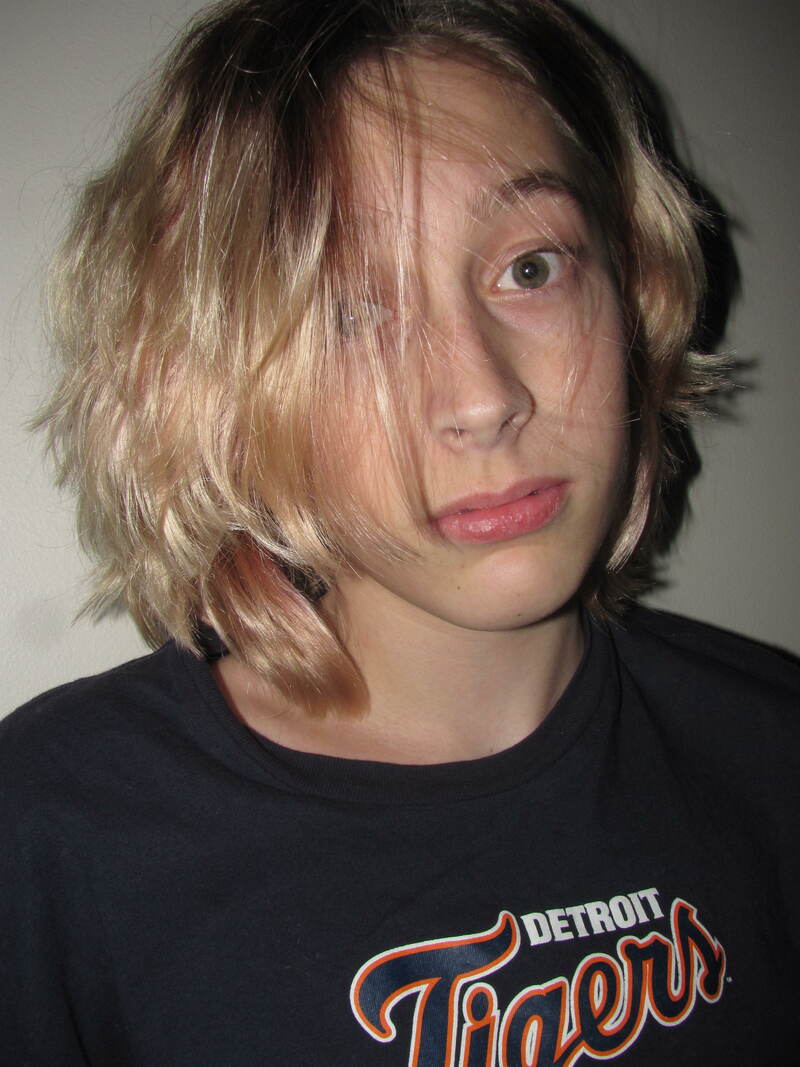
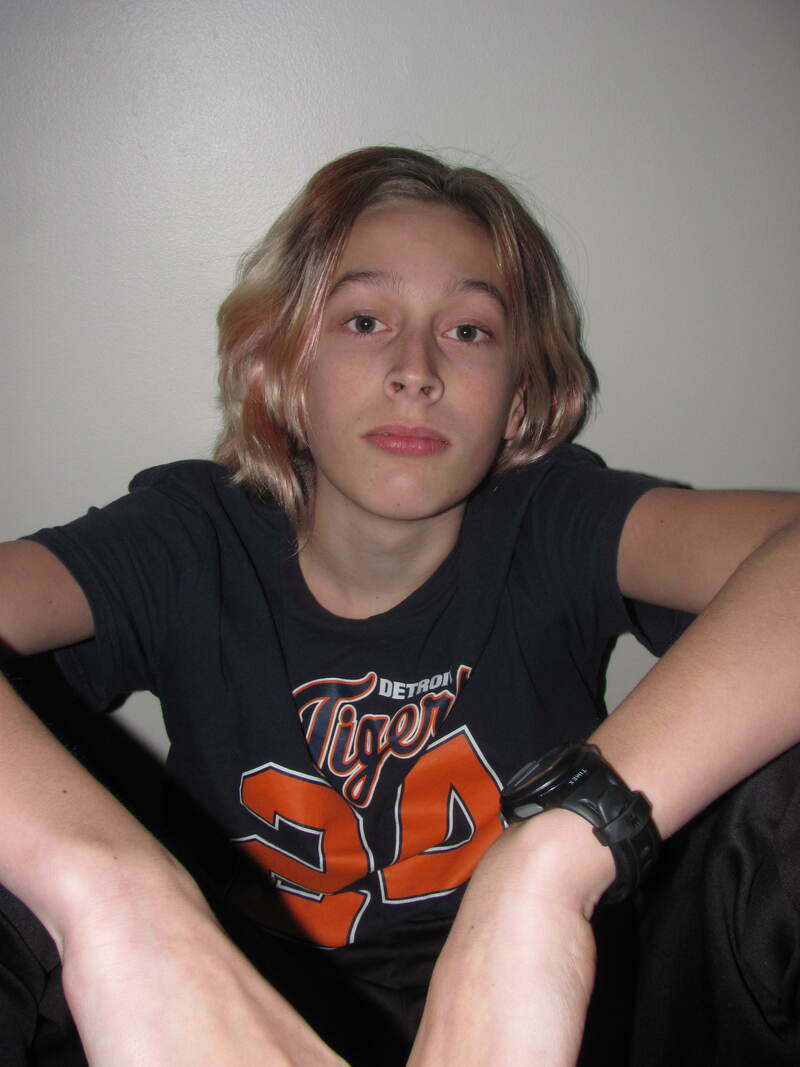
In this assignment I had to take a portrait photo of a subject. I ended up taking upwards of fifty photos of my brother, as per the instruction. I ended up with about ten pretty good ones, but this is the very best one which I will be turning in to my teacher: 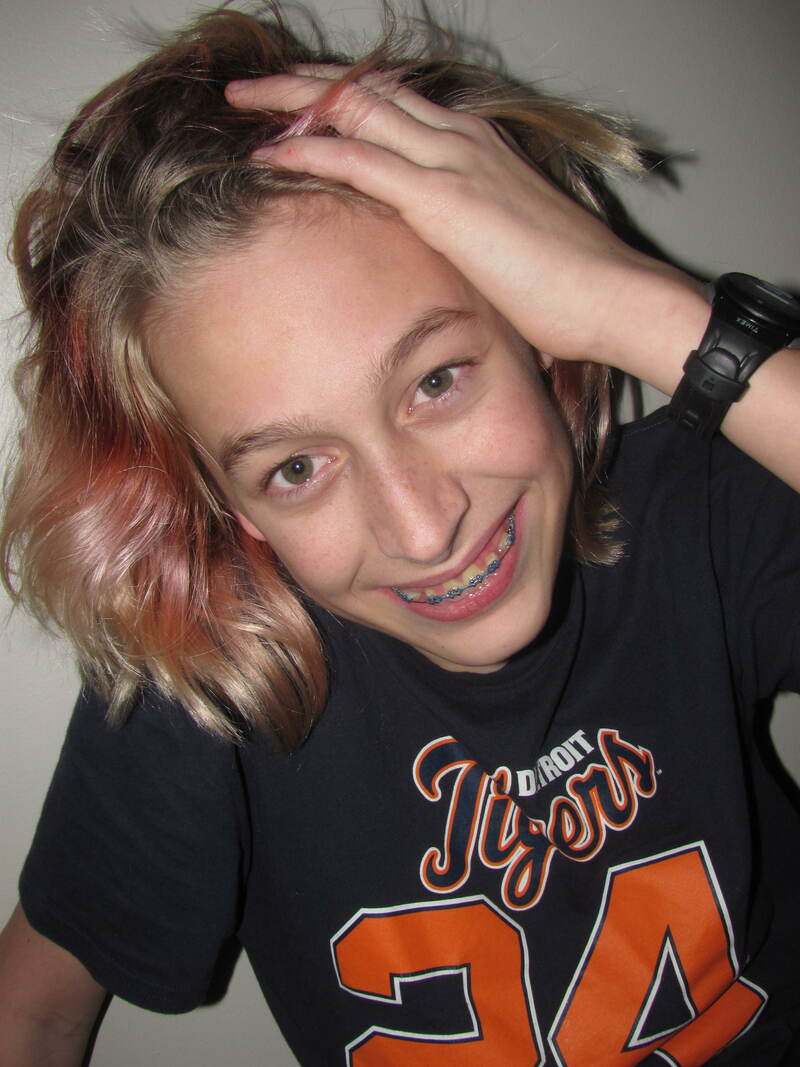 To get this photo to turn out looking good in the environment I was shooting in, I had to set it up a certain way. For this photo, my aperture was at f5.6, my shutter speed was 1/60. and my ISO was at 100. These next photos are five more of the best ones from my photoshoot with my little brother, though they're not the very best one which I'll be turning into my teacher. This assignment was a lot of fun! I learned how to work with a subject who moved a lot and wasn't especially excited to be there. It was definitely a trial and error process as I tried to figure out how best to set up my camera for the environment, but I do think that I actually figured out how to capture his (extremely) unique personality through the process of taking these photos. All things considered, I think this project went well.
 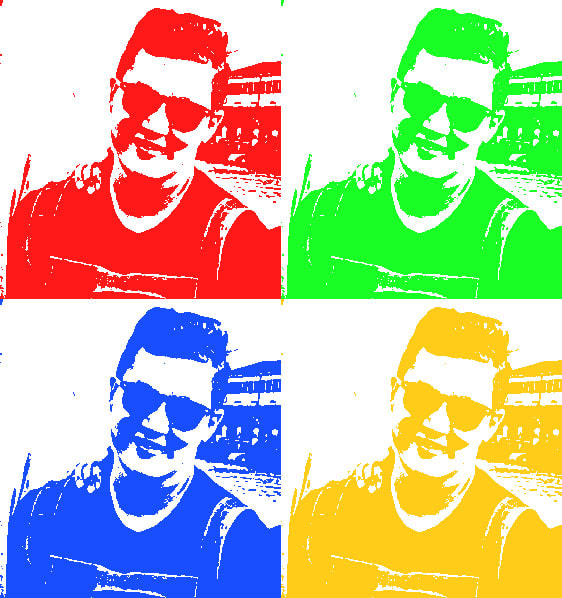 In this pop art assignment I had to get a nice, recognizable photo of myself and use the tools in photoshop to turn it into a pop art project similar to those by Andy Warhol. 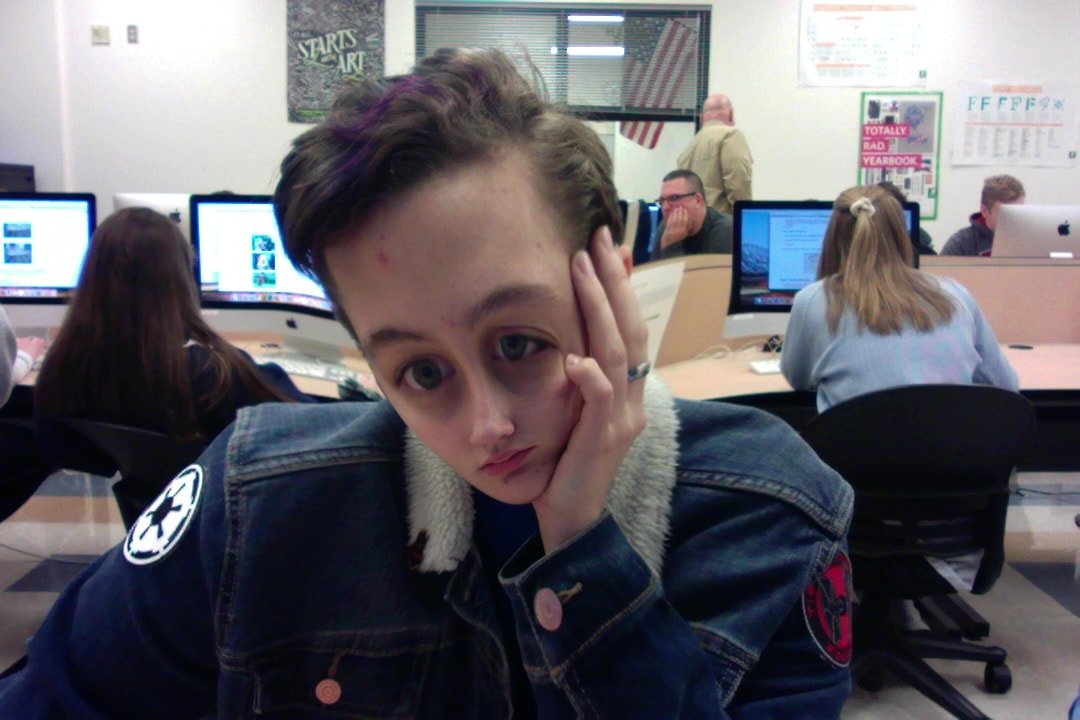 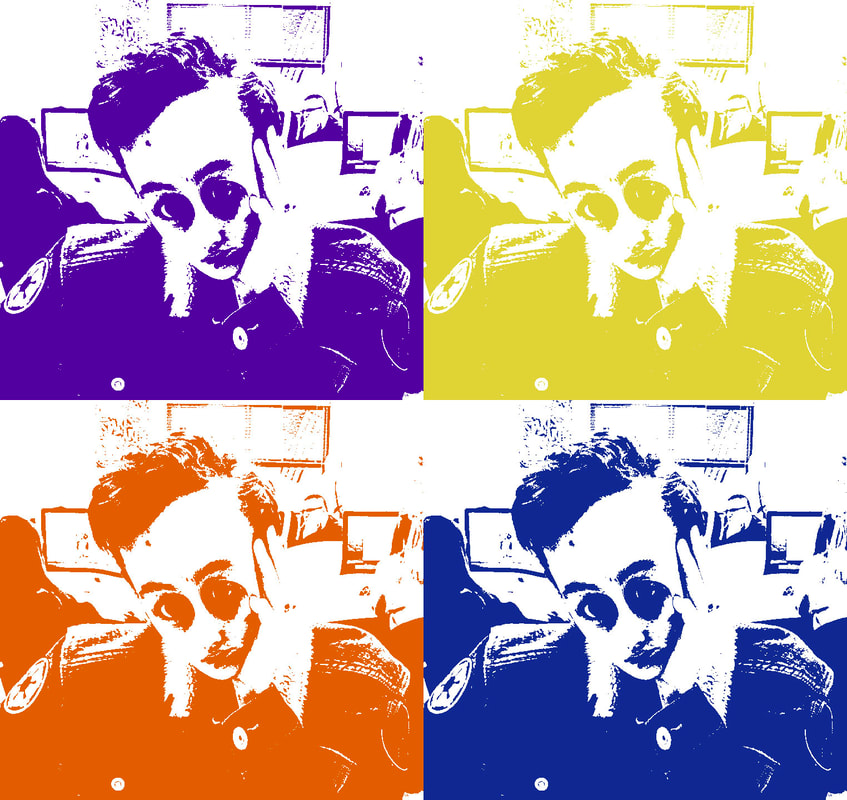 We were also instructed to create a second pop art image with photoshop, but with this one we were allowed to play around with wacky filtered photos and whatever colors we wanted.
These photos will serve as inspiration for a photo assignment, where I will be choosing to do a portrait shot of a person to tell the audience who they are, so these will all be examples of portrait photography. 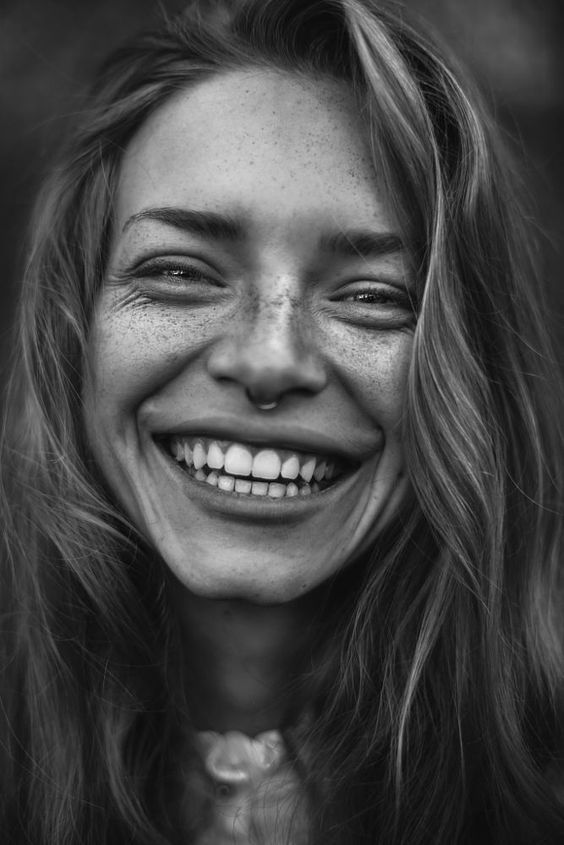 The link to the above inspiration photo is https://www.pinterest.com/pin/470415123571171820 The image of a a good portrait shot. It is in black and white, which mine will not be, but otherwise it is a good photo for inspiration because it shows who the woman is as a person. 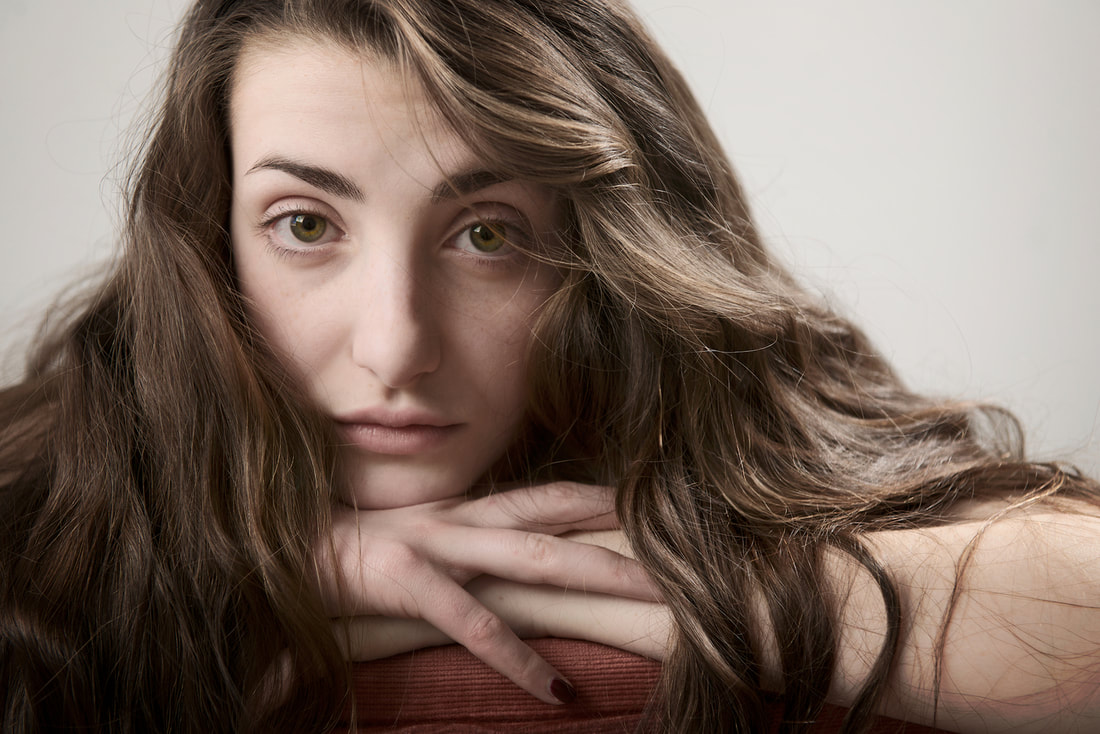 The link to the above portrait is https://www.shanasureck.com/portraits-and-head-shots/ This photo is a great example of a portrait, because it informs the audience of the woman's somber nature and she fills most of the frame. 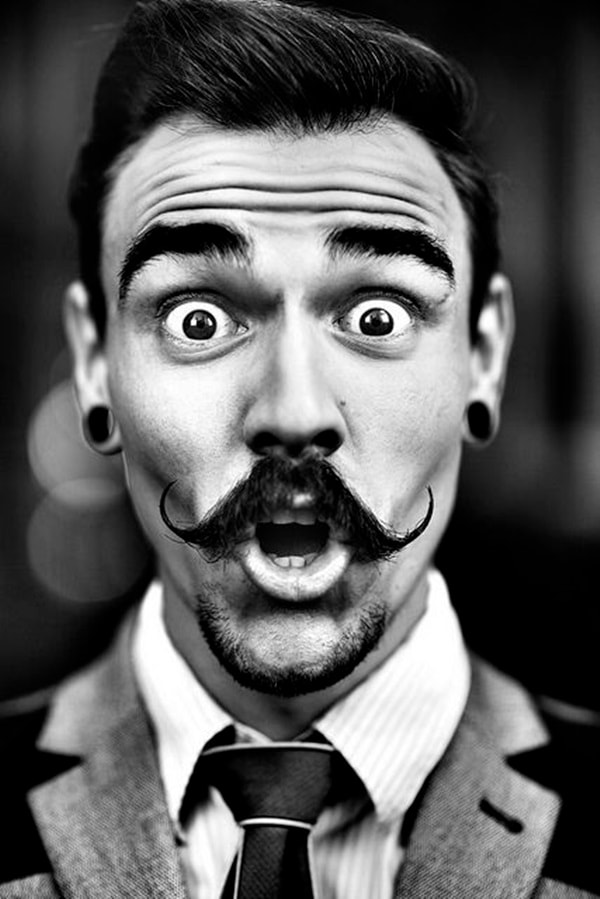 The link for the above portrait is http://www.zarias.com/portrait-photography-tips-and-ideas/ Though this image is in black and white, while mine will be in color, this picture is a fantastic example of portrait photography because it really demonstrates who this guy is as a sort of wacky person. These three images will serve as my inspiration for my assignment dealing with portrait photography. They are great images for me to look at when figuring out how to fill the frame and get my photo to tell a story about the person I'm photographing. For my project I am going to photograph my younger brother, David, trying to demonstrate his rather interesting character, likely shooting him outside in the front yard (weather permitting) or else in the kitchen. This is all assuming, of course, that he is actually willing to be my model, which may not be a guarantee with him.
In this assignment my class was tasked with taking four pictures of motion to demonstrate the effects of different shutter speeds, as well as four pictures with varying degrees of depth of field to demonstrate the effects of different apertures. Shutter Speed Examples: This was the slowest image, with a shutter speed of 0.5 or 1/2. Because the shutter speed was so low, Zoe looks like a blur of motion.  This was a slightly faster image, with a shutter speed of 1/10, so Zoe was still pretty blurry, but not nearly so as the first image. 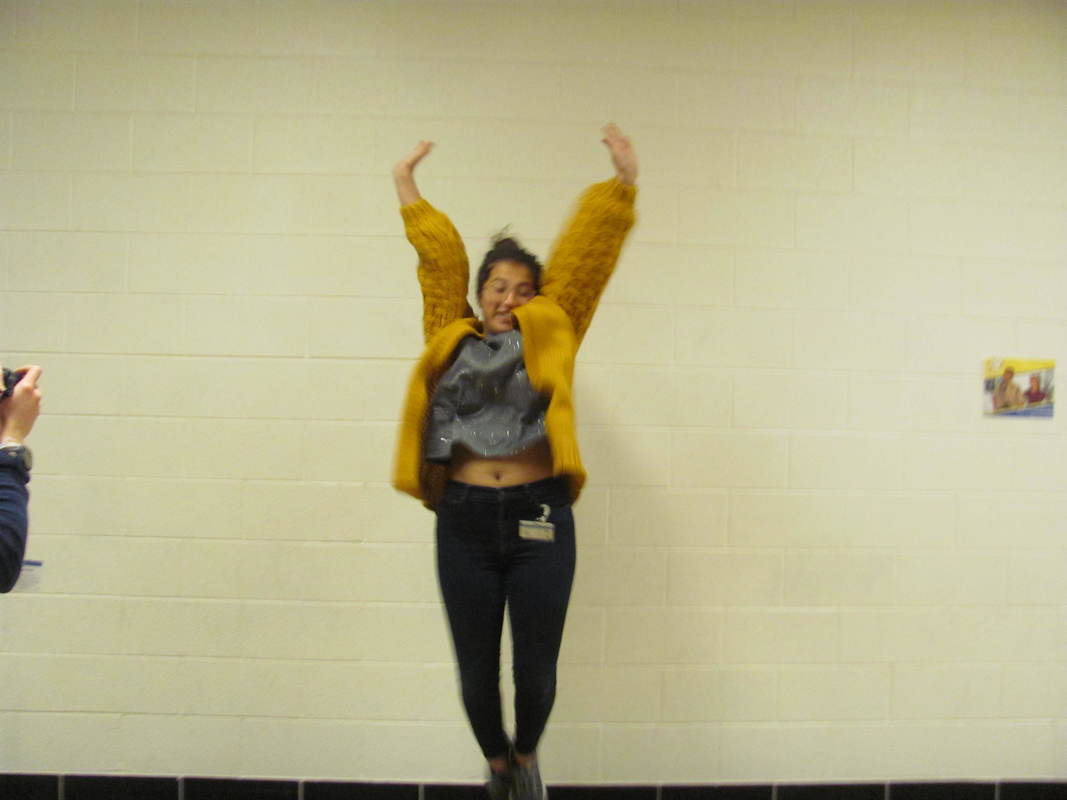 This image ha an even faster shutter speed, at 1/30, so Zoe is considerably less blurry, though still fairly soft. 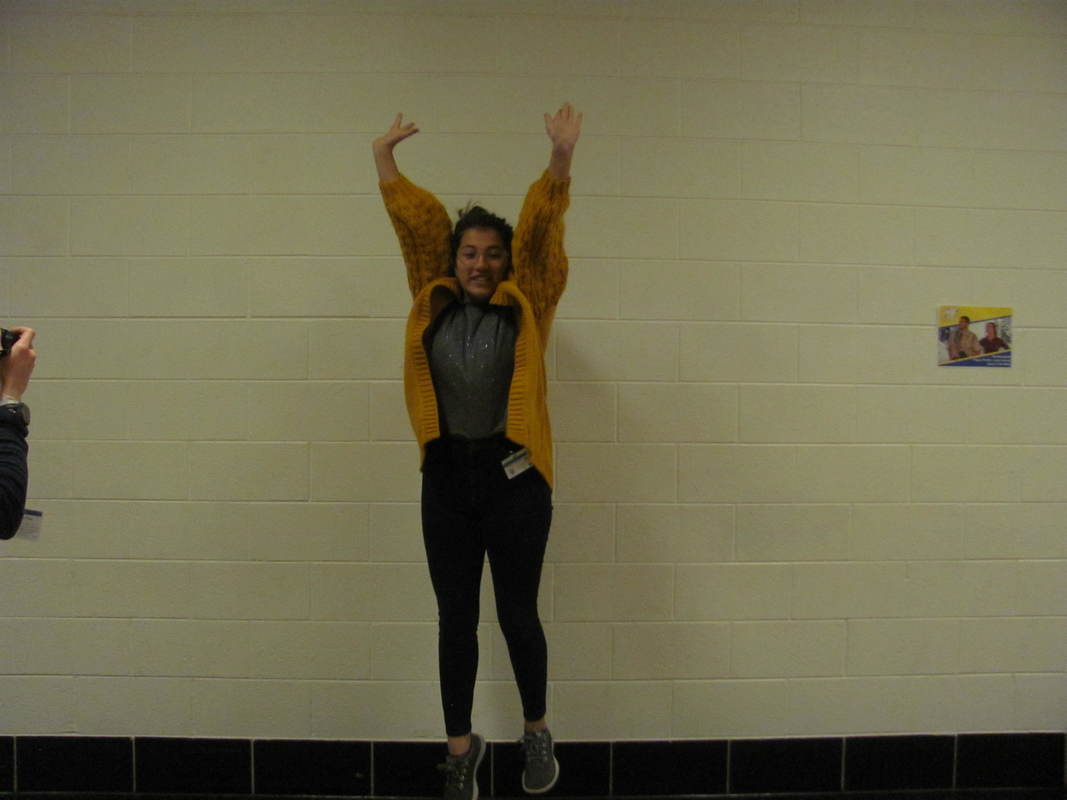 This image had a shutter speed of 1/80, so Zoe is far less blurry (though still fairly soft due to the capabilities of my camera). Aperture Examples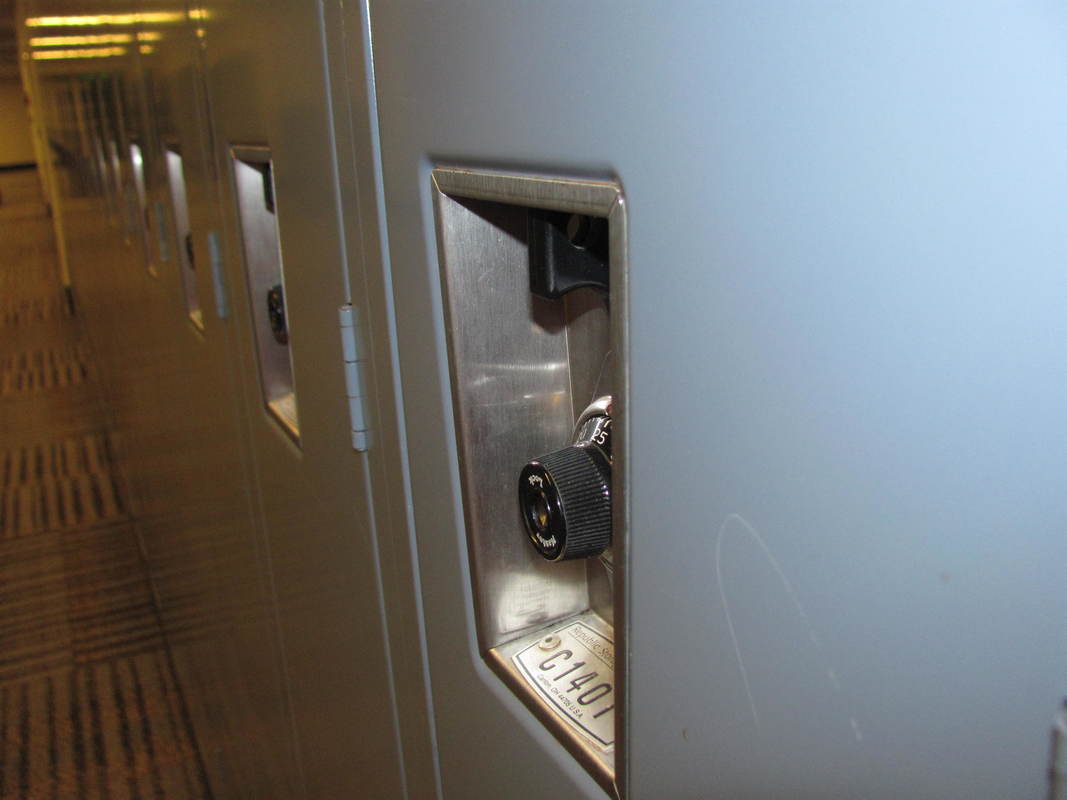 This image was taken with an aperture of 2.8, the biggest opening my camera has available to me. It i intended to increase the depth of field, though it's hard to see with the options my camera has. In this photo, the lock nearest to me is in focus, while the locks further back in the image are soft and unfocused. 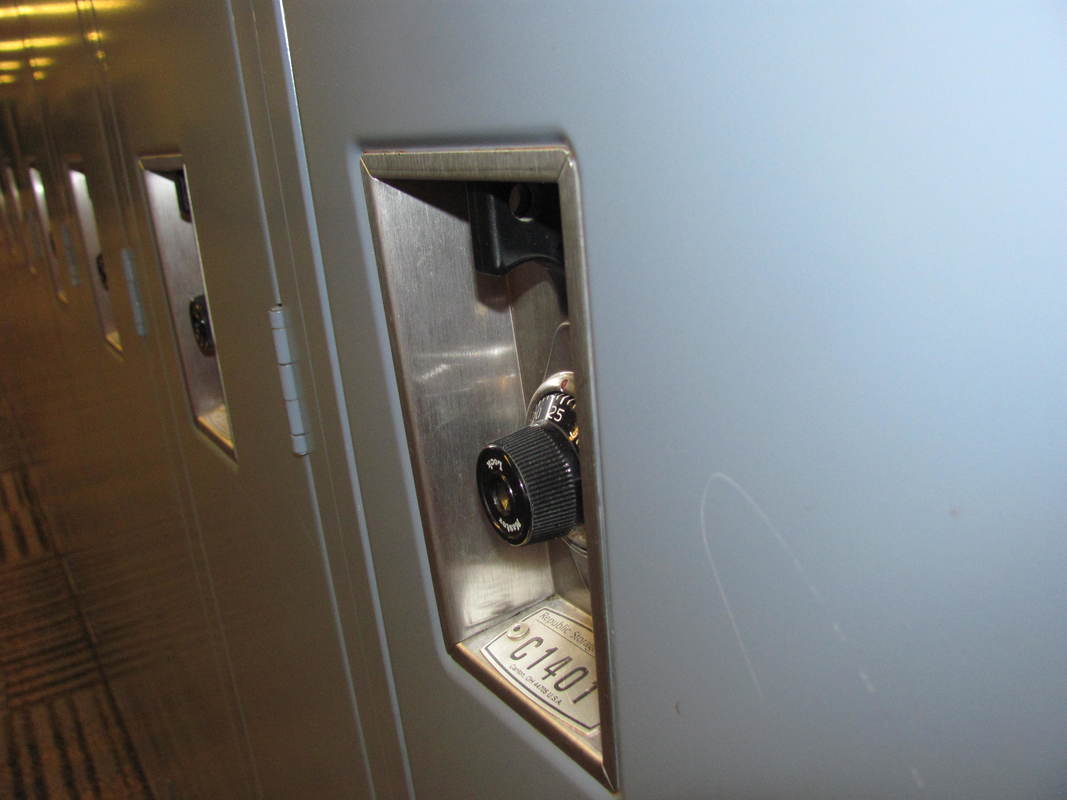 This image was taken with an aperture of 3.2, which is still a fairly wide opening. So, though they are slightly more in focus, the locks further back are still soft. 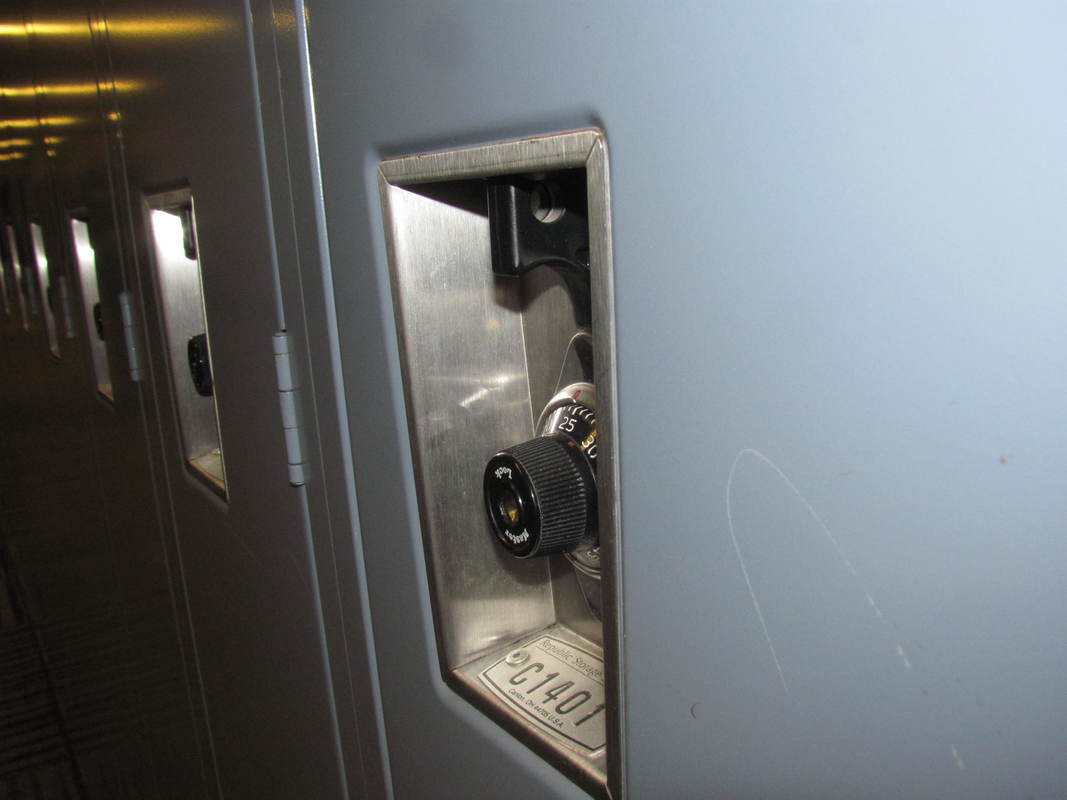 This photo was taken with an aperture of 5.0, so the depth of field was considerably less, although the lockers in the far back of the image are still fairly unfocused. 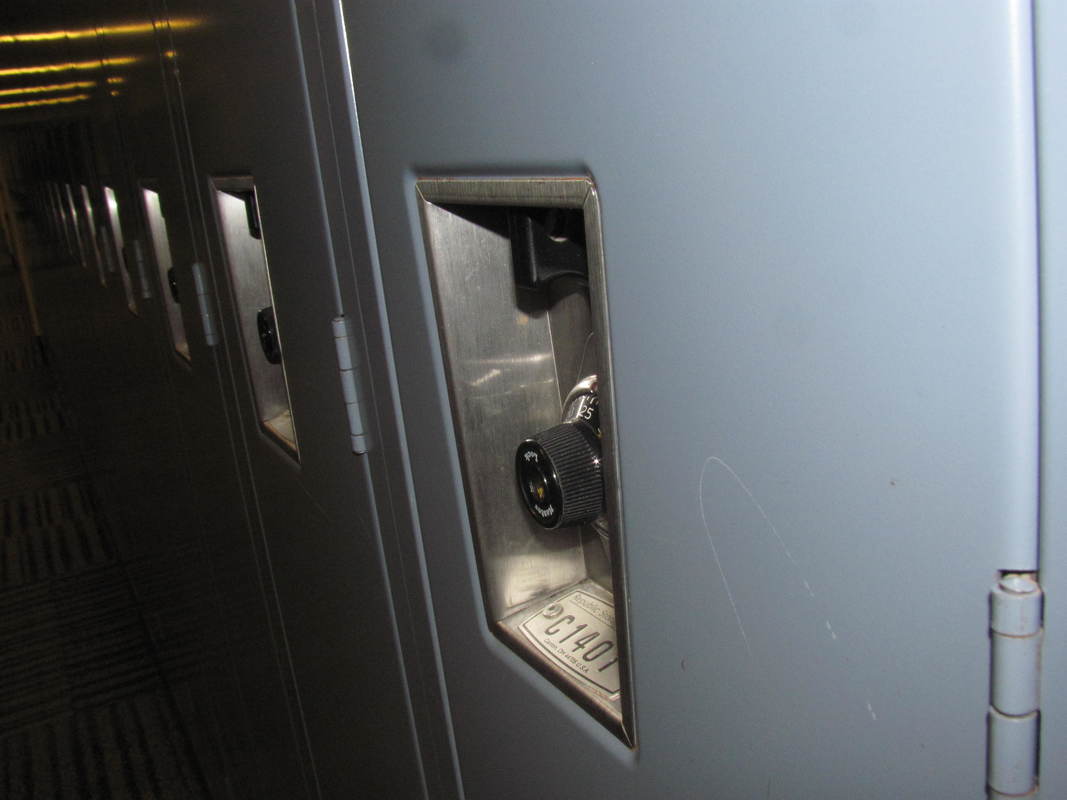 This photo was taken with an aperture of 6.3, among the smallest opening my camera offers, so the depth of field in the image is hardly perceptible, especially compared to the first image. In this image, both of the first two locks are in focus, while in the first image only the first one was clear. What I LearnedIn this assignment I learned the basics of shutter speed and aperture. I now know how to create varying degrees of depth of field with different apertures as well as different ways of capturing motion with different shutter speeds.
This assignment was given to our class to give us a general understanding of composition in photography. We were given a list of elements of composition, and then asked to take a picture that serves as an example of each one. These are my pictures for these elements: rule of thirds, symmetry, lines, depth of field, pattern, texture, color, balance, framing, perspective, and space. Depth of Field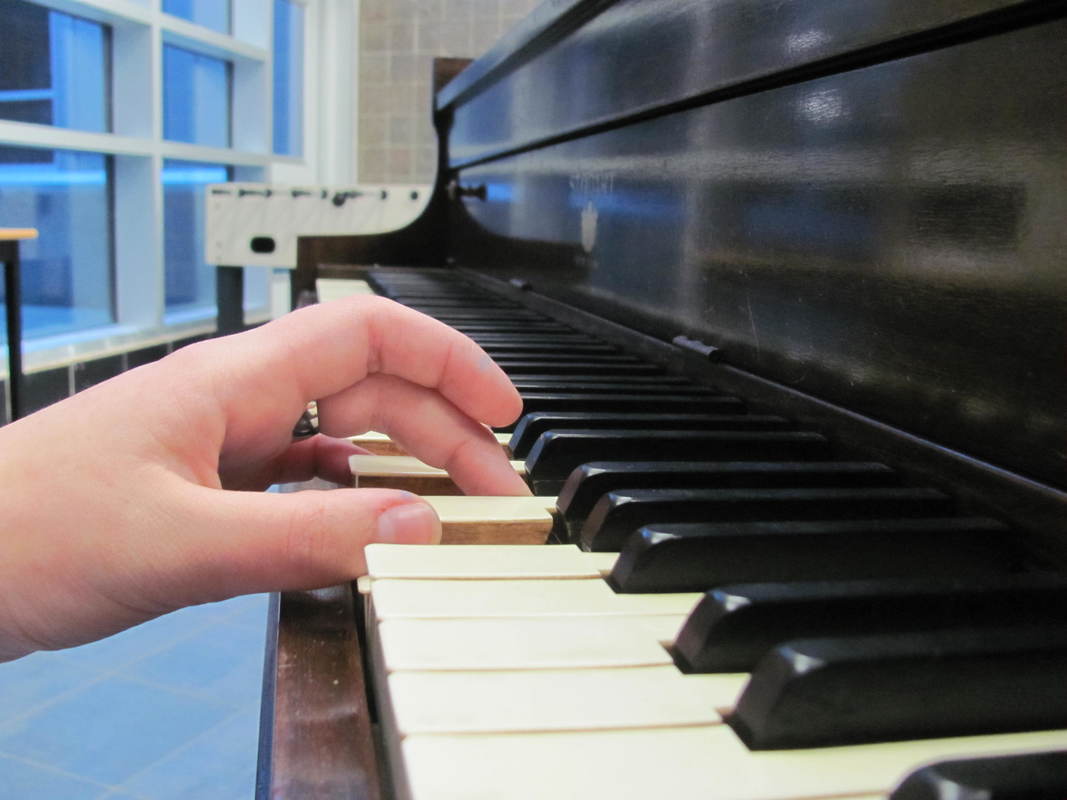 This image shows my hand playing a C chord in the foreground, which is in focus, and the rest of the piano keys in the background, not in focus. This gives the image depth. Lines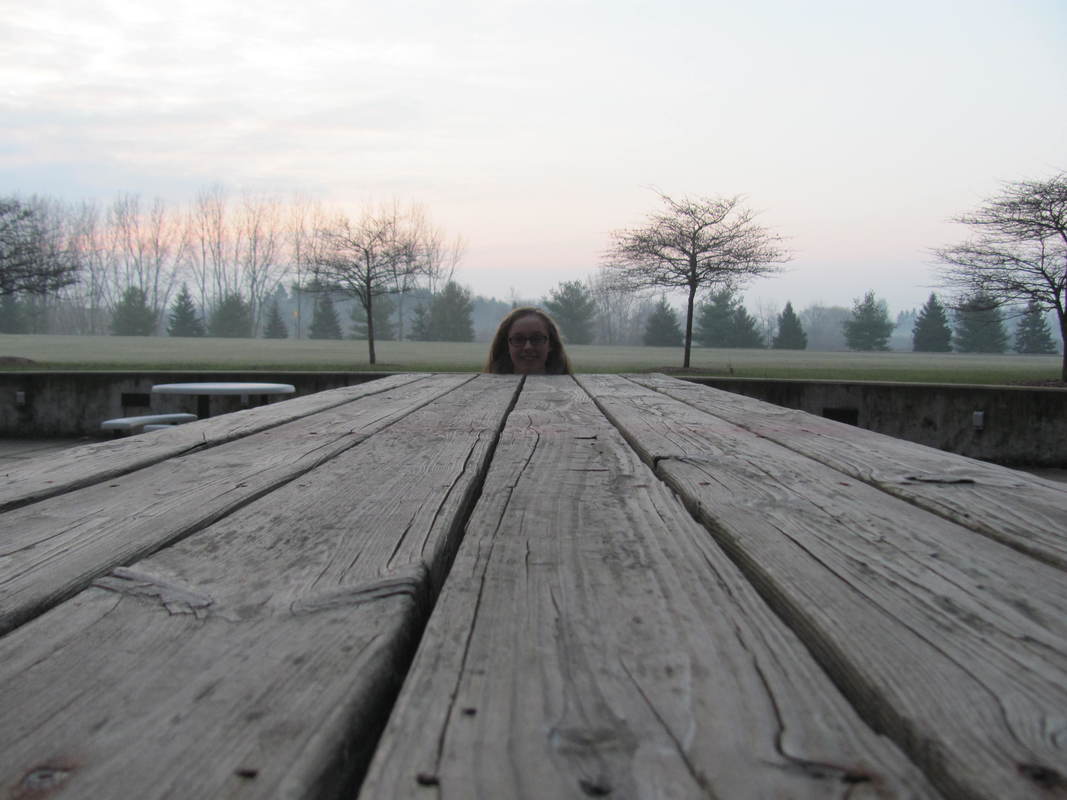 This picture of Annie at the end of a wooden table is making use of the lines in the table to direct the viewer's eye to Annie's lovely face. Pattern This picture has two patterns, that of the wooden weaving and that of the fabric of the cushion. Symmetry In this picture I placed the tree, a symmetrical subject, in the center of the image and made sure its trunk was perfectly vertical in my shot to display its symmetry. Texture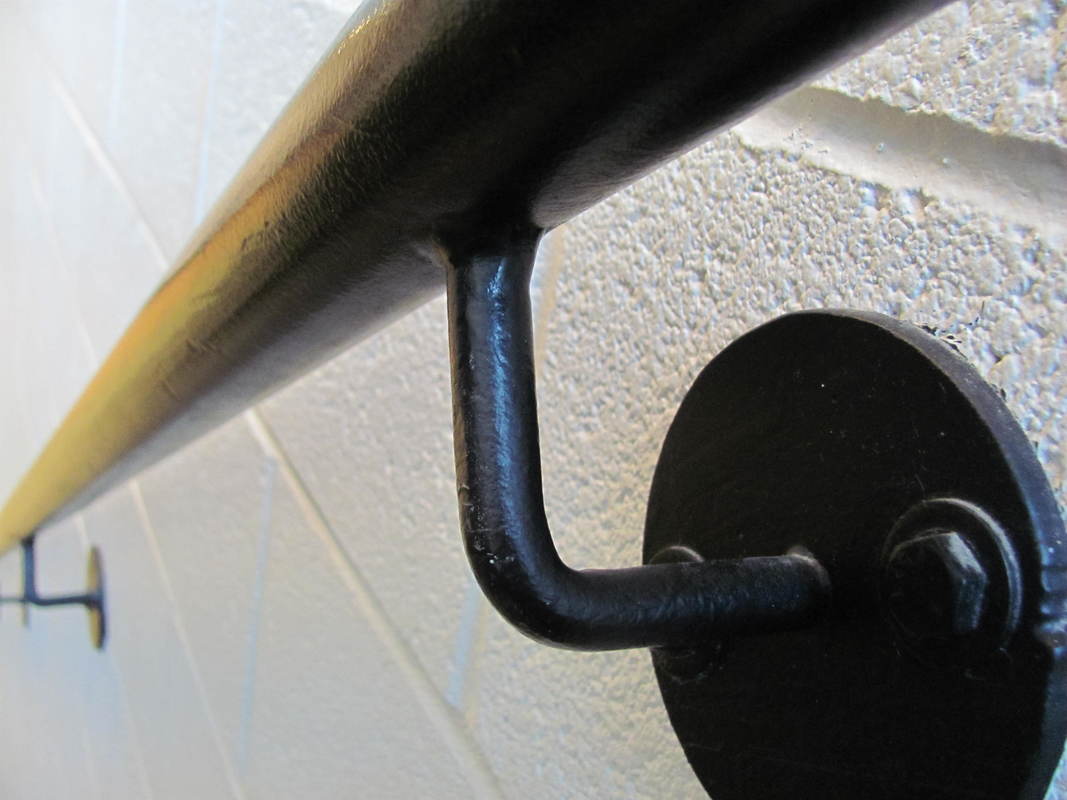 This picture shows the texture of the cinder block wall and the metal railing, the light on the railing especially bringing out its texture. The Rule of Thirds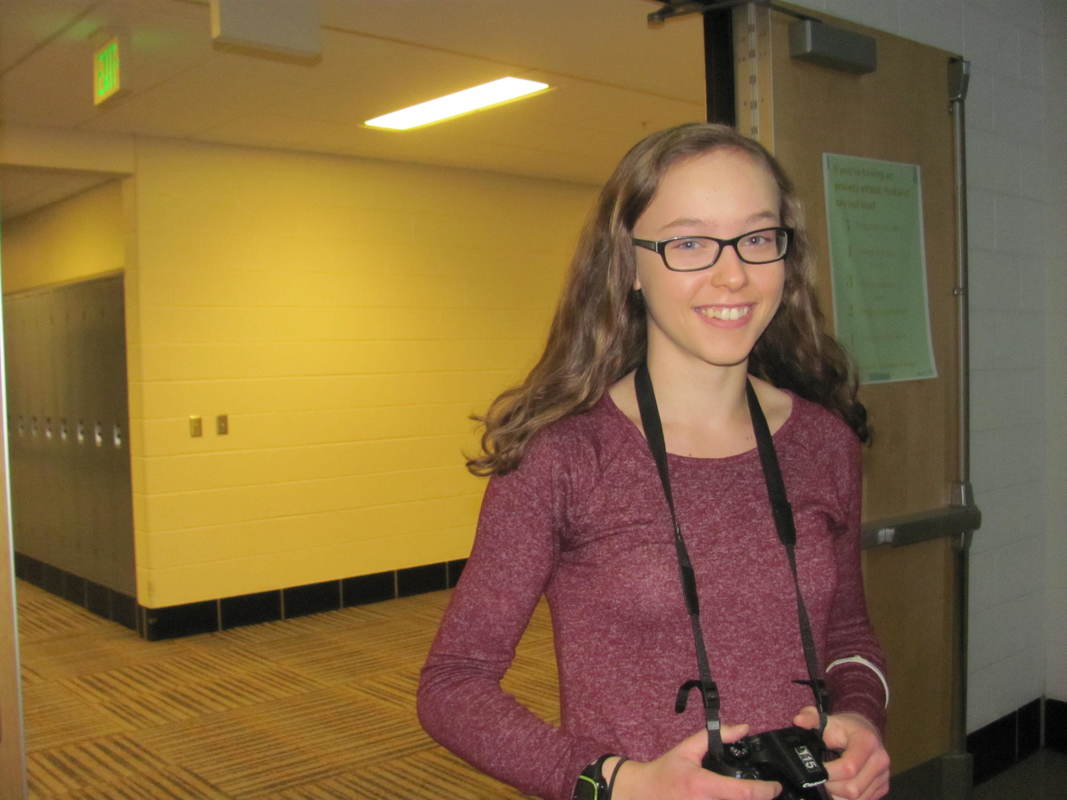 This picture of Annie follow the rule of thirds because she is placed in the frame on the line which is one third away from the right side, and her eyes are on the line one third from the top. Balance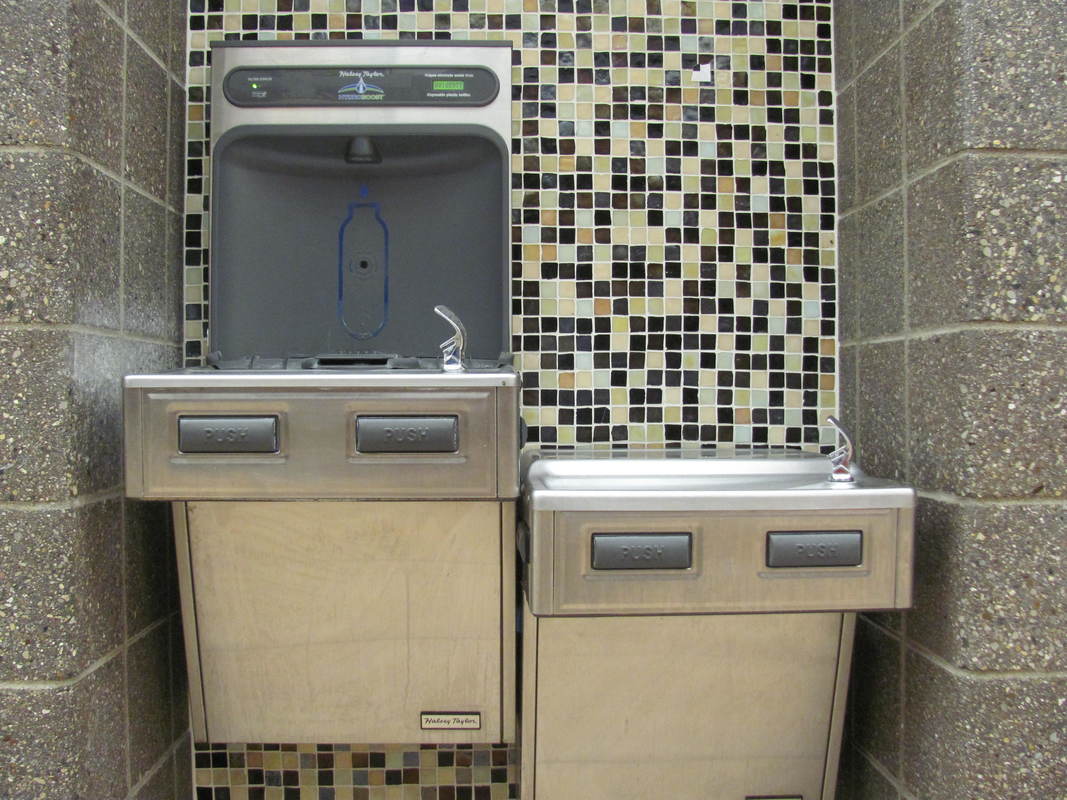 This image is balanced because the viewer's eye is not drawn to any one side. Color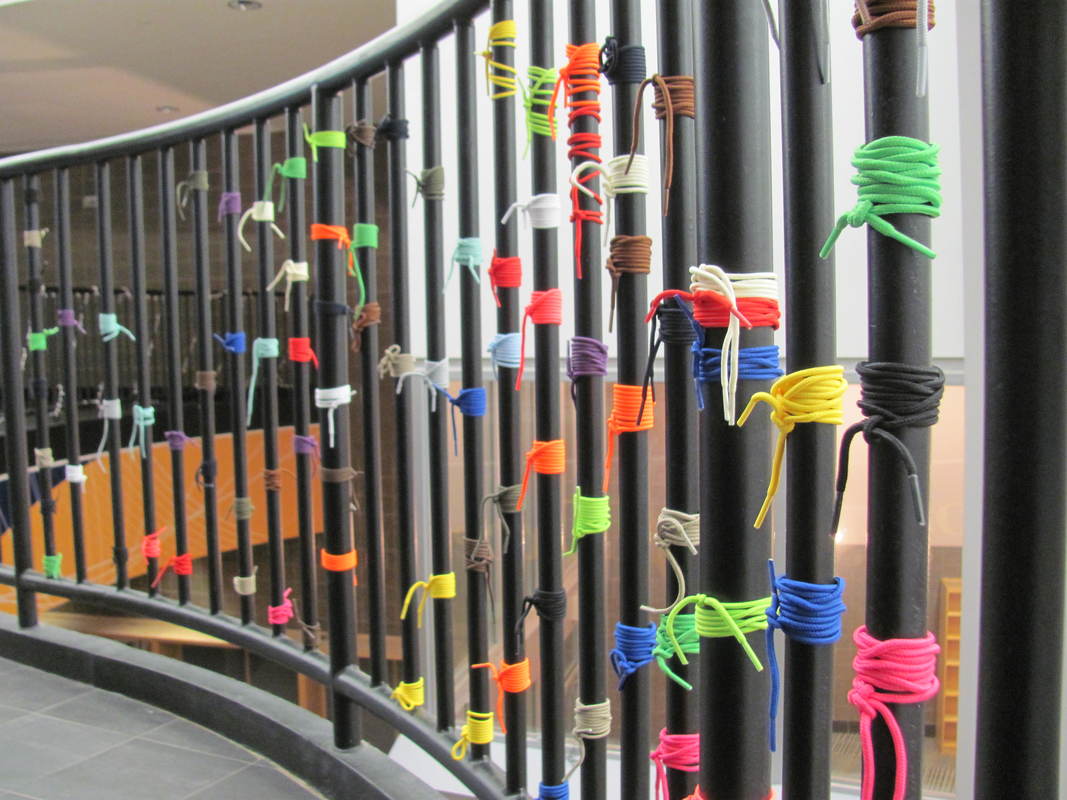 The bright colors of the shoelaces implies vibrance and life. Framing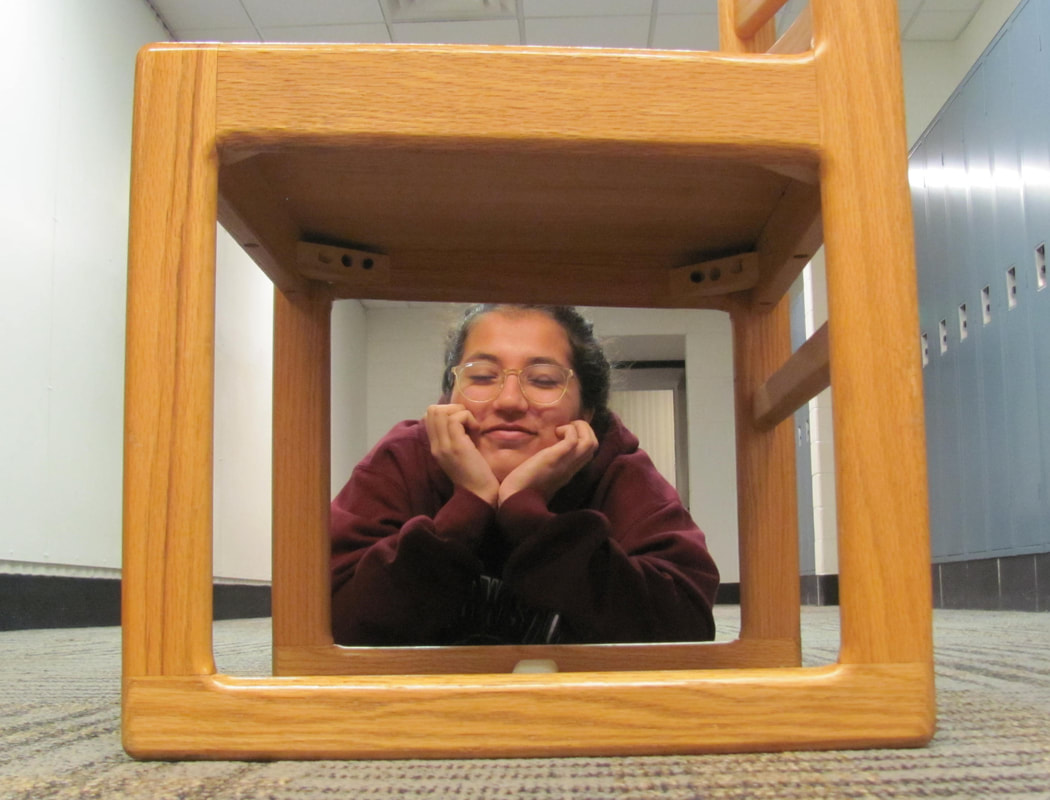 In this photo, Zoe's face is framed by the side of the chair. Perspective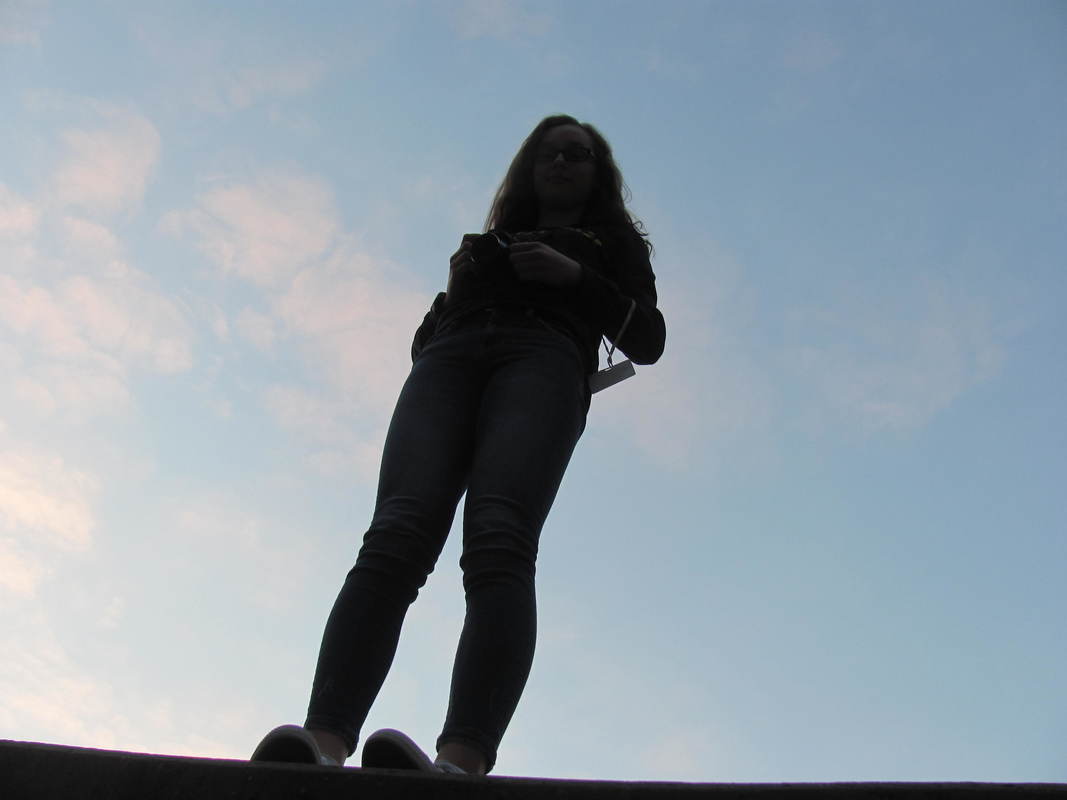 This photo of Annie is taken from beneath her, an interesting perspective which makes her appear powerful. Space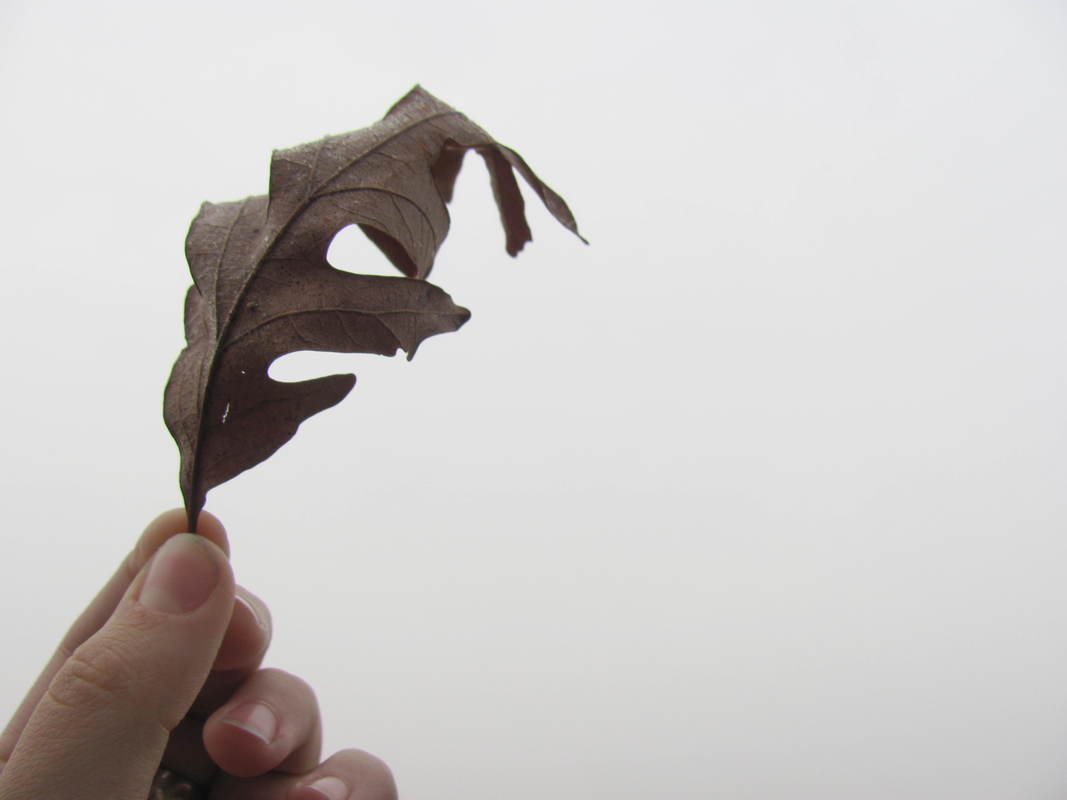 This picture of my hand holding a leave has a lot of empty space (which is actually just the sky on a cloudy day) which gives the subject a lot of space to breathe. What Did I Learn?In this assignment I learned the basic rules of composition and was given a chance to practice with each of them. I of course will still need more time to practice before it becomes natural to me, but I have learned to take pictures intentionally and to put thought behind them. Instead of my thought process being "Oh, that's cool, I'll take a picture!" it has now become "What am I trying to say with this picture? How am I going to do that?"
|
AuthorI'm Jamie! I'm taking a photography class this year, and this is my blog for that class. Archives
March 2019
Categories |


 RSS Feed
