|
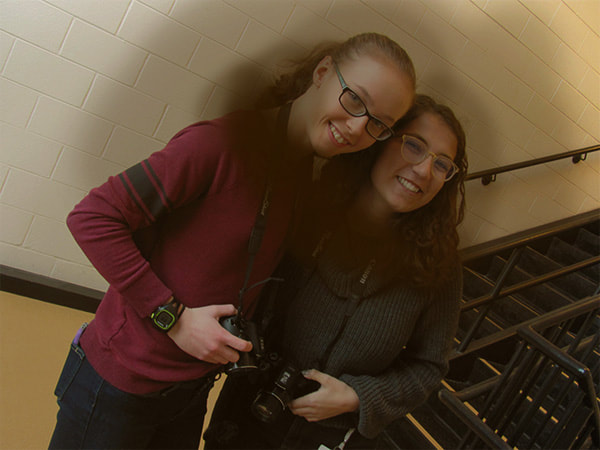
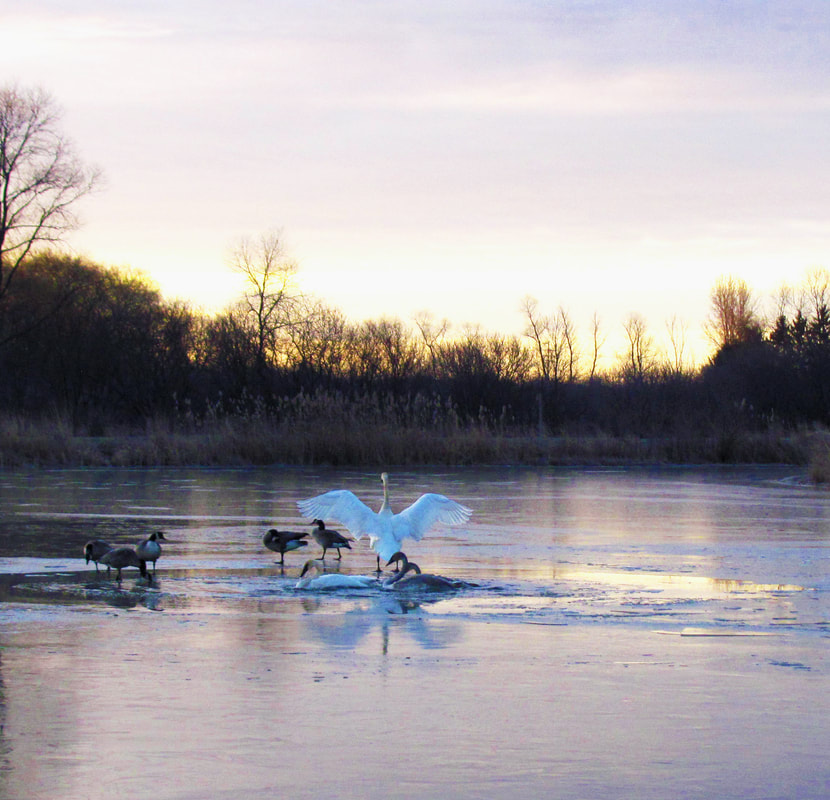
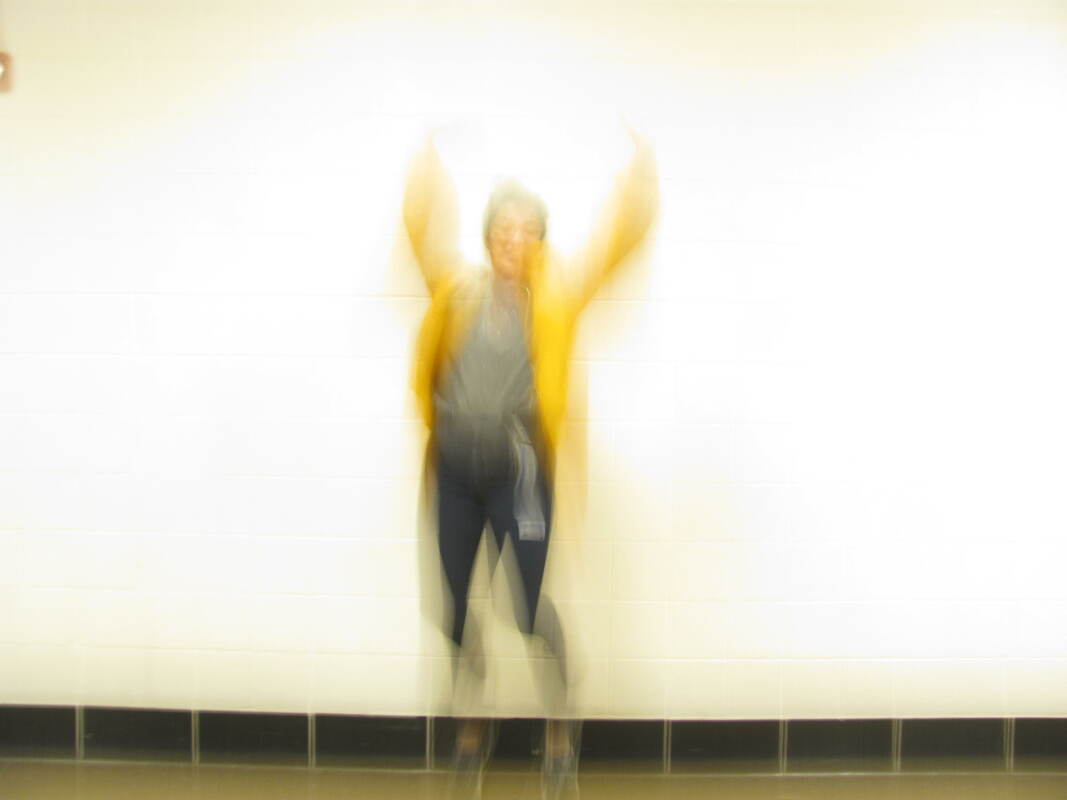
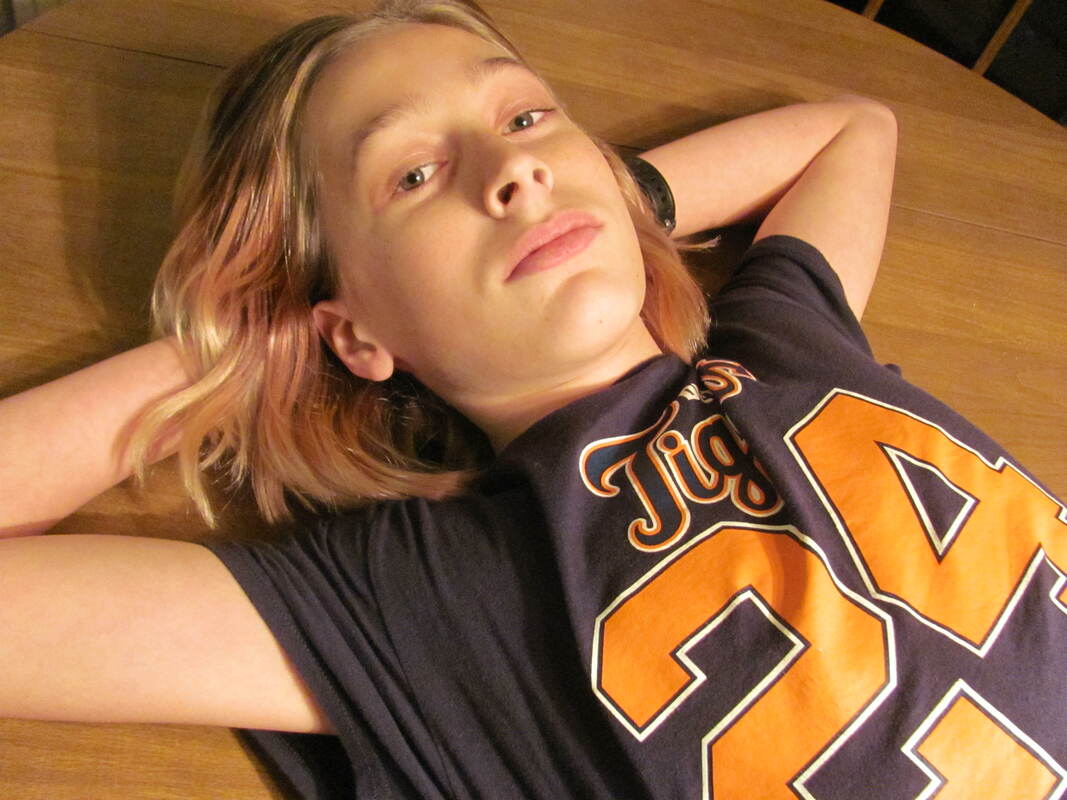
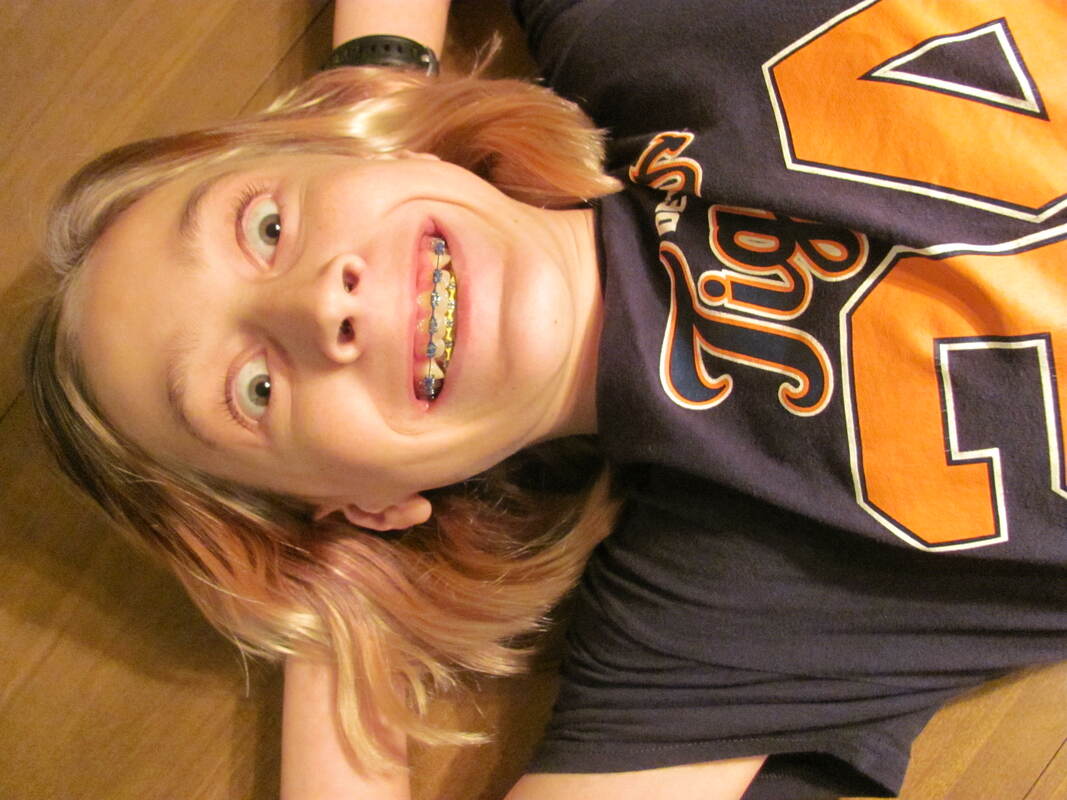
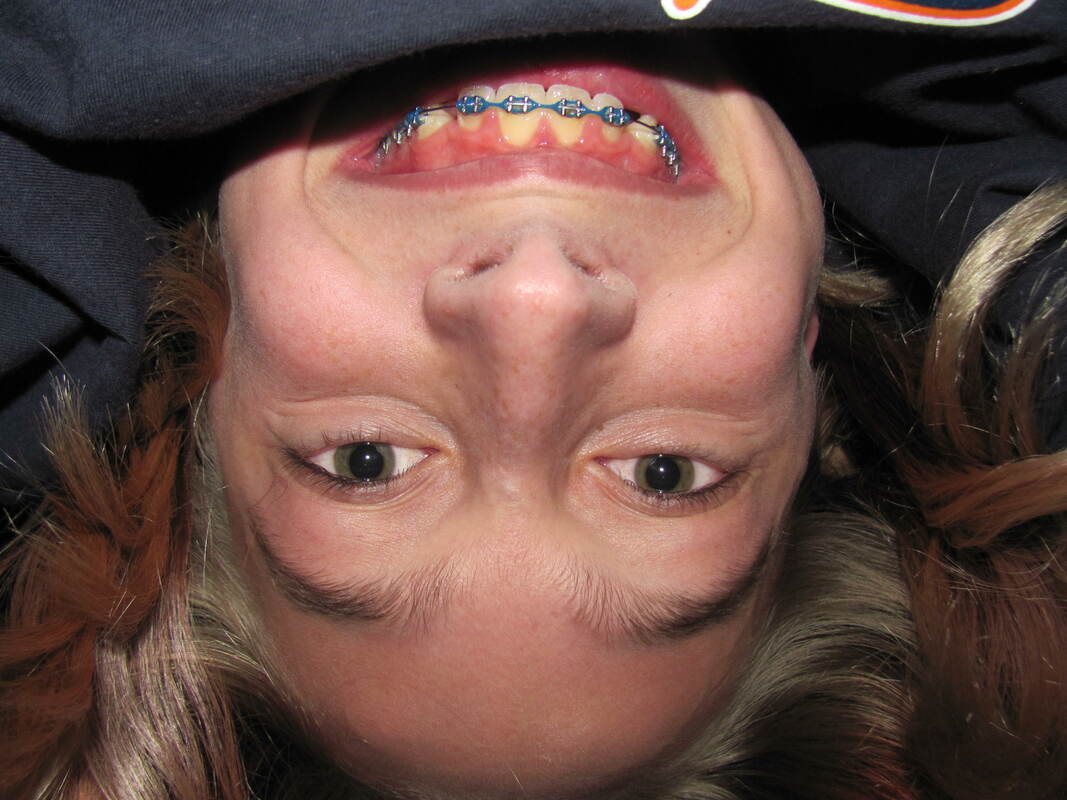
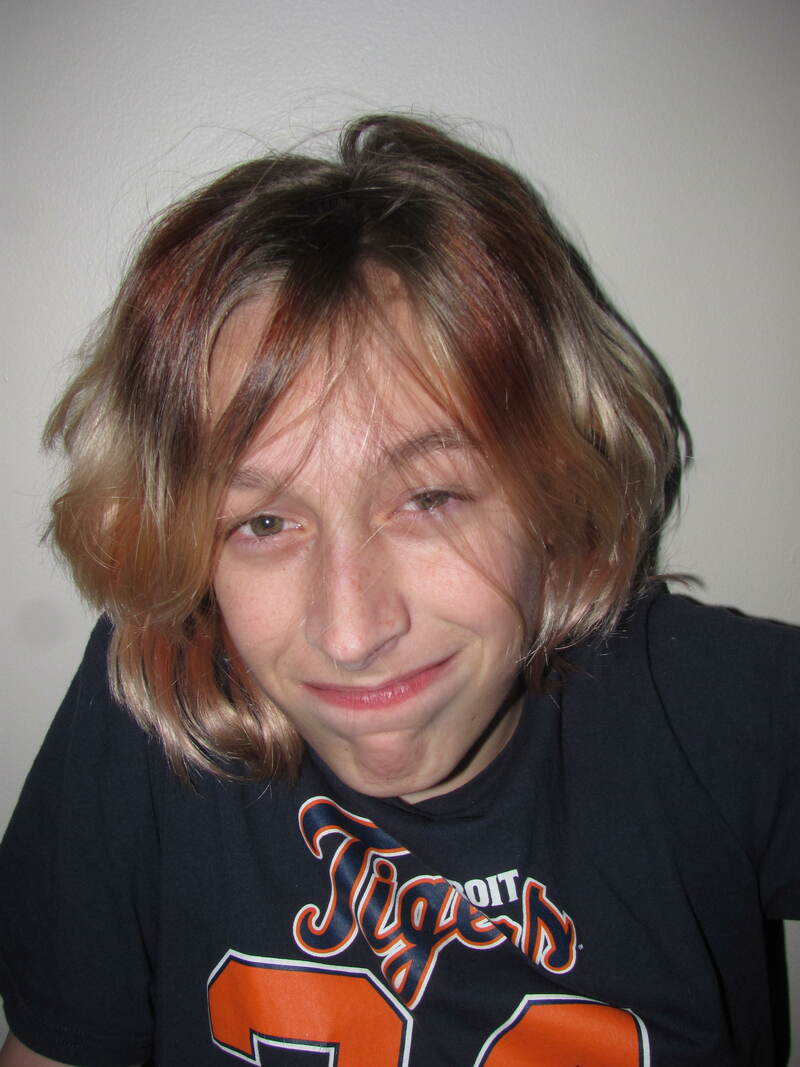
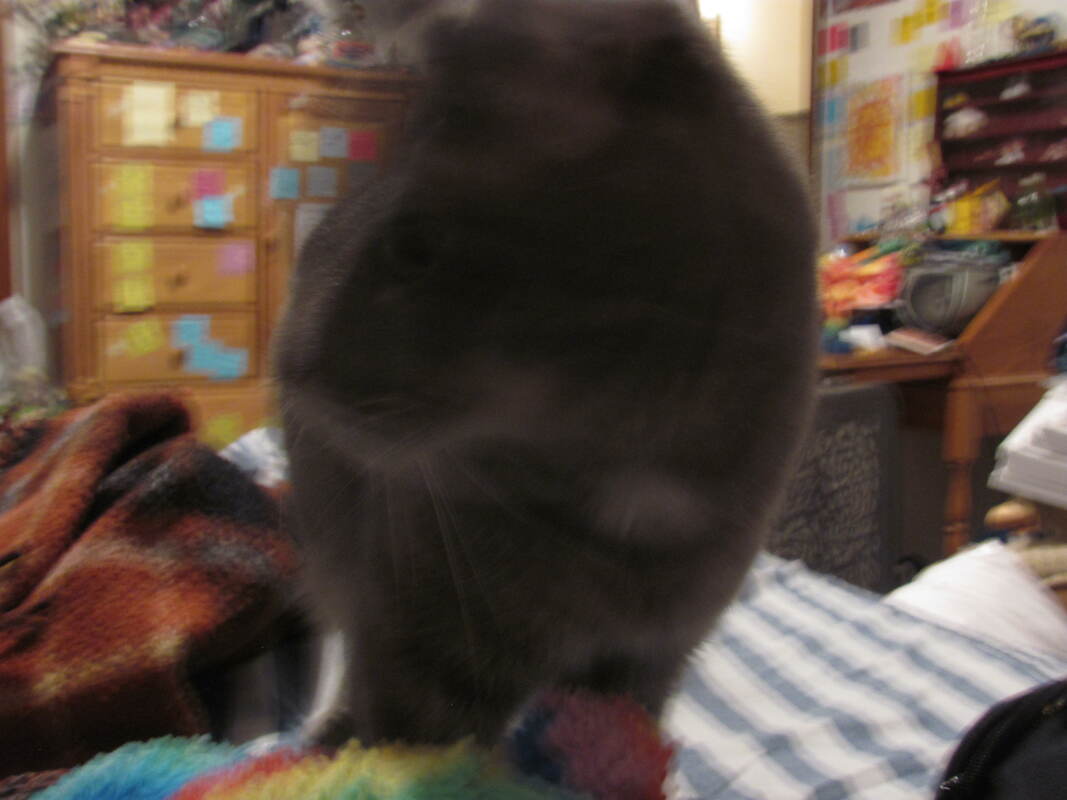
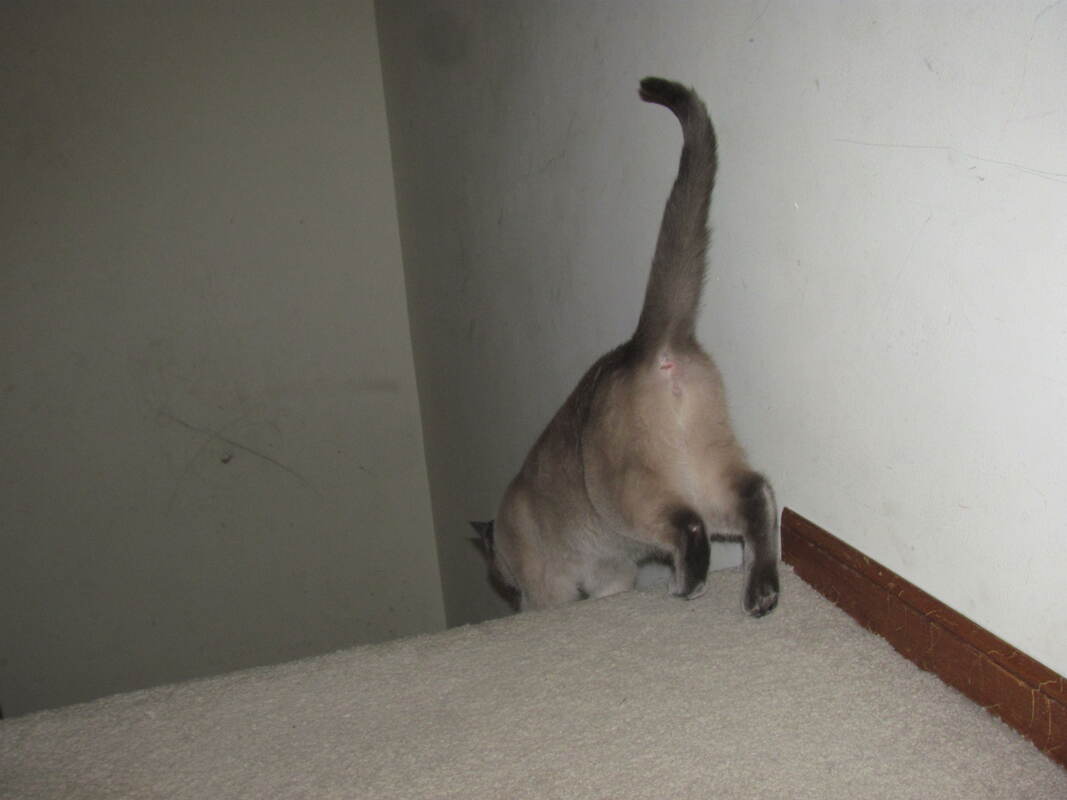
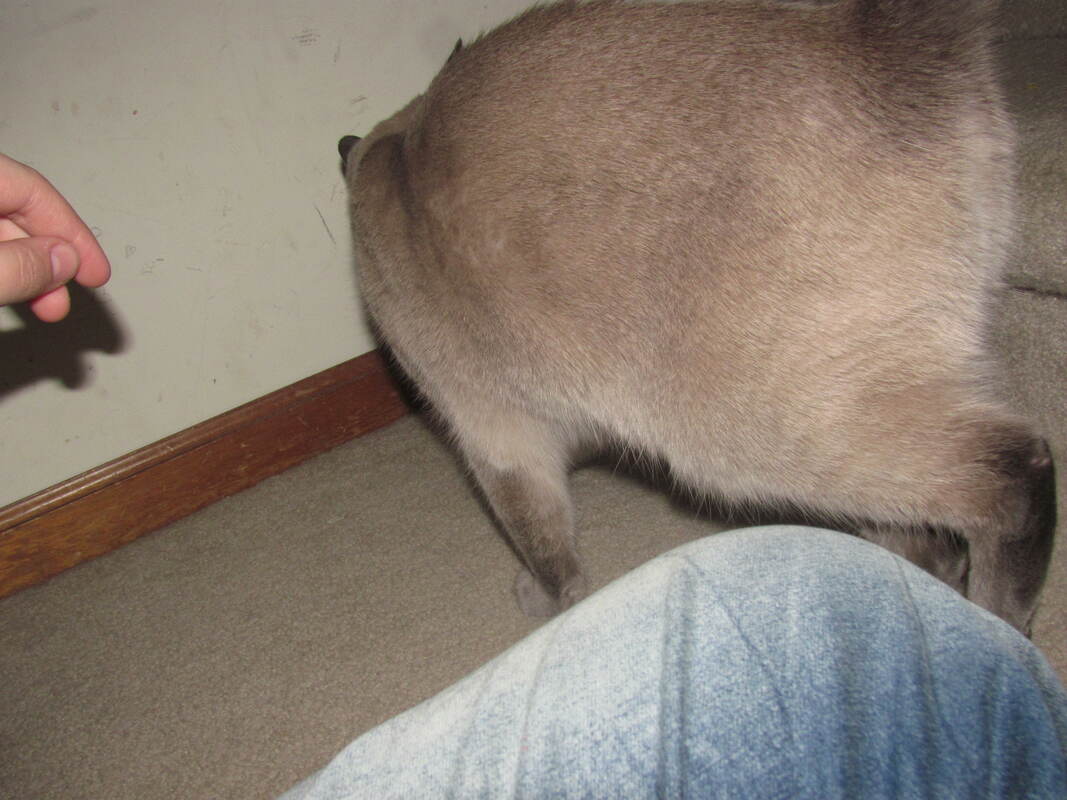
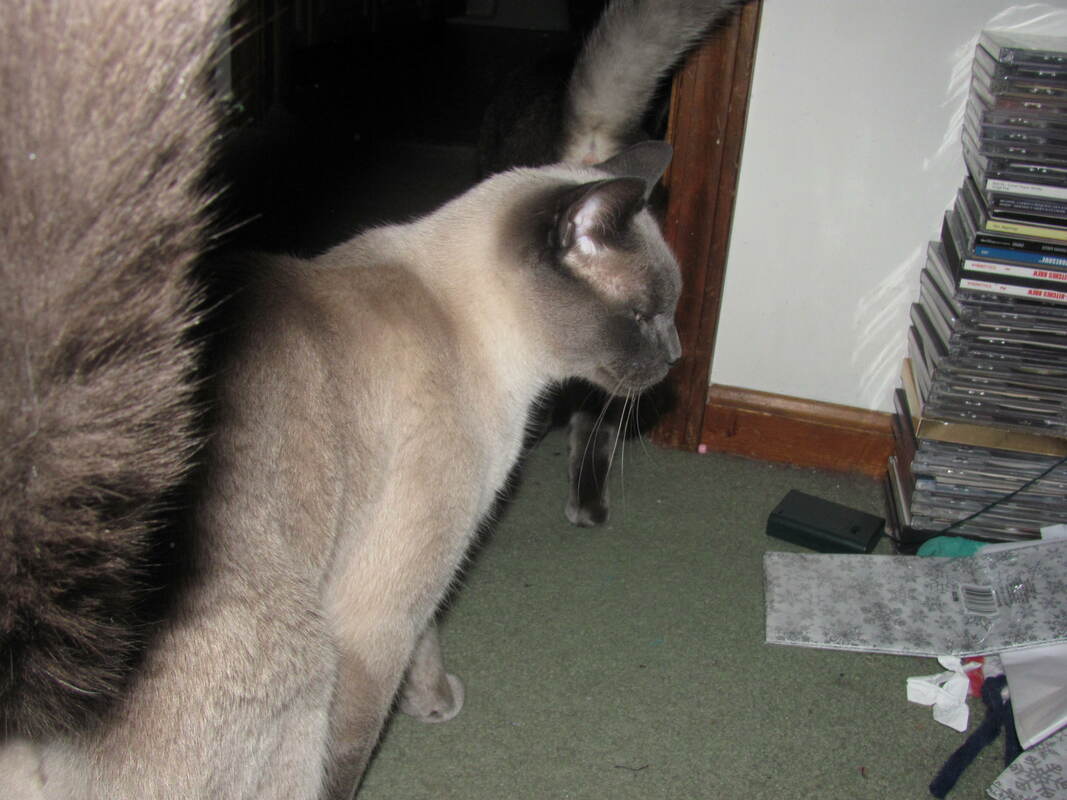
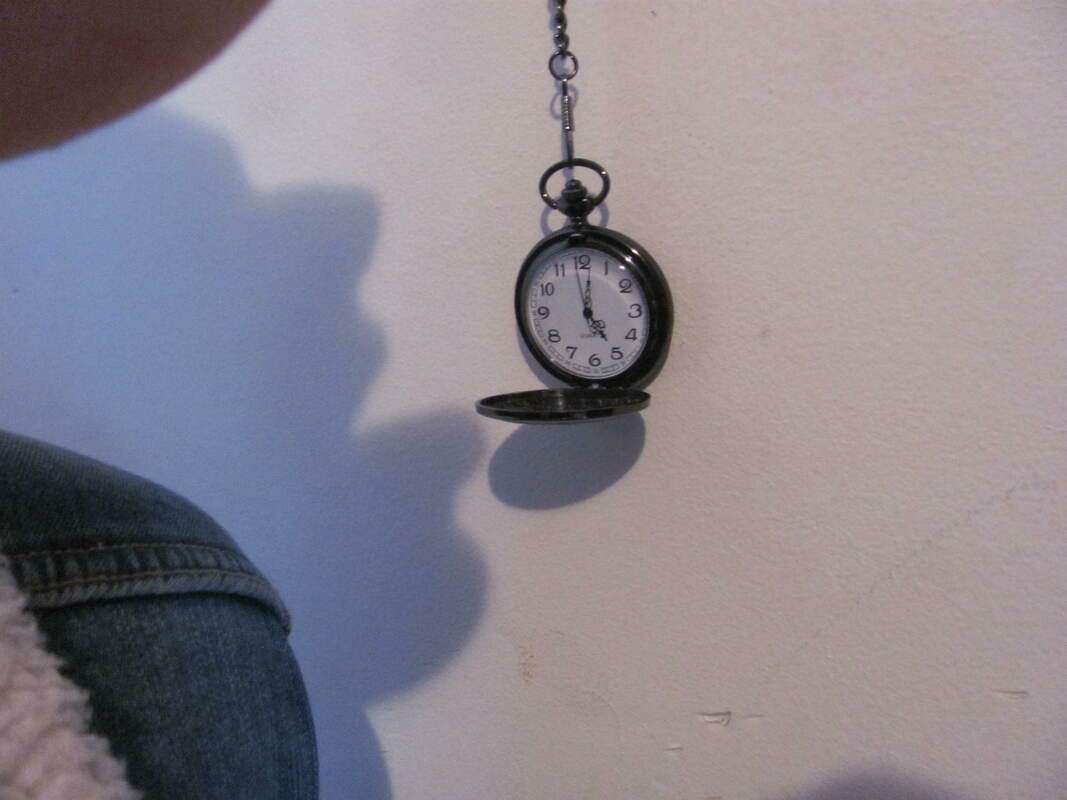
Well, the trimester is starting to wrap up now, and this means that photography is coming to a close for me, at least for now. I have learned a TON. Specifically I have learned a lot about camera settings, photoshop tools, and, of course, photo composition. The first time my teacher told us to go take pictures, it was fun, but none of my pictures were really any good because I did not even have a clue as to how I was supposed to take a decent photo. My camera settings were either in auto or poorly set, and the composition, well, it just wasn't there. The first time we used photoshop I didn't know how to do ANYTHING, but now I can go in and touch up photos, make interesting images, etc. To demonstrate my growth here are some of my worst images (both taken poorly with my camera and messed up in photoshop) from the beginning of this digital photo 1 class: To juxtapose that out of focus, poorly photoshopped mess that appears to lack any sort of compositon, here are just a few of my best photos that I've learned how to take through this class: I'd say my favorite project we did in this class was taking portraits. There's something about photographing people that just appeals to me, and I feel I did really well at that in particular. One thing that I didn't do as well in and therefore wasn't exactly my favorite was the earlier photoshop projects, simply because I didn't know how to use the tools and that time and had a difficult time trying to wrangle photoshop. But, at the very least, I think I have a decent grasp on it now. All things considered, this class has been a lot of fun, and I've learned a ton. Who knows, maybe I'll take another photography class sometime. At the very least I can move forward with knowledge of how to take decent photos and use photoshop.
0 Comments
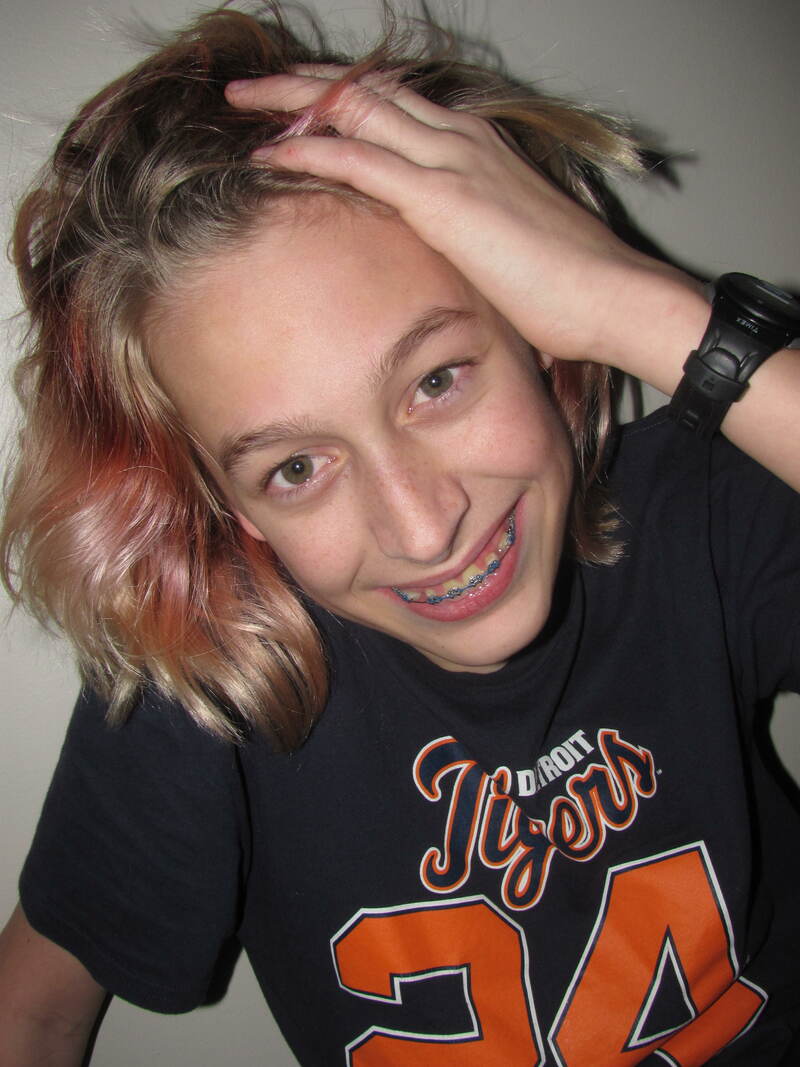
For this assignment we were asked to take two portrait shots, one taken in our class's makeshift studio, and the other in a non-studio environment with a bounce-card to reflect the sunlight. Here are the final edited photos I took: 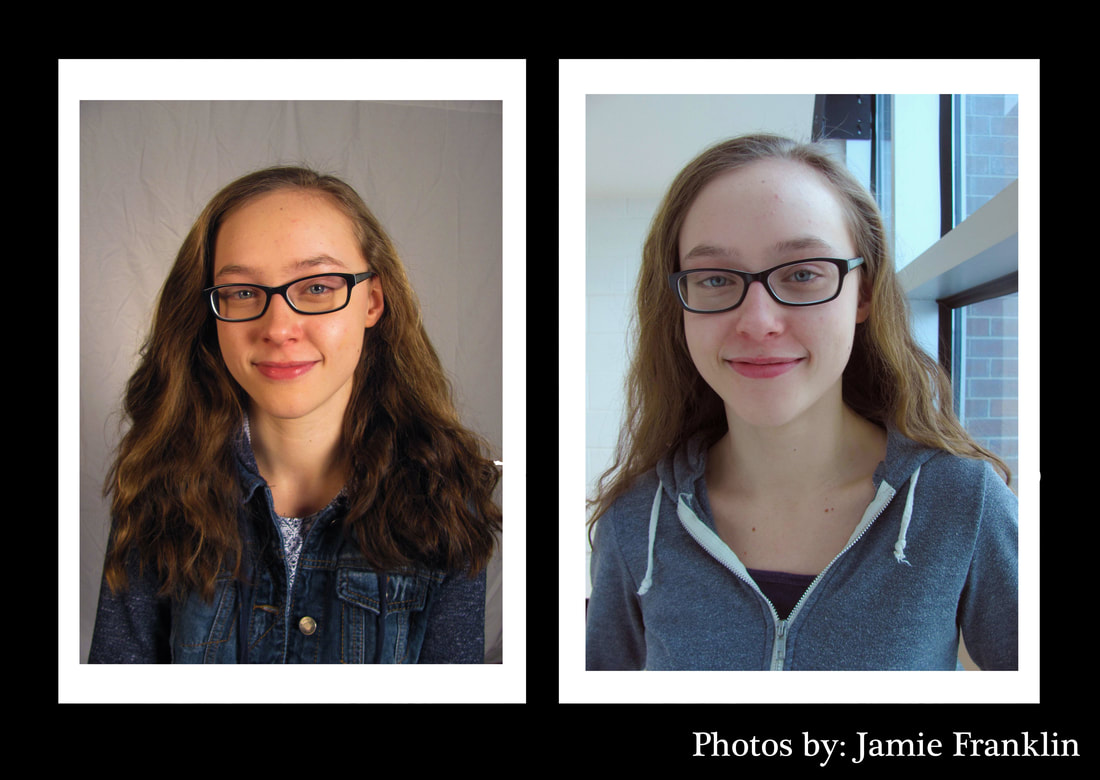 Here are the unedited versions of my two photos: 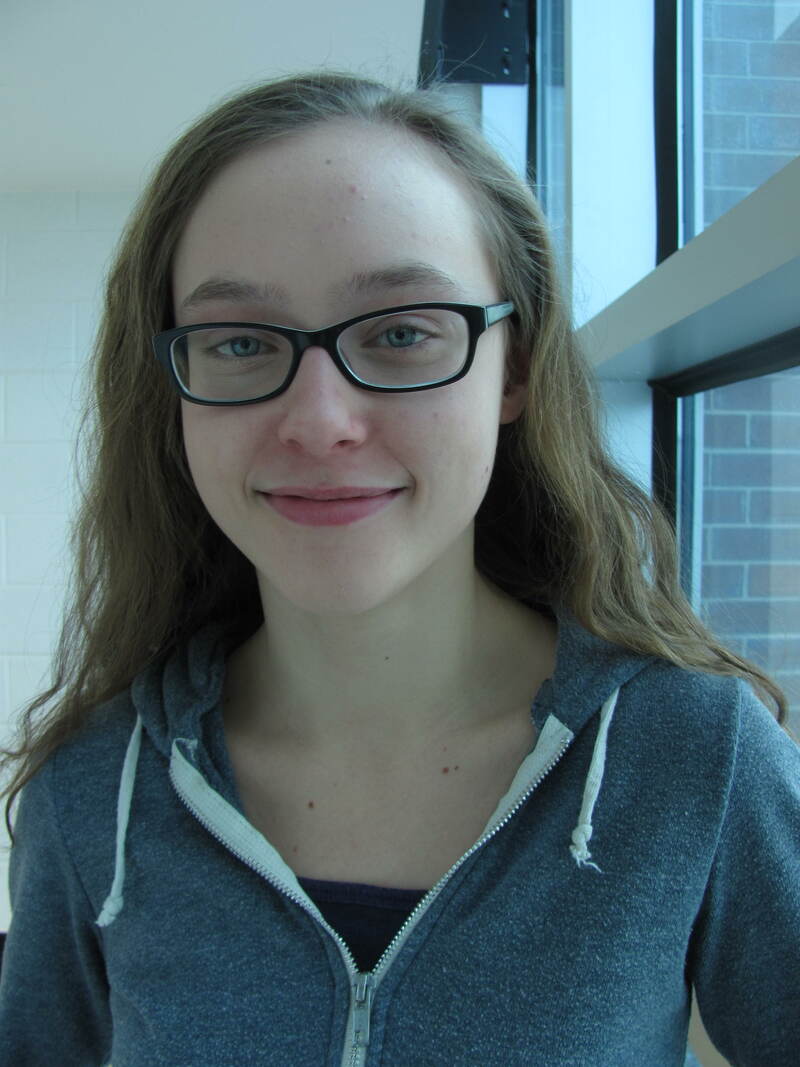 The above photo was taken with my aperture at f2.8, my shutter speed at 1/30, and my ISO at 80. 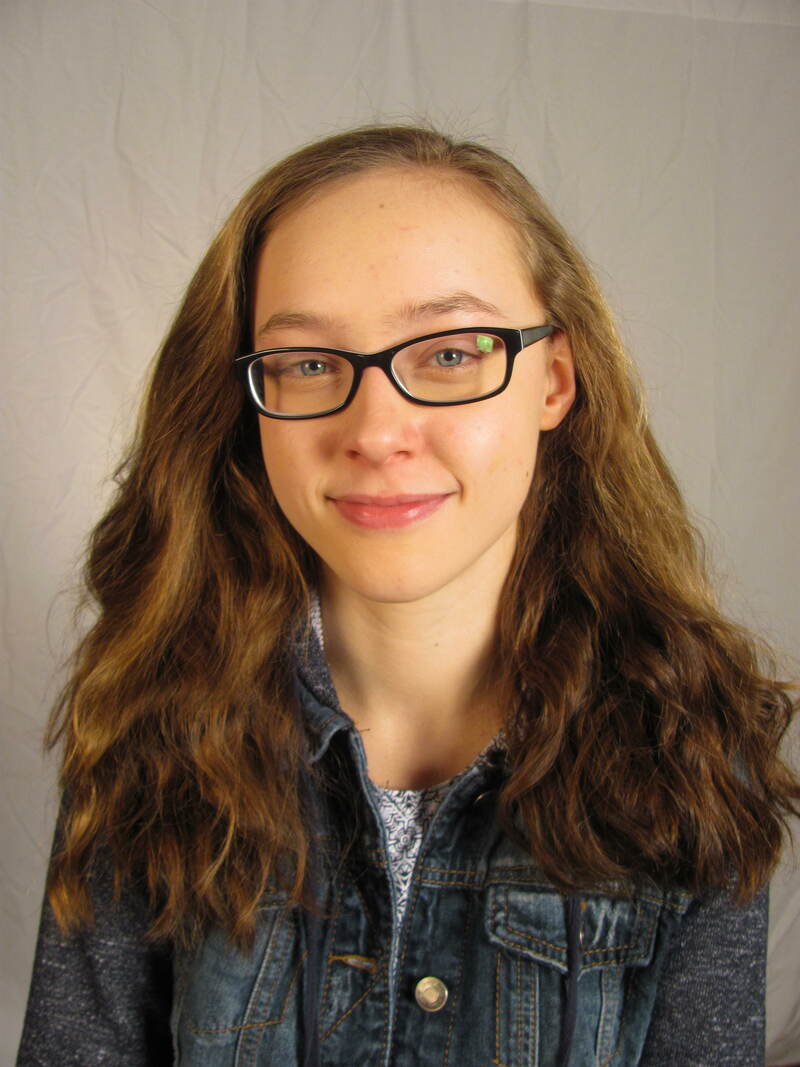 The above photo was taken with my aperture at 2.8, my shutter speed at 1/25, and my ISO at 100. In this assignment I learned a lot about how to manipulate light to flatter a subject, as well as how to simply take good portrait shots of someone.
For this assignment we had to create image collages in photoshop to represent two dictionary words, as well as image collages to represent three puns. Here are mine:   I used the words "prosopagnosia" and "hippopotomonstrosesquippedaliophobia" for my visual dictionary. For my puns I did "grace notes," "without music, life would be flat" and "under arrest." It was an interesting learning experience to try to figure out what sorts of verbal/written things I could express visually.
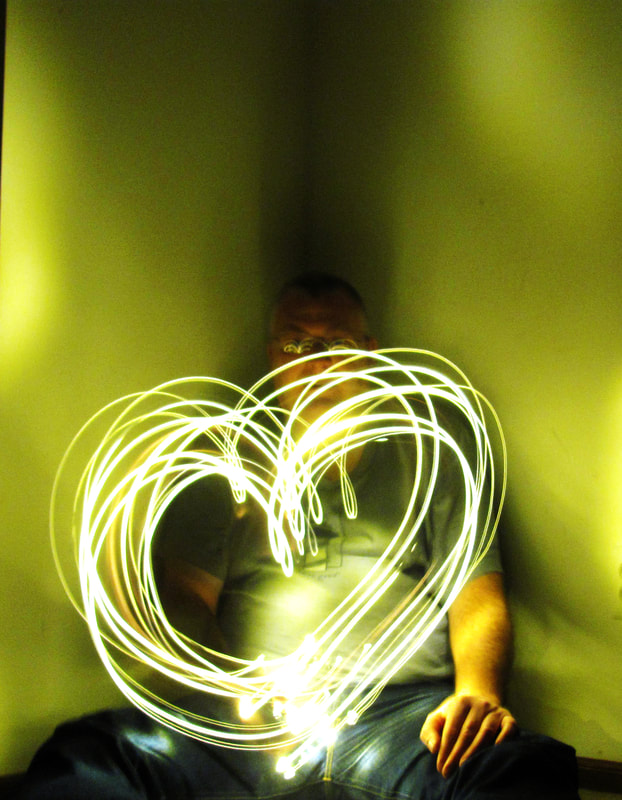
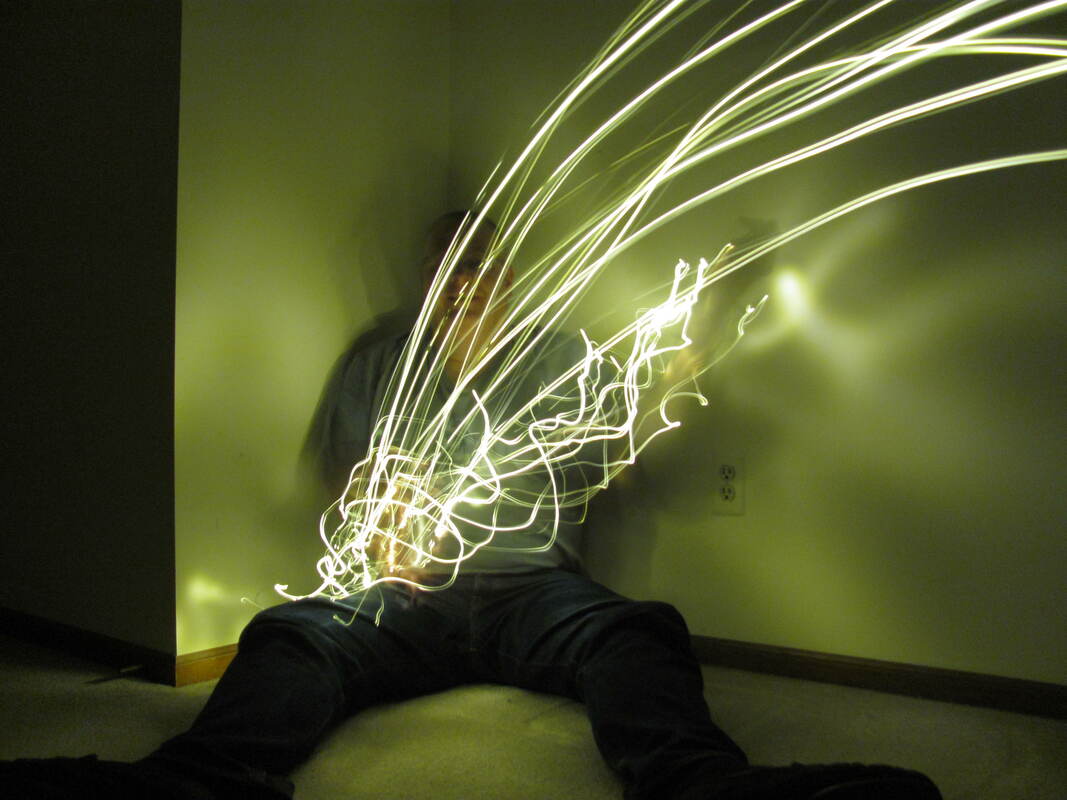
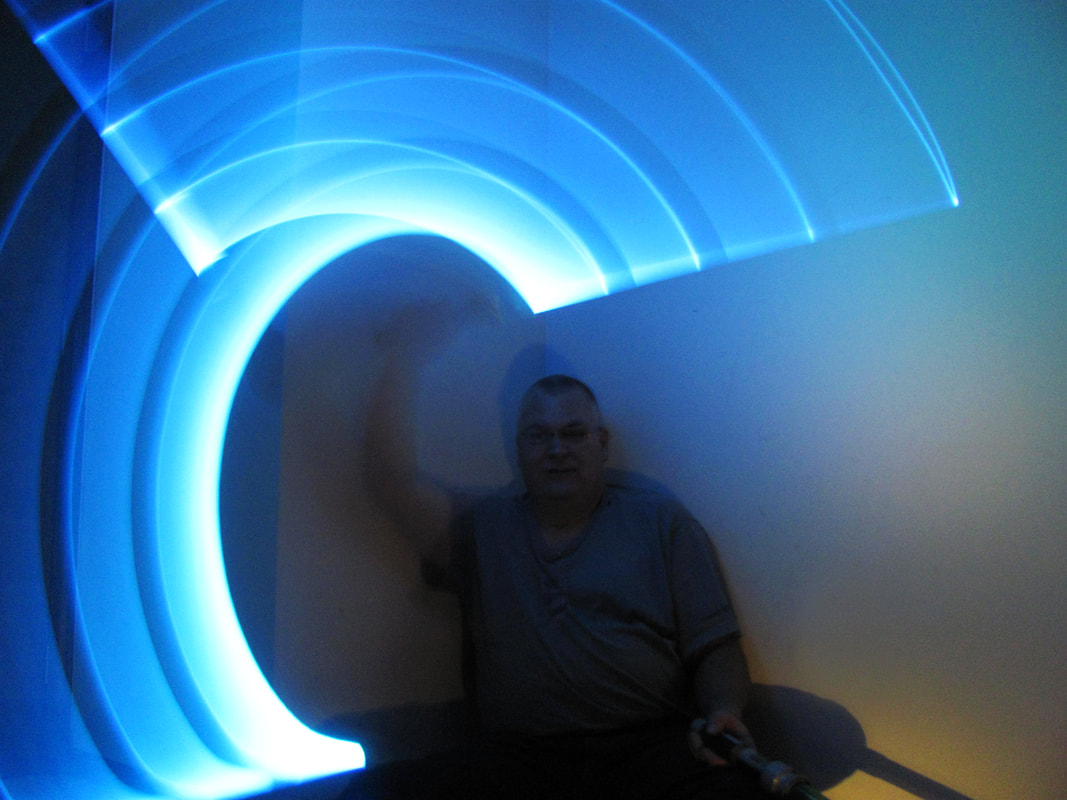
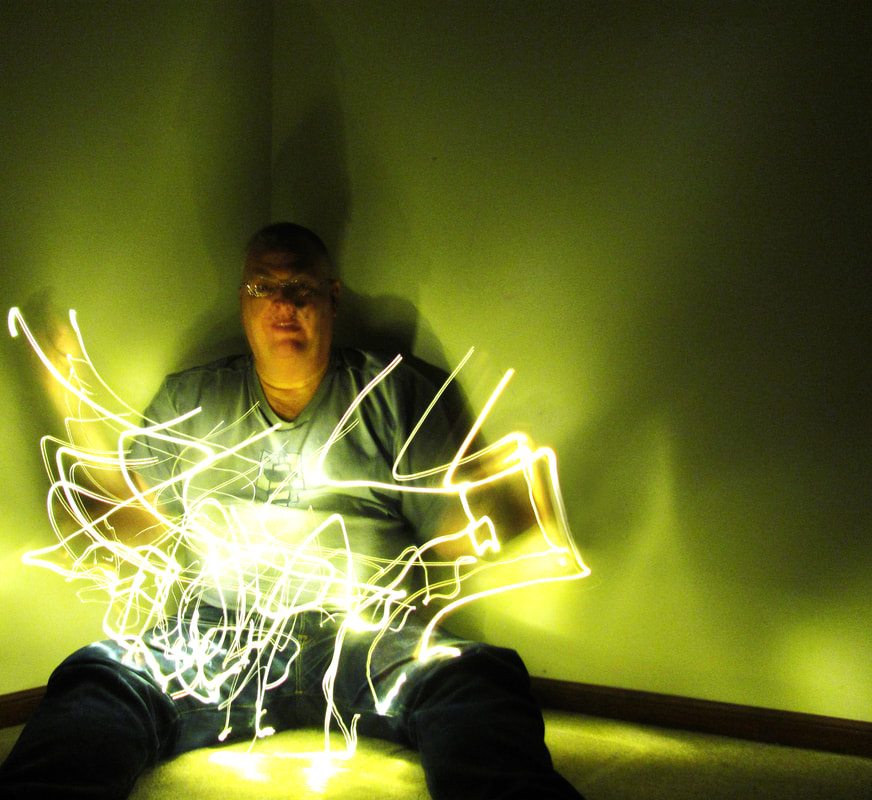
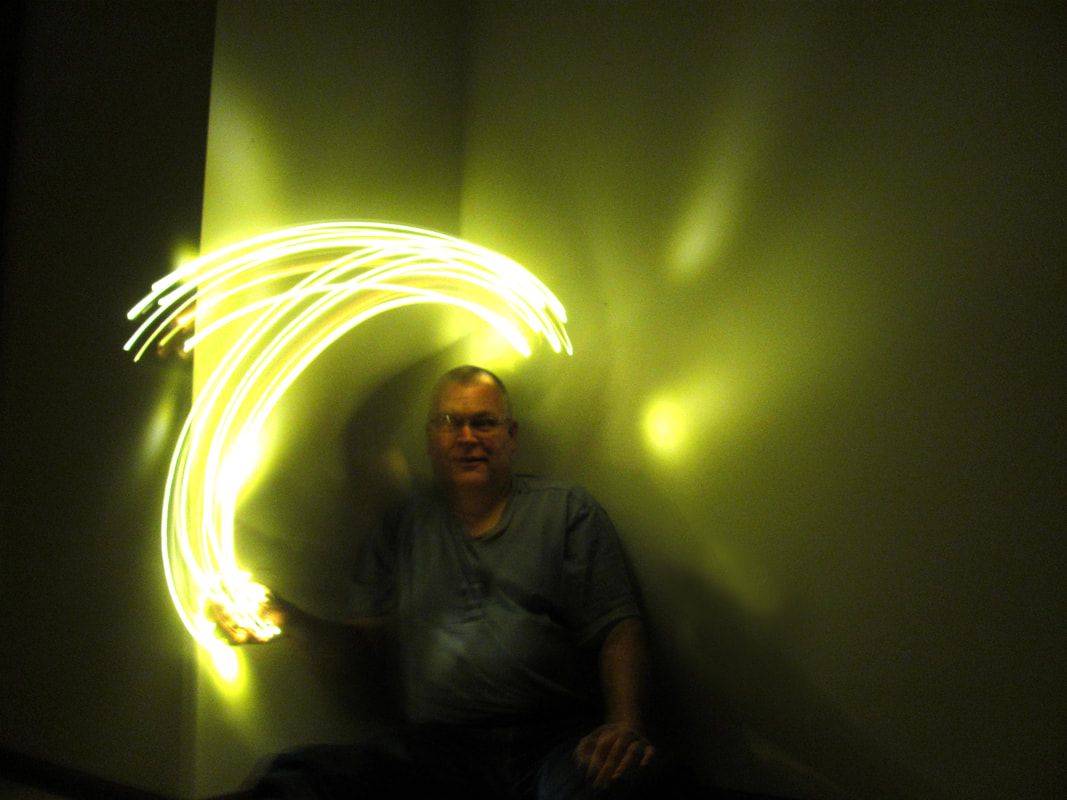
In this assignment, we were asked to do "light painting" which is where you turn your shutter speed incredibly longer on your camera and move lights during the exposure time to create a picture. Immediately, I wanted to create a magical effect on my model, almost like witchcraft. Here's my final result: 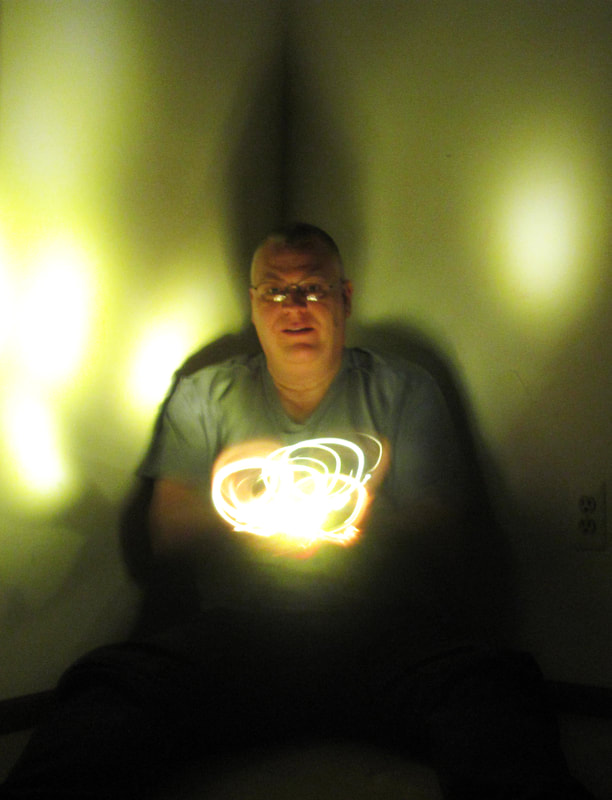 I did some editing in photoshop to crop it and make the contrast better. Here's the unedited photo, taken with my camera settings at f2.8, a shutter speed of s.5 seconds, and an ISO of 200. 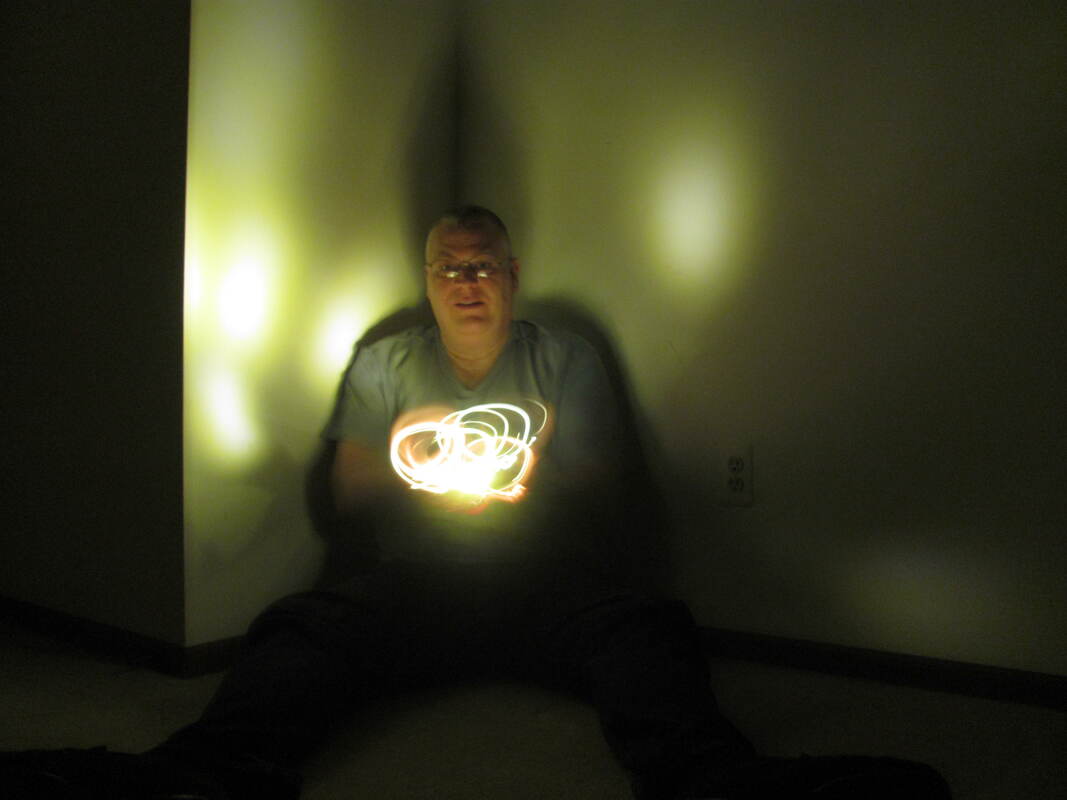 Here are five more of my best light painting photos: All things considered, I learned a lot through this assignment. Light painting was a lot more difficult than I expected it to be, but at least it was fun and I did my best.
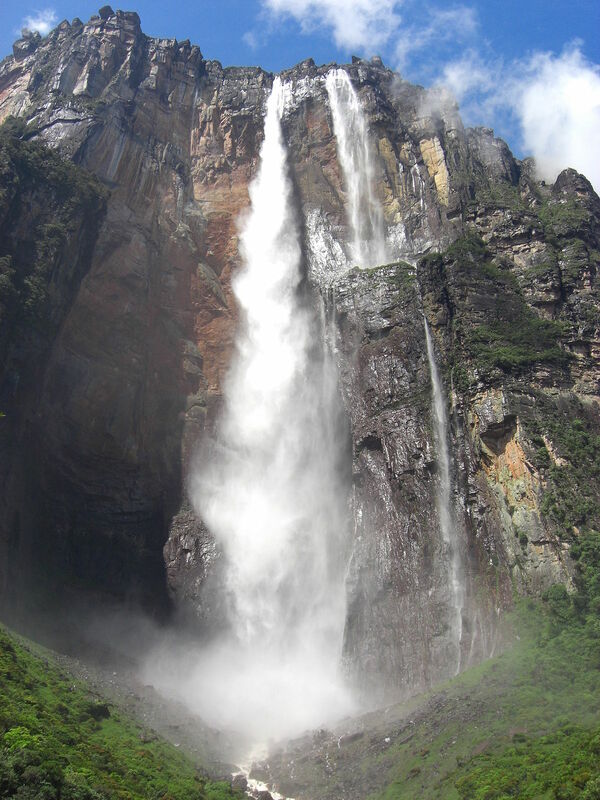
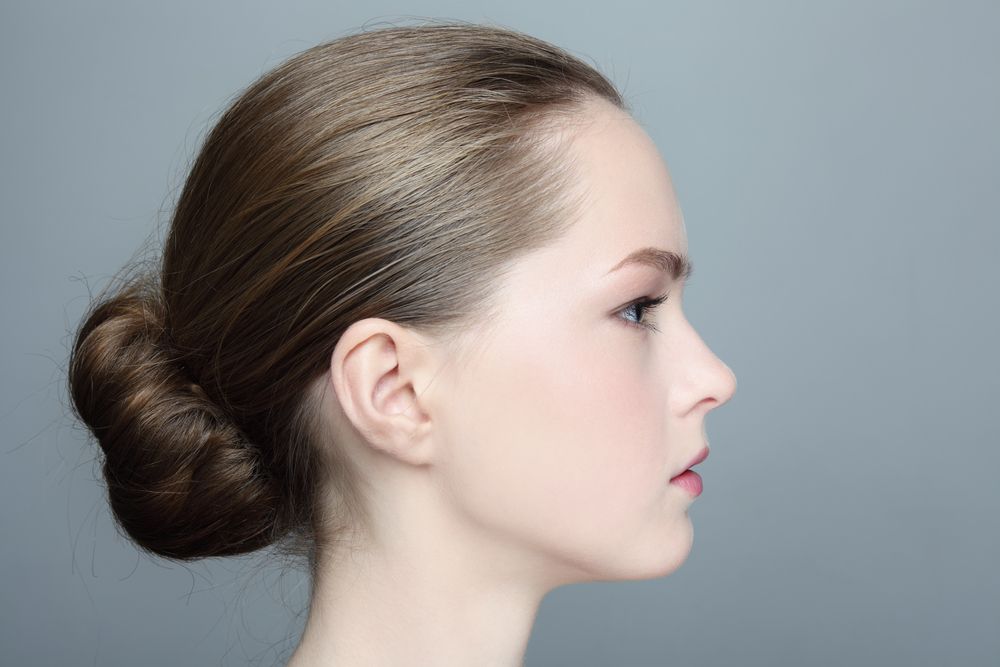
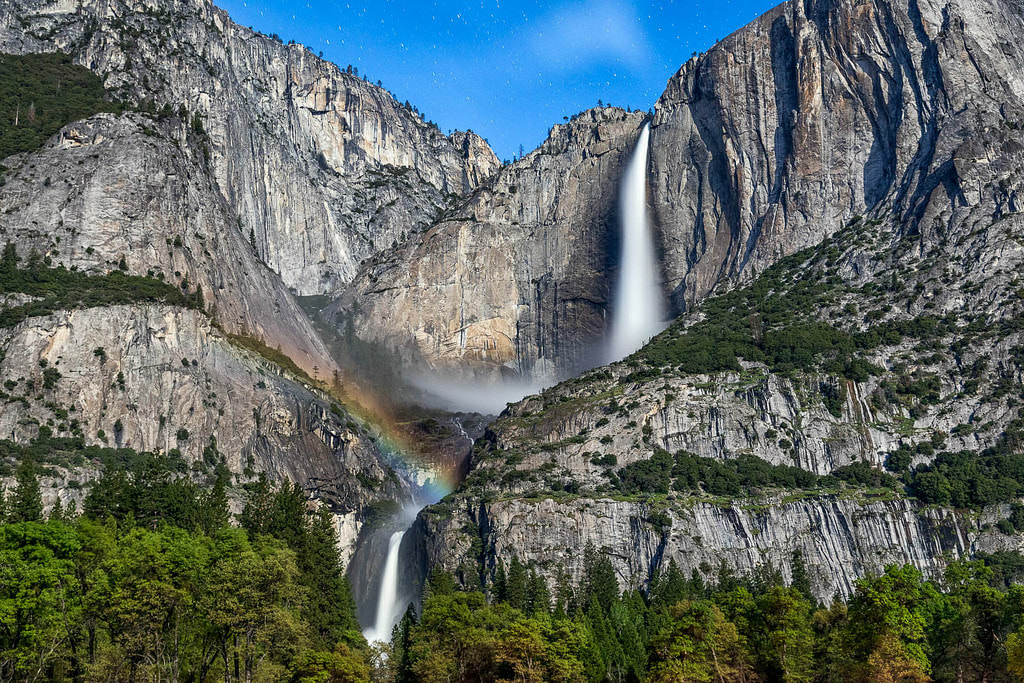
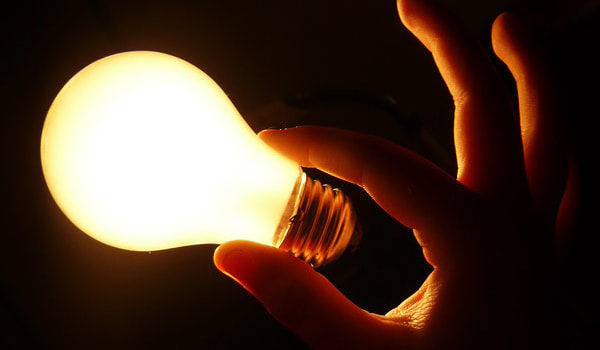
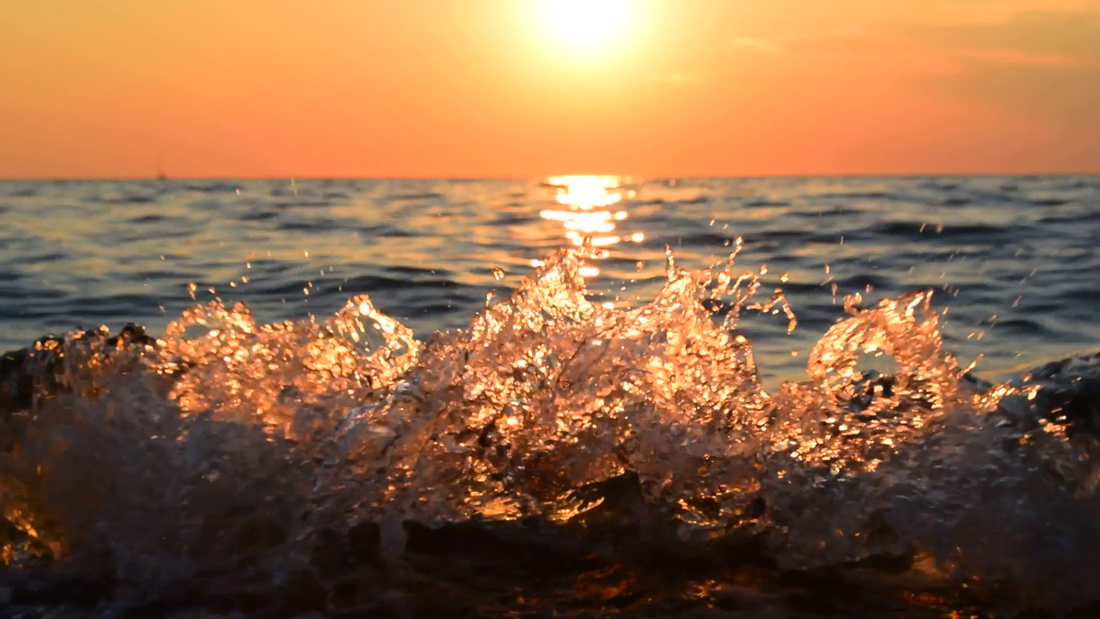
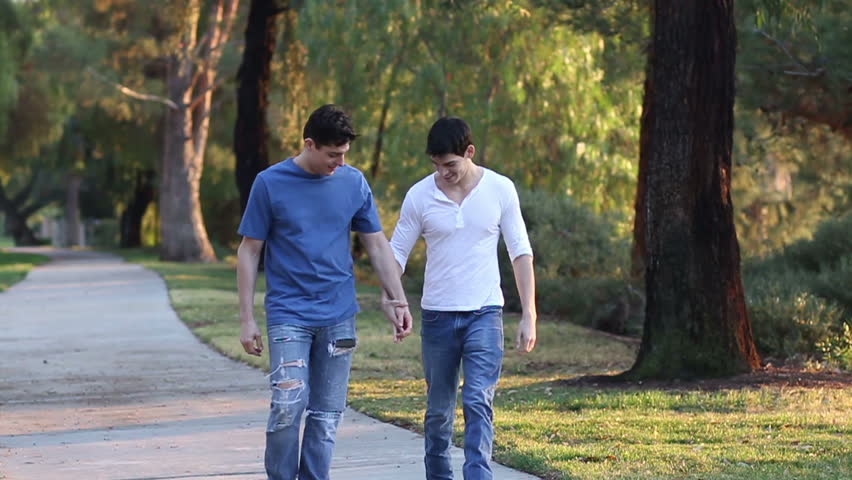
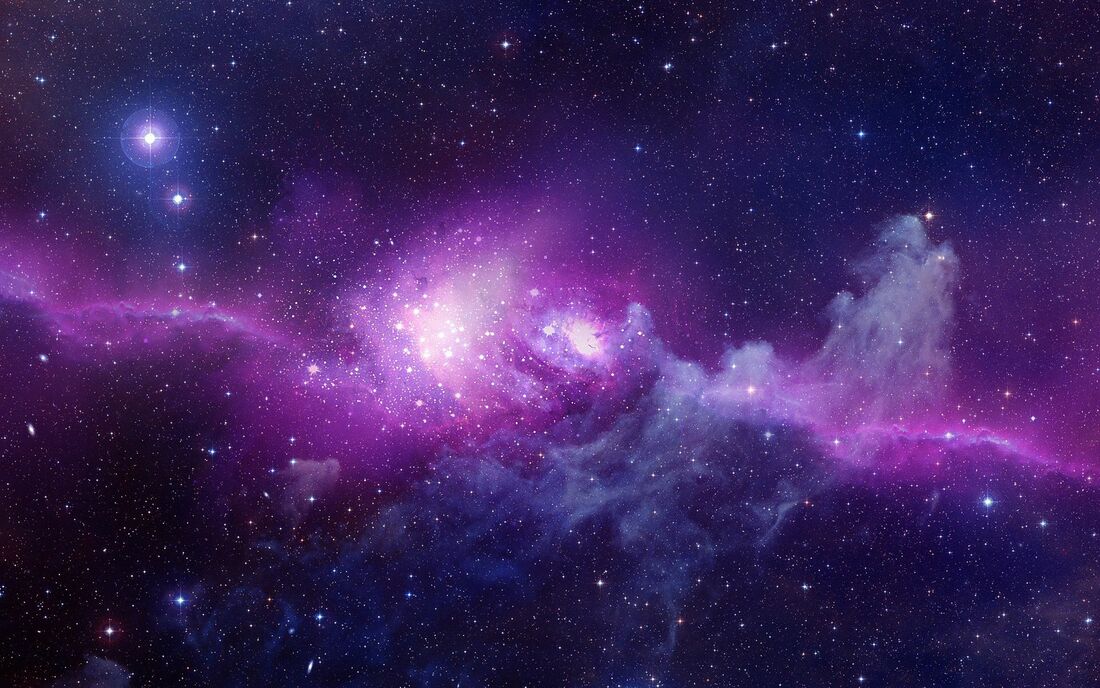
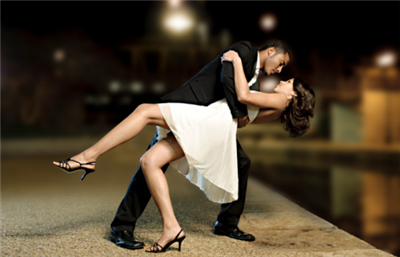
Pop of Color:We were asked to use photoshop to create an image that is almost entirely black and white, save for some small "pops" of color. Here's mine! 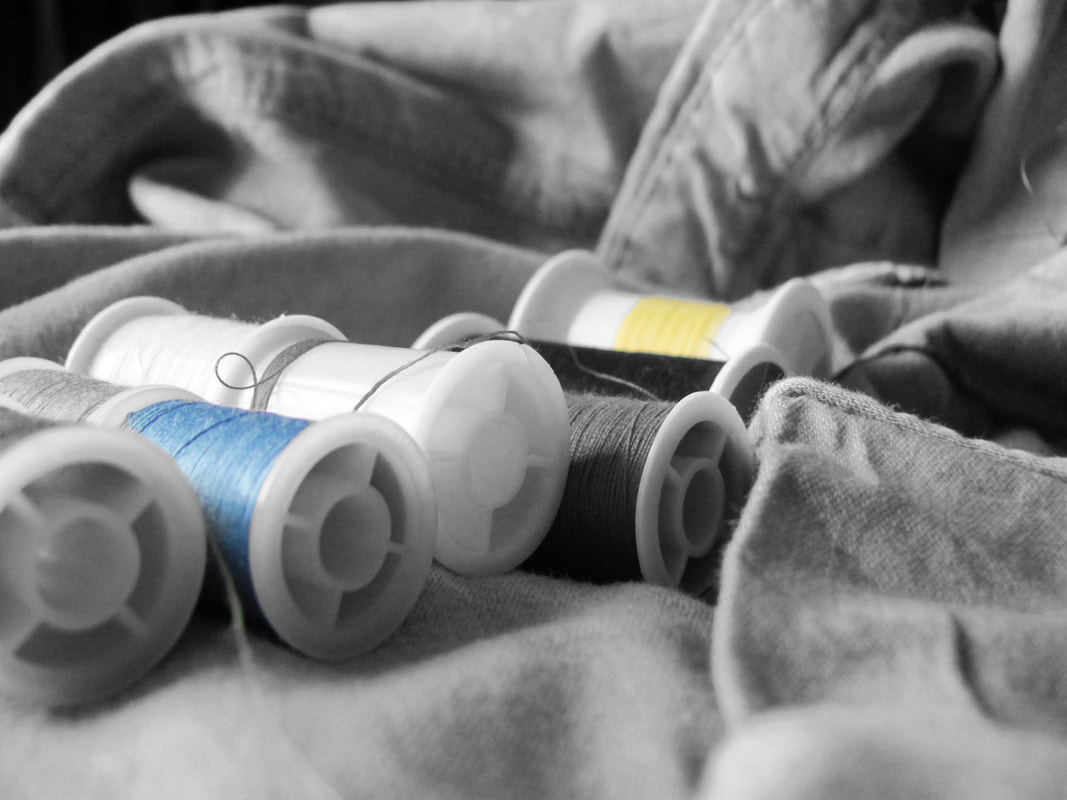 Faces in a Tree:In this tutorial, I learned how to make it seem as if there were faces that were part of a tree. Here's my first attempt: 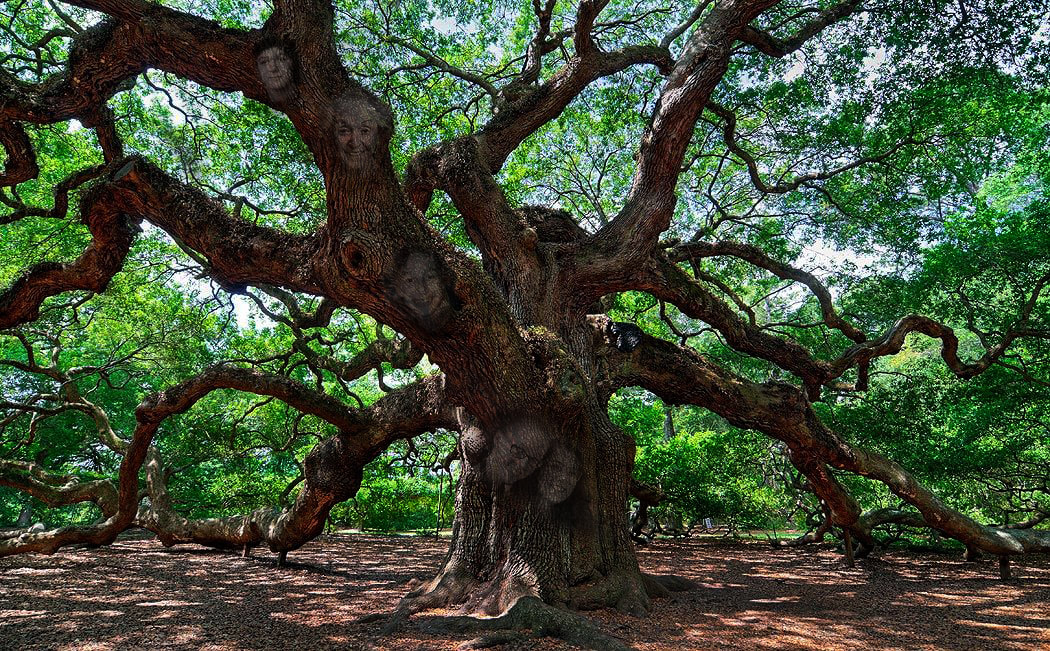 I wasn't very satisfied with how this looked, so I went and I tried again, using my new knowledge on how to put faces in a tree, and I made something that looks significantly better. Here is that: 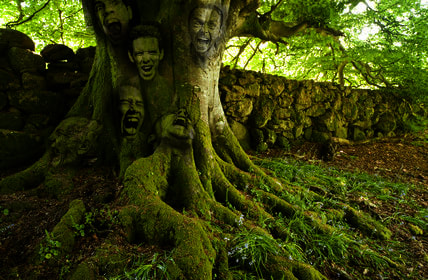 Here are the original pictures I used to create these rather frightening images in these trees: I used this tutorial for this: https://www.youtube.com/watch?v=PeviUm_9RuE Double Exposure Effect:I used this tutorial at https://www.youtube.com/watch?v=iOYz669WNpU&t=154s to create the double exposure effect of having two images overlapping in a specific way. I wanted to have a waterfall pouring into the top of somebody's head with mine. Here is my first attempt: 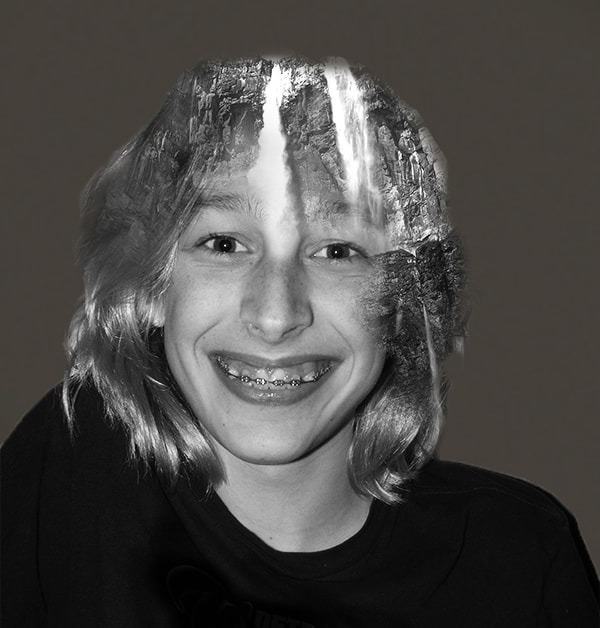 However, similar to my experience with the faces in the tree, I was unhappy with this final result. So, I tried again, to much better results: 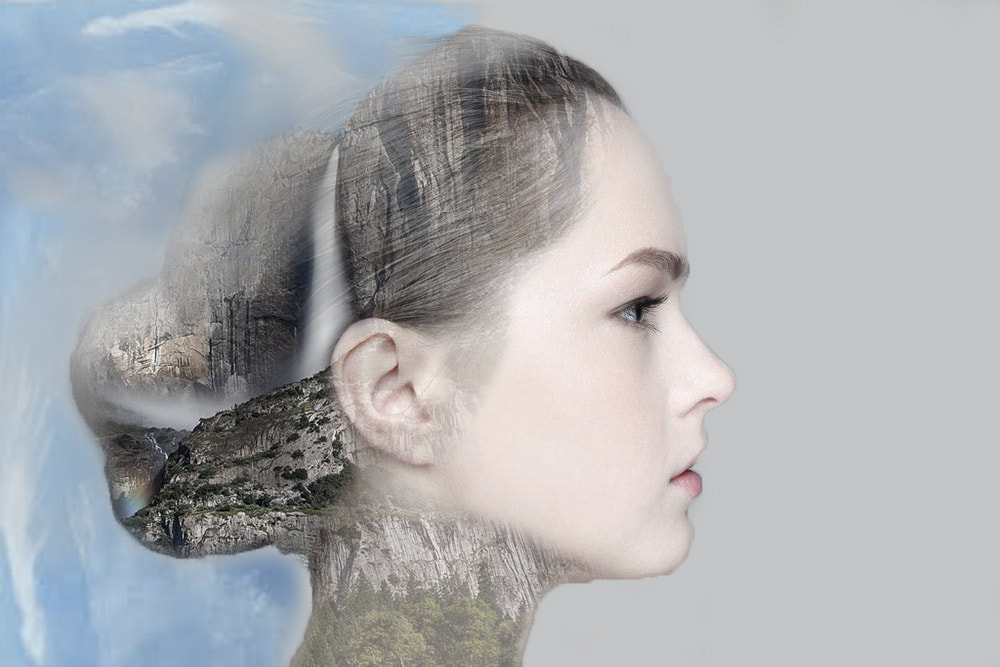 Here are the original images which I edited to create these vastly different results: Smokey Head:I used the tutorial at https://www.youtube.com/watch?v=NSJHup4R9sE to create this cool smoke effect with this woman's head: 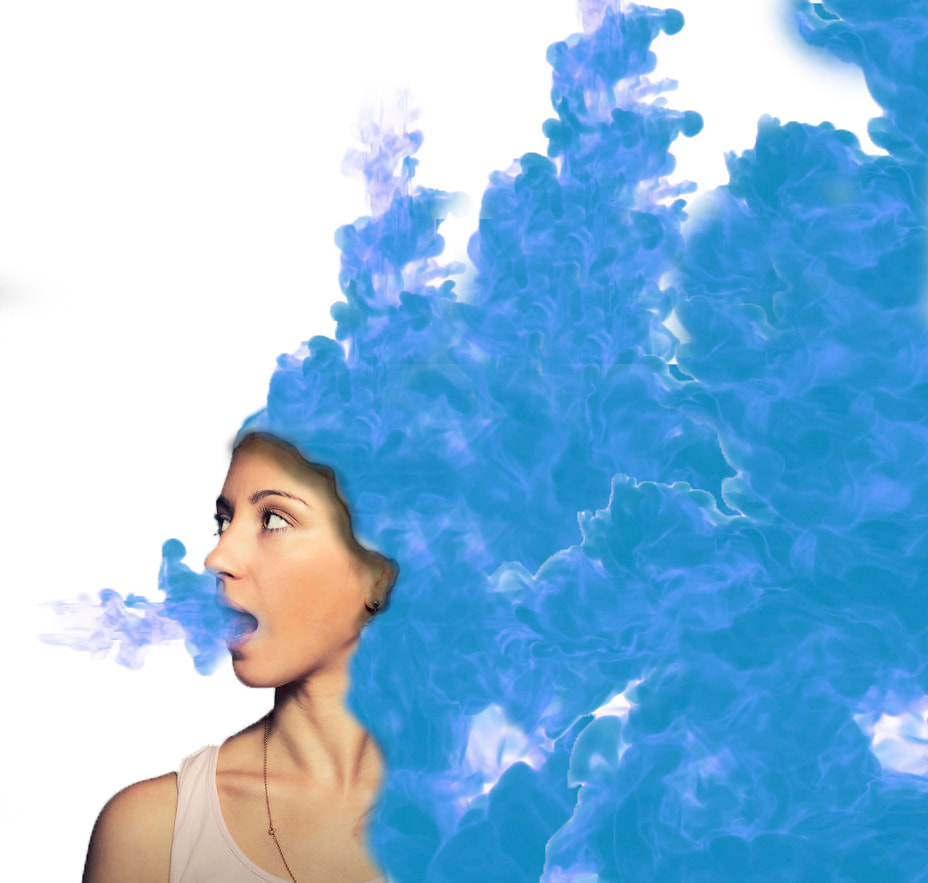 Here's the original picture I used: 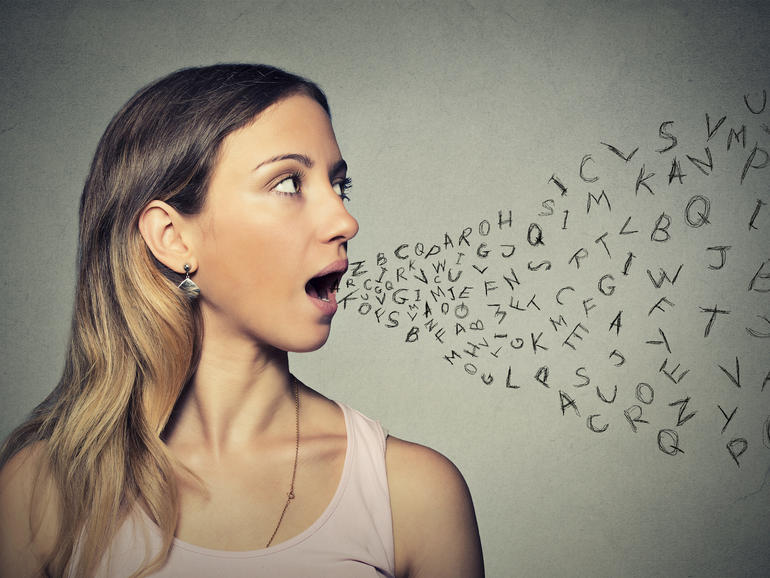 Water Splash Lightbulb:I used this tutorial at https://www.youtube.com/watch?v=XnzGFtUevts to create this cool effect of an ocean in a lightbulb. I decided to make mine sunset: 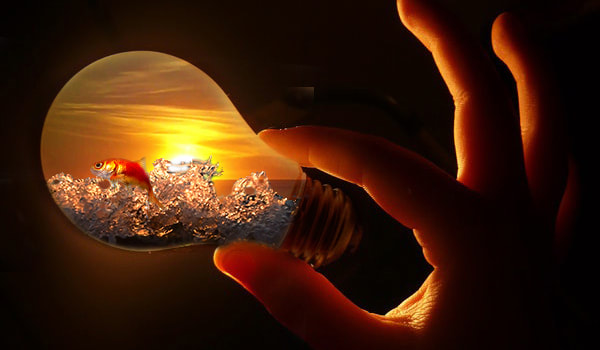 Here are all the original pictures I used: Animated Silhouette Effect:Using the tutorial found at https://www.youtube.com/watch?v=xWPBf3rzMCc I created an animated silhouette of a couple against a starry background. Here are my results: 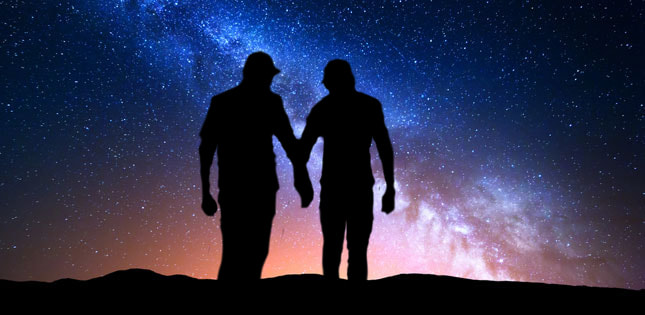 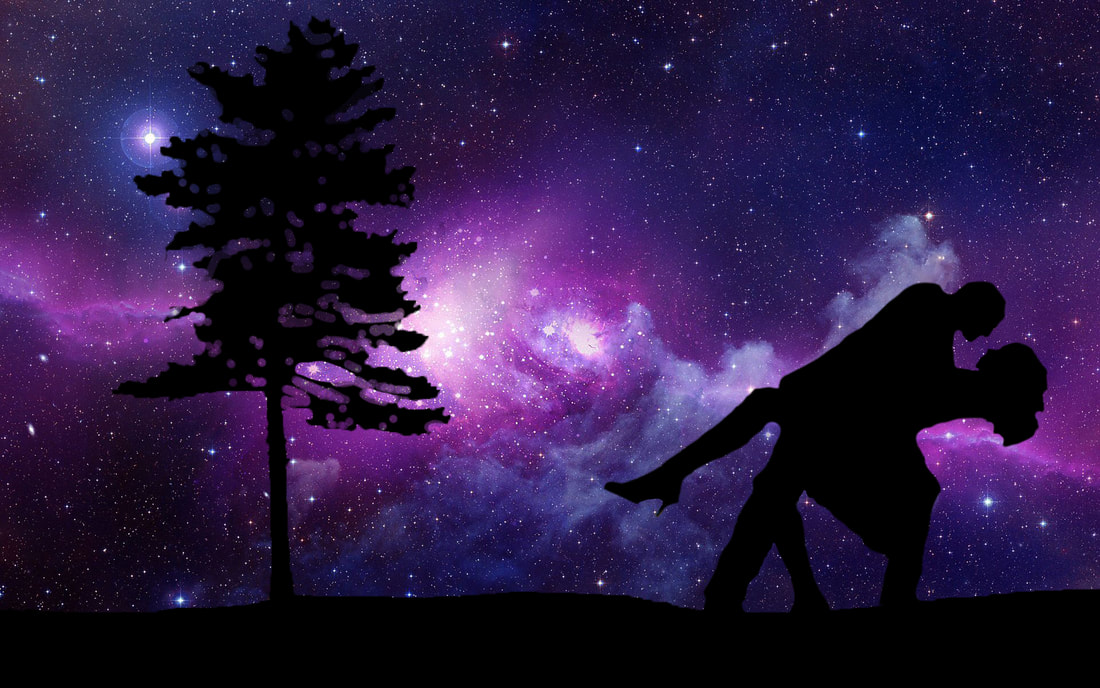 Here are the original pictures I used to create these: I learned a lot in completing this assignment, and all of it pretty much on my own. There's a big difference between watching a tutorial and actually trying to follow it, and sometimes when the creator of the tutorial has a different photoshop than I do, I have to figure out how to imitate their actions via some other method.
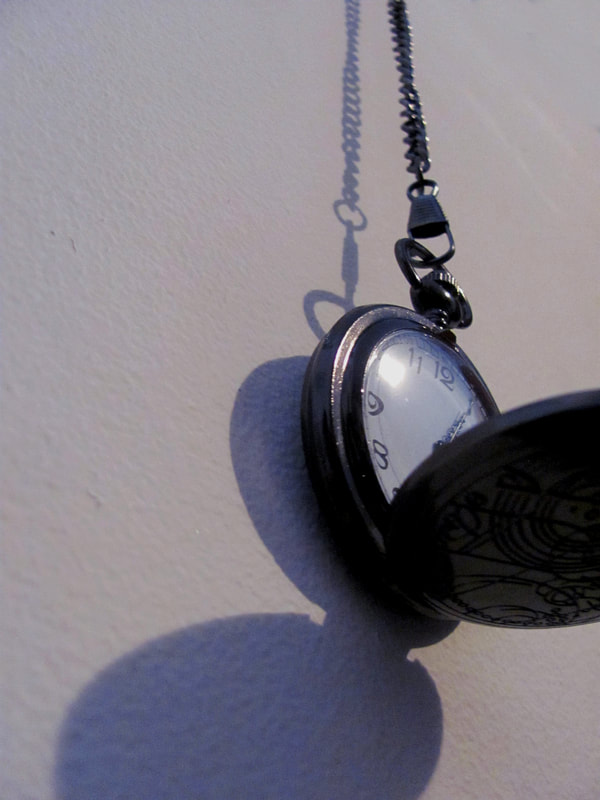
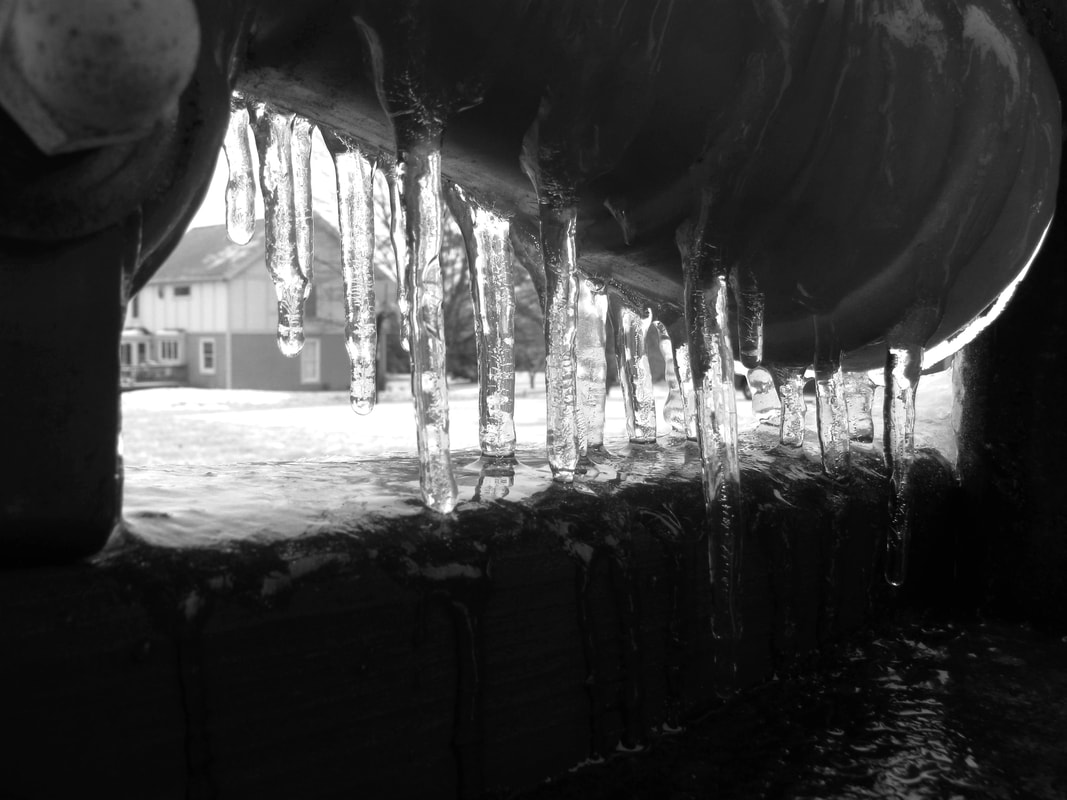
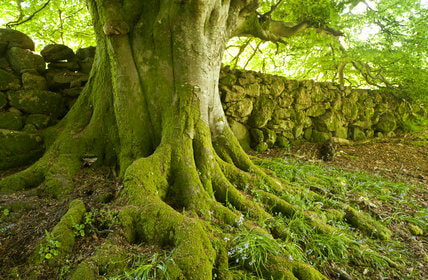
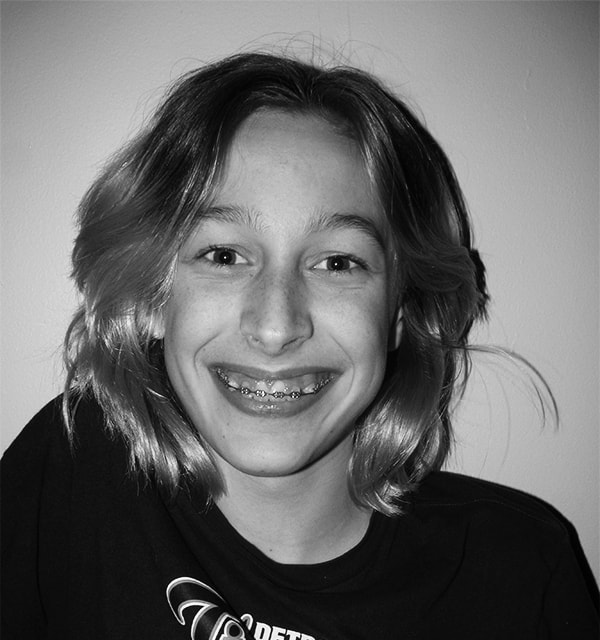
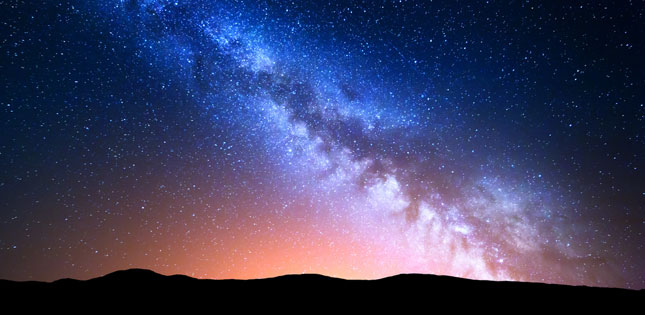
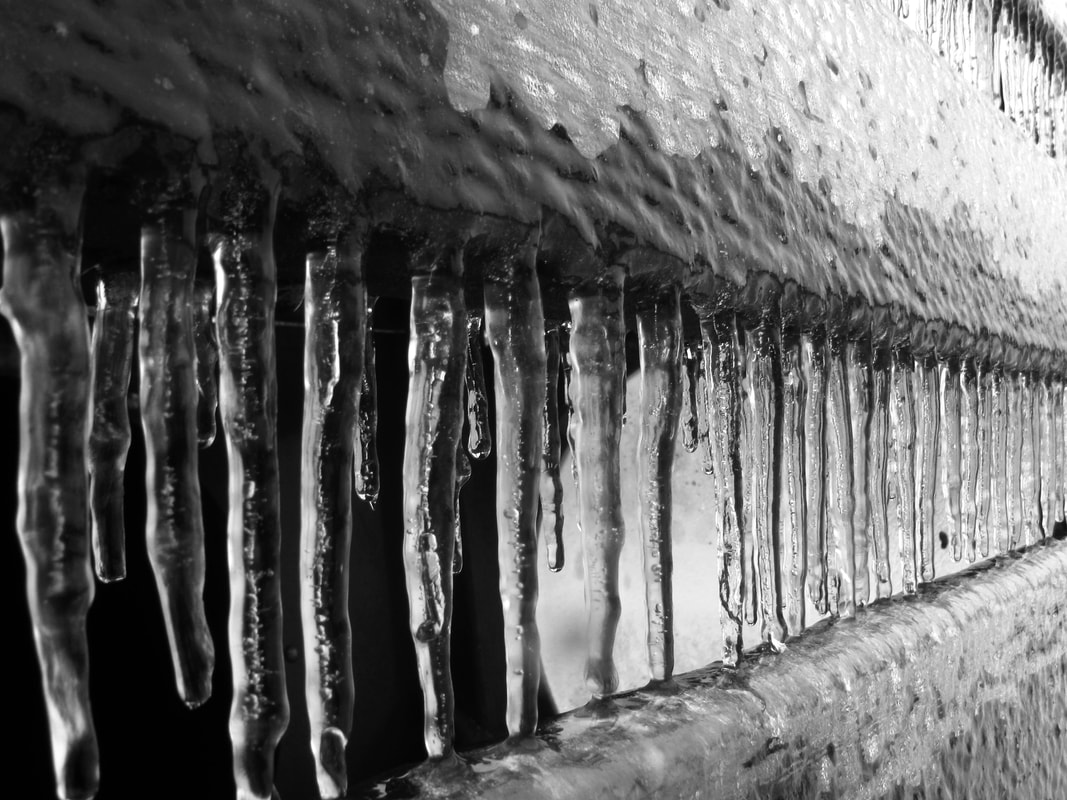
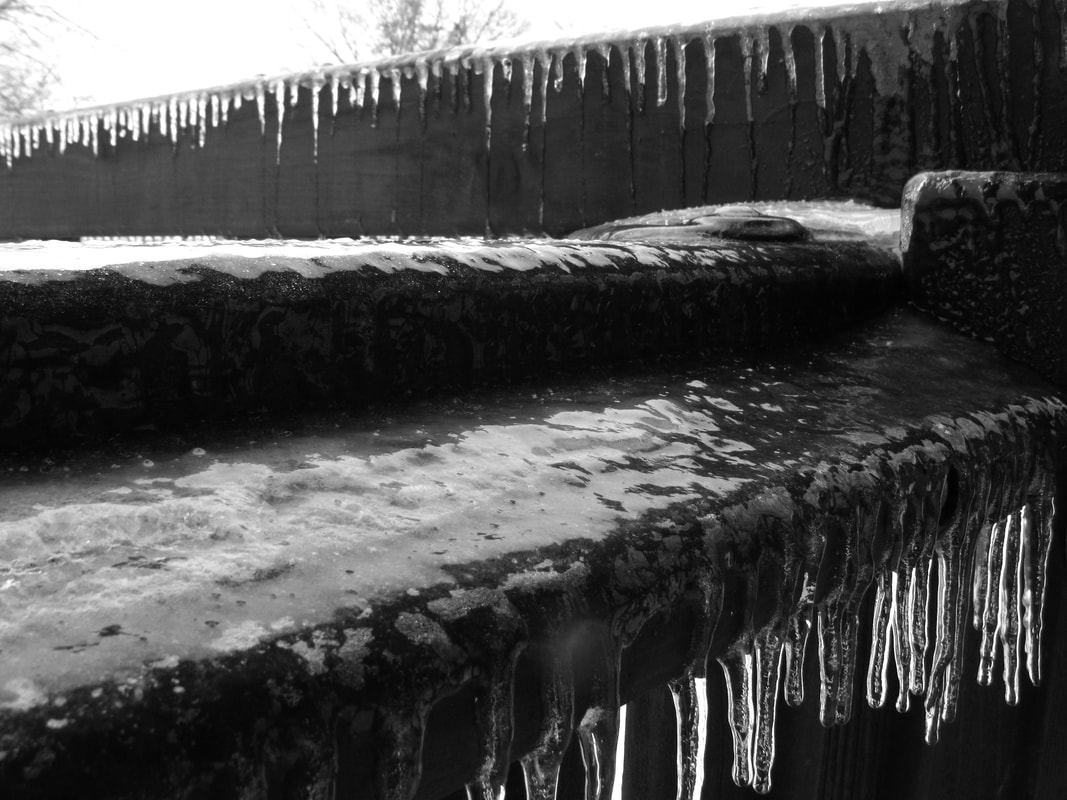
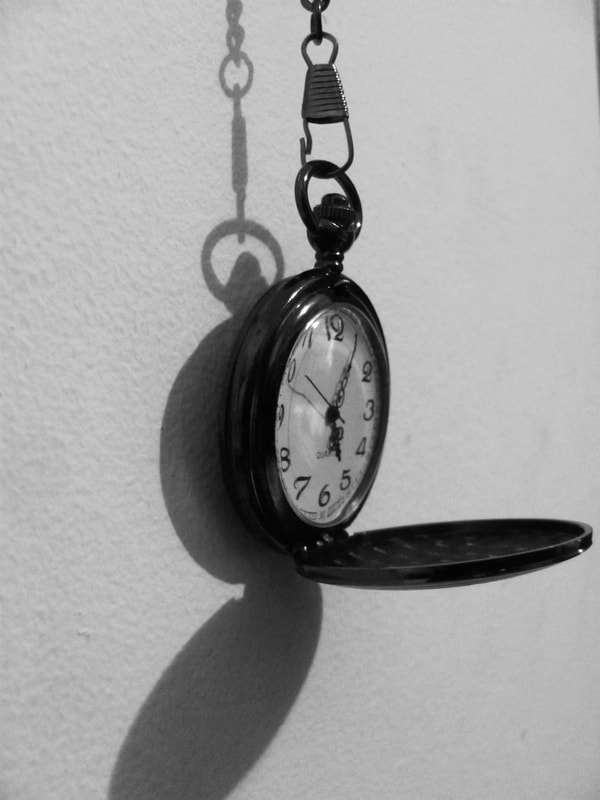
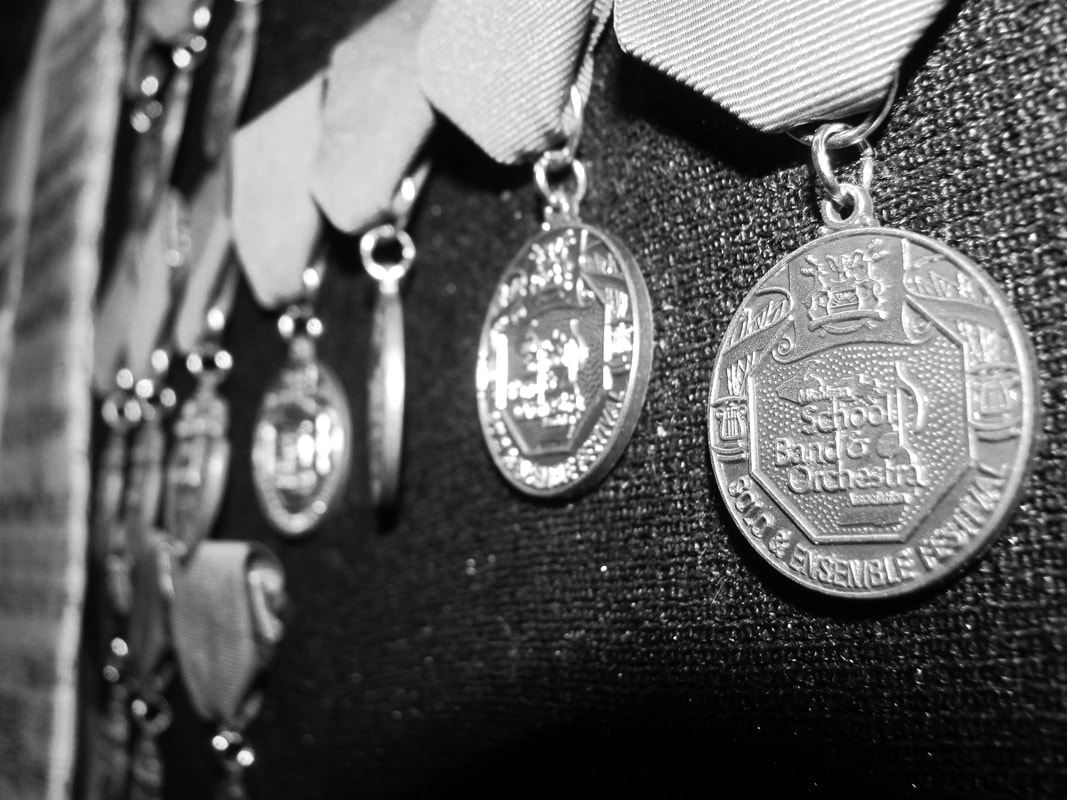
In this assignment we were asked to use the tools available to us in photoshop to come up with an excellent black and white photo. Here is the image I will be turning in to my teacher:  In photoshop I desaturated it to make it black and white, as well as changed the brightness, the contrast, and the levels to give it more clarity and make it a more interesting photo. The original photo was taken with an aperture of f5.0, a shutter speed of 1/60, and an ISO of 80. Here is the image before I edited it: 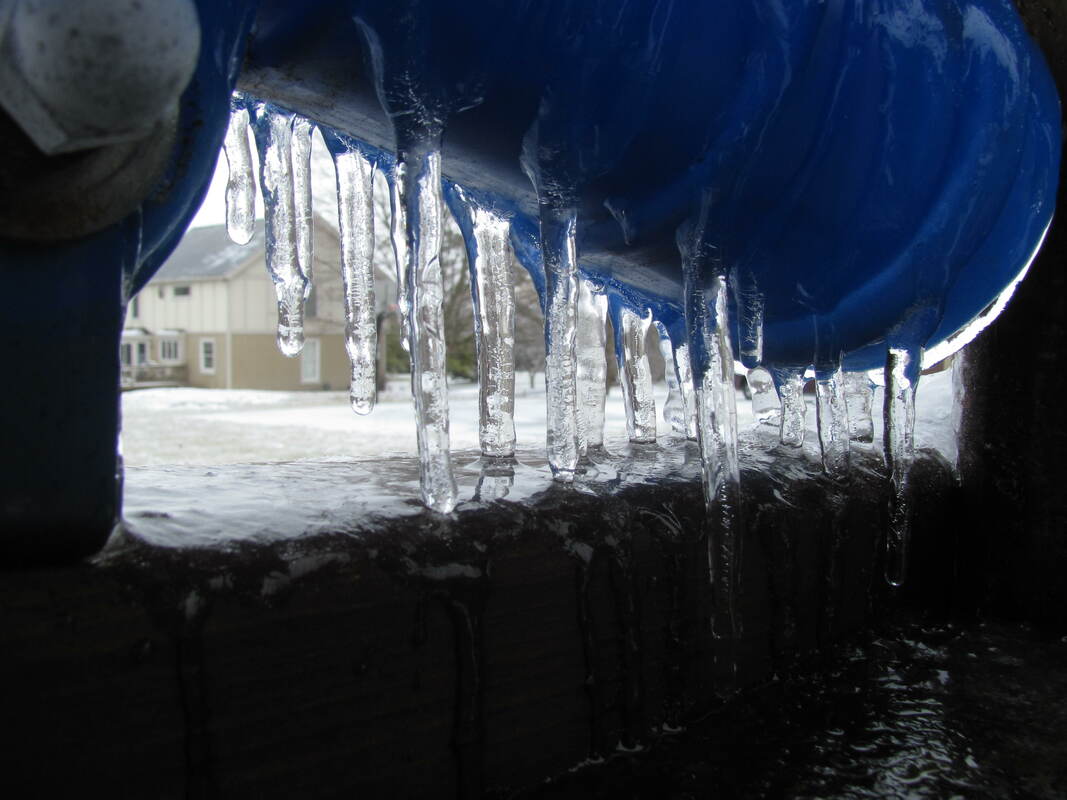 Here are five more of my best black and white images: All things considered, I think I learned a lot in this assignment. I learned which images would be enhanced by black and white as opposed to the ones made lesser when the color is taken away. I also learned about how, when an image is desaturated, the contrast must be changed to create a dynamic photo, otherwise it becomes very bland.
In this assignment we used our tripods to get multiple photos of ourselves in the same setting and used photoshop to combine them so that it looked as if there were multiples of me. Here's my first one: 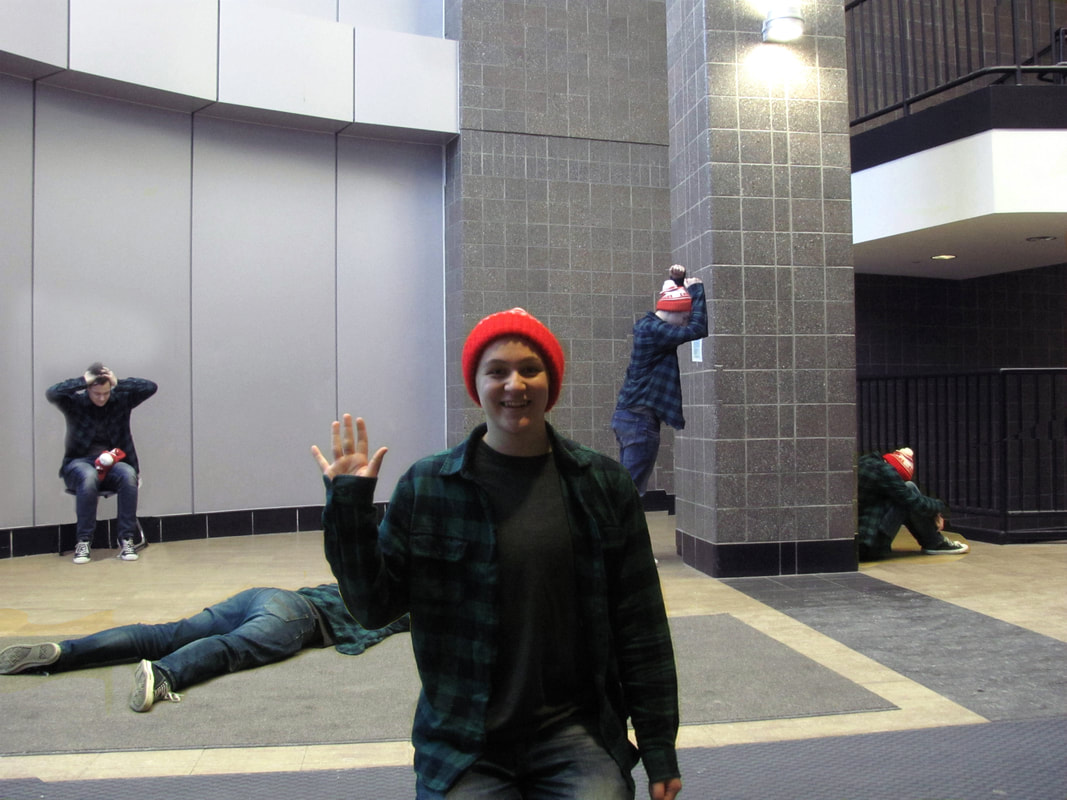 As you can see, it looks like I'm going through some sort of emotional crisis. It looks deep. It's really not, and I'm doing pretty well I think. Those just happened to be the poses I chose. Whoops. Here is my second one, featuring Zoe: 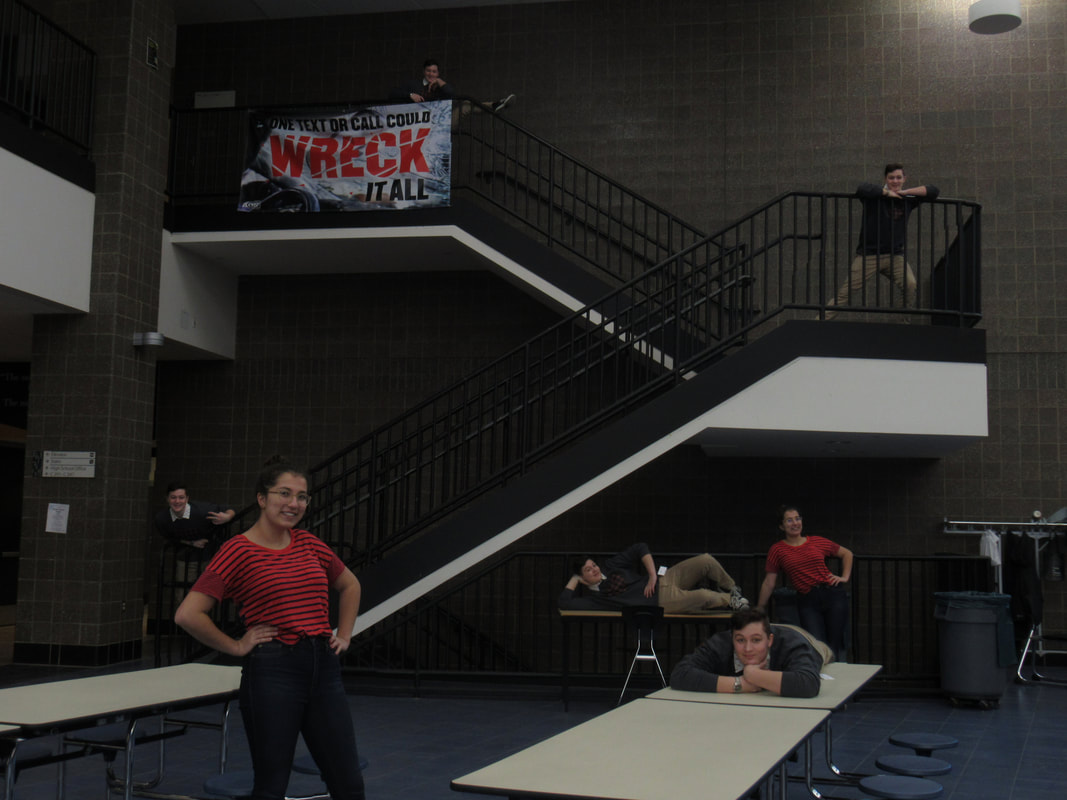 In this assignment I learned how to use a number of photoshop tools, including the lasso and how to use a layer mask.
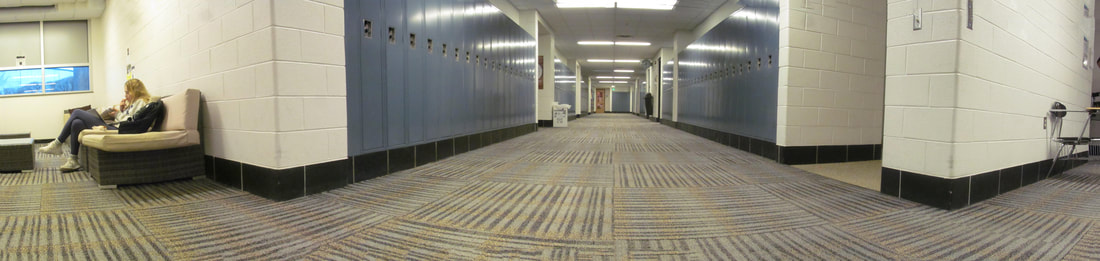
In this assignment we were asked to use our tripods to take a series of overlapping pictures to then put into photoshop to create panoramic images. We could then clean them up a little in photoshop if there were any particularly obvious defects. Here are the two I will be turning into my teacher:  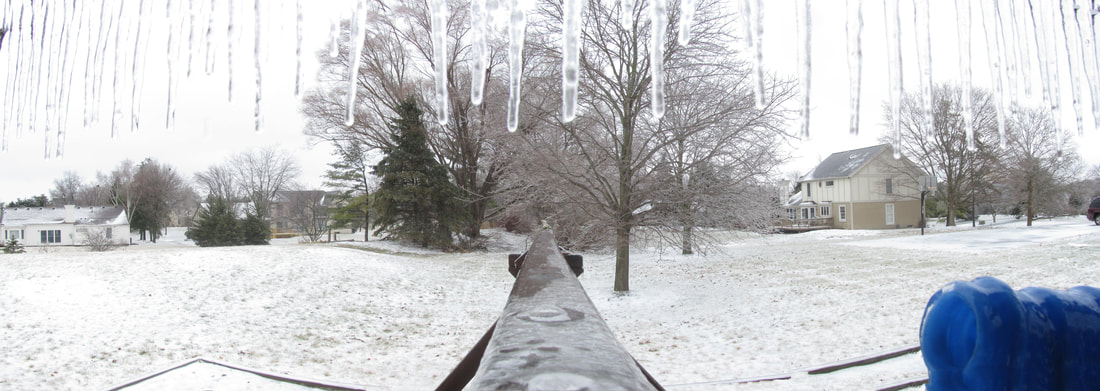 Here are the rest of the panos I made: There is another one that I particularly like which Weebly will not let me upload because it is too large of a file. In that one, I went 360 degrees around my bedroom, ending up combining 19 photos. That's probably why it's too large to upload, but that's still a bit disappointing to me. Anyways, I learned how to use a tripod and how to merge photos in photoshop.
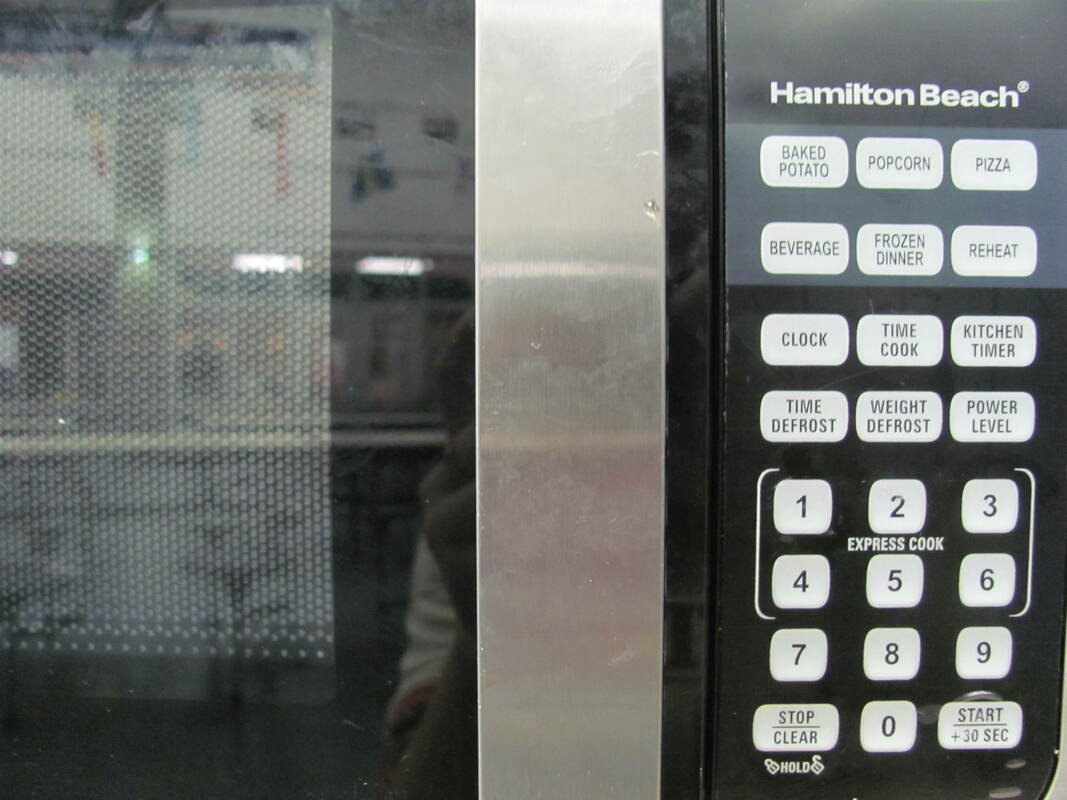
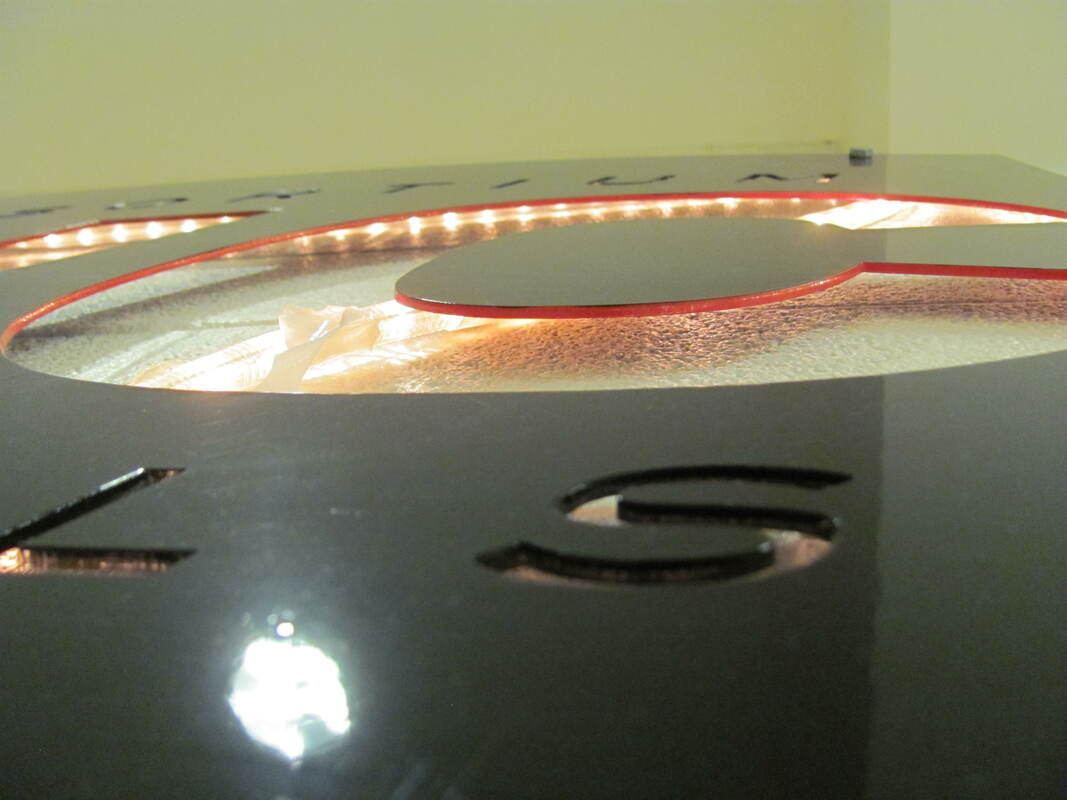
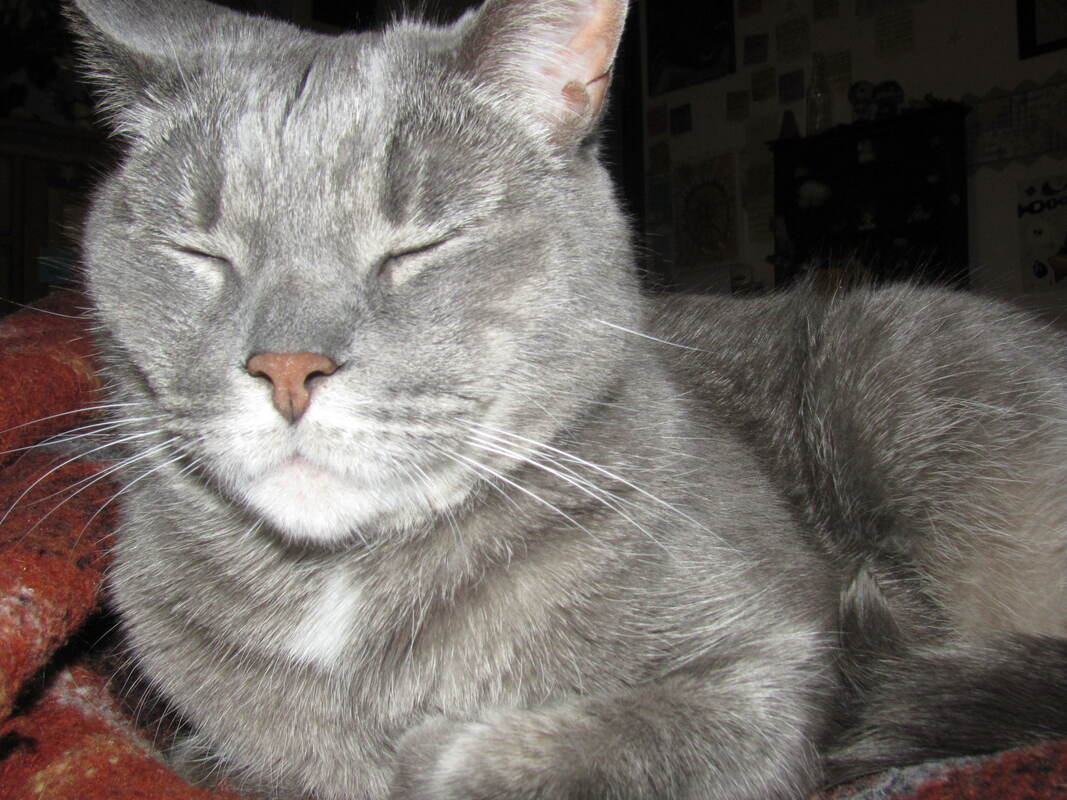
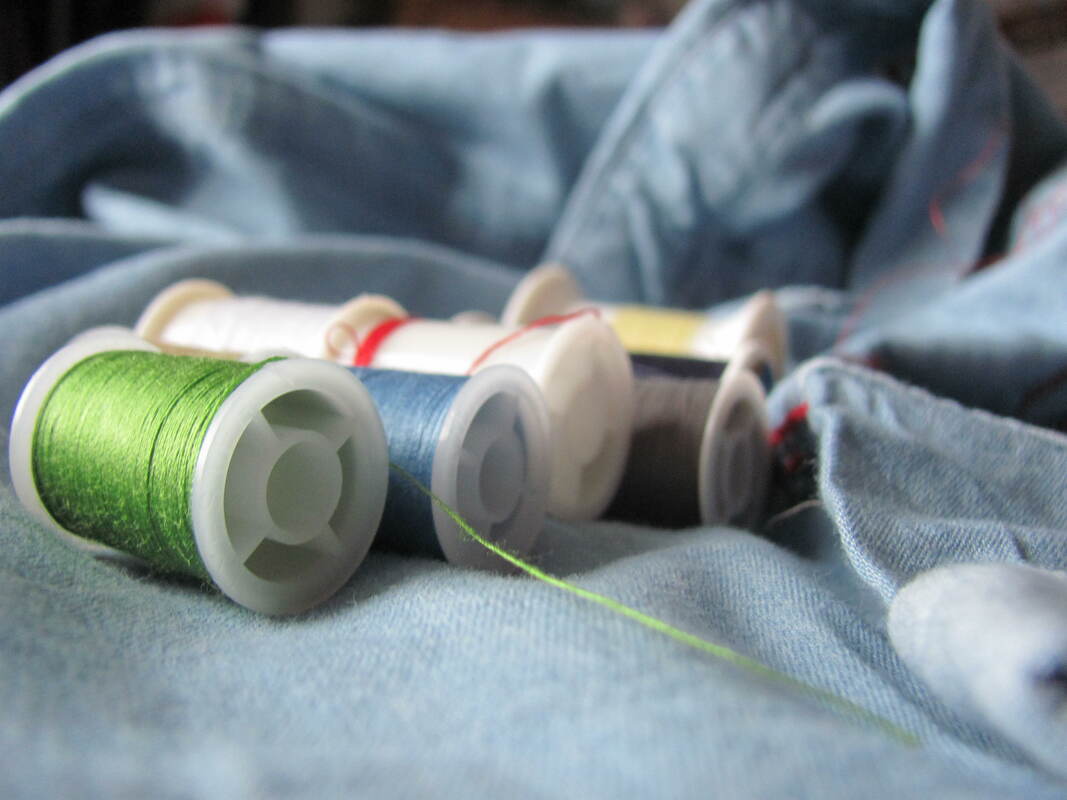
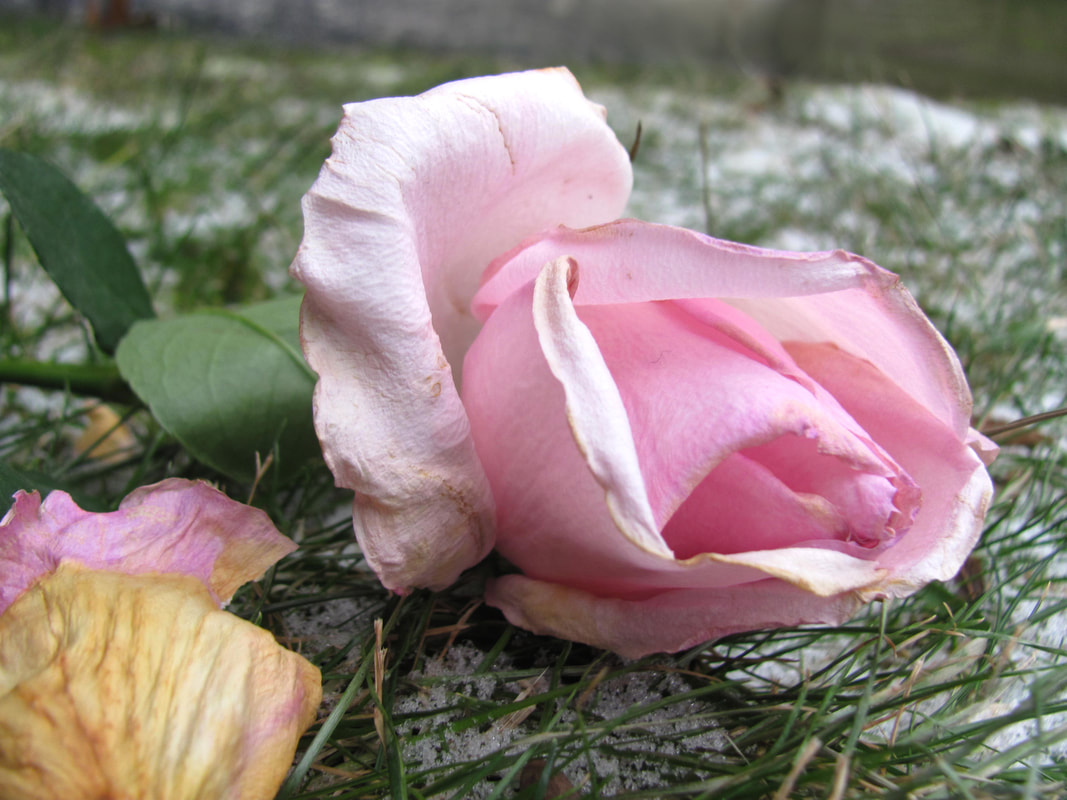
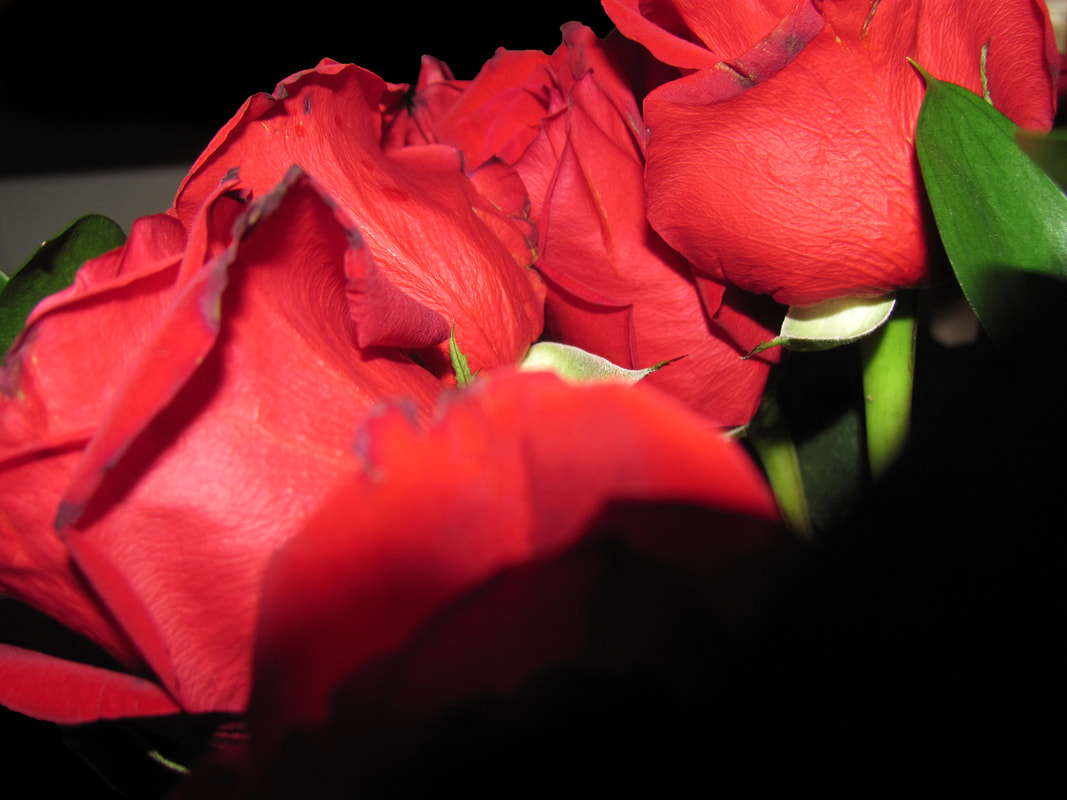
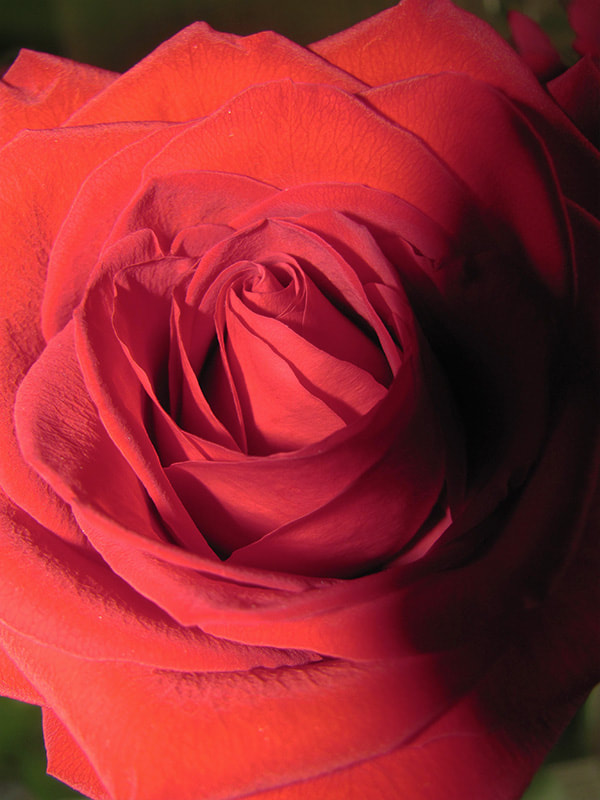
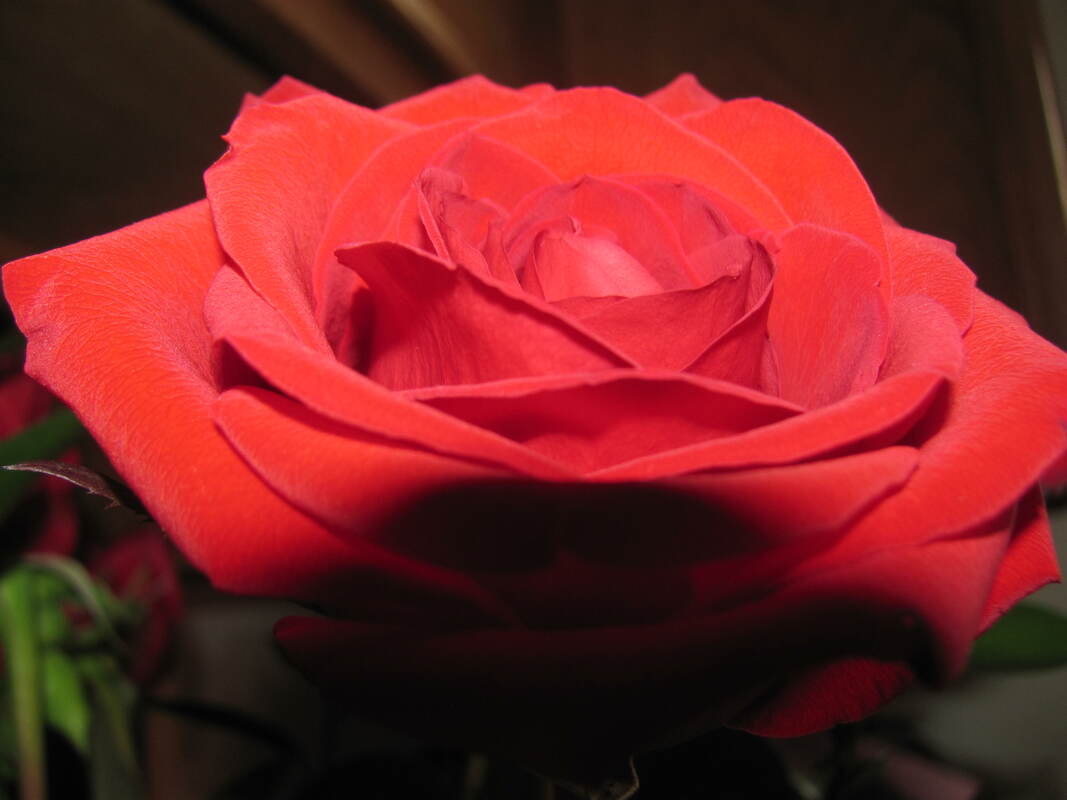
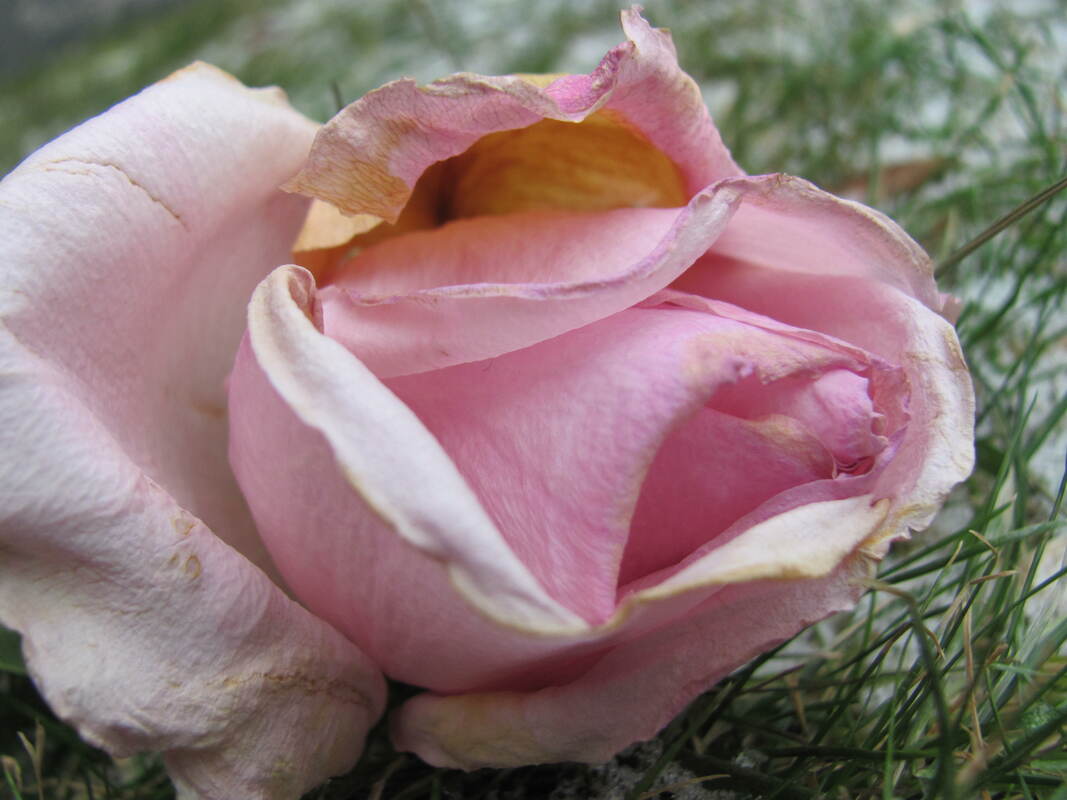
In this assignment we were instructed to use the macro setting on our cameras to get some photos with up-close details. The photo I'll be turning into my teacher was taken with my camera settings at an aperture of f2.8, a shutter speed of 1/100, and an ISO of 80. I did some minor touchups in photoshop, such as adjusting the levels and the vibrance/saturation, as well as toning down the slightly distracting background. Here is the final photo:  Here is the image I had before I edited it in photoshop: 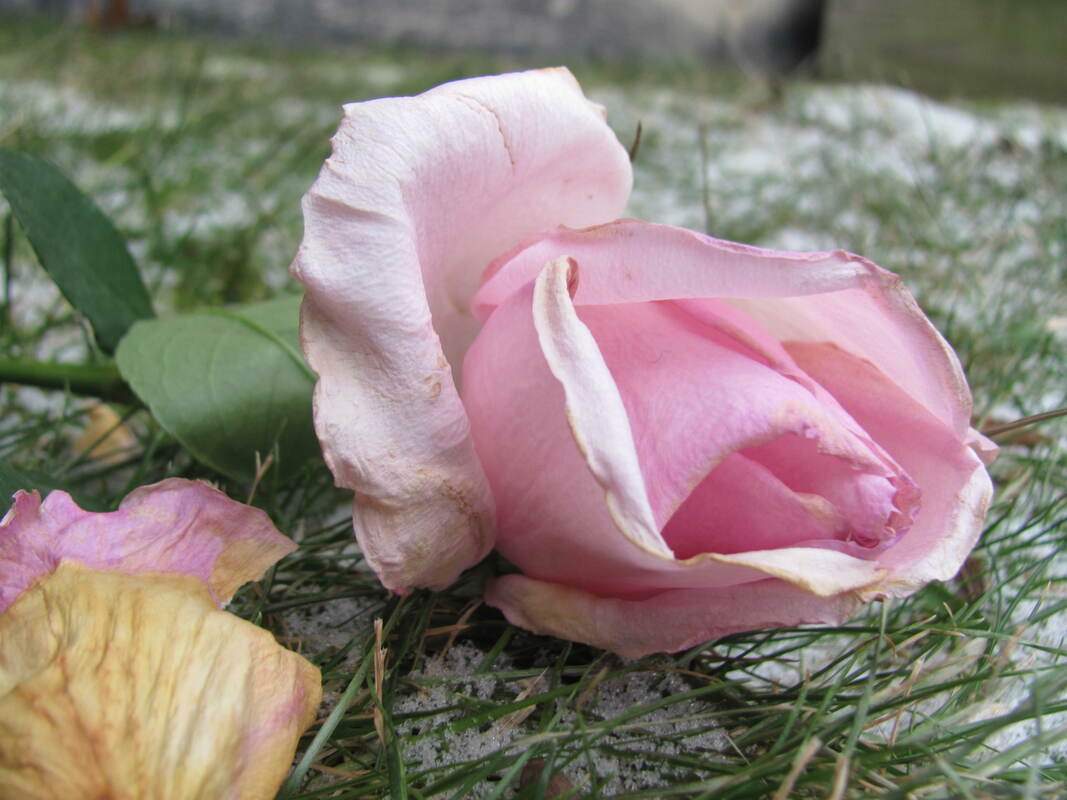 Here are five more of my best photos from this assignment: I learned a lot through this assignment, because it is incredibly difficult to get a clear image on the macro setting with the cameras we have in class. I learned how to utilize the tools I have available to me to capture small details.
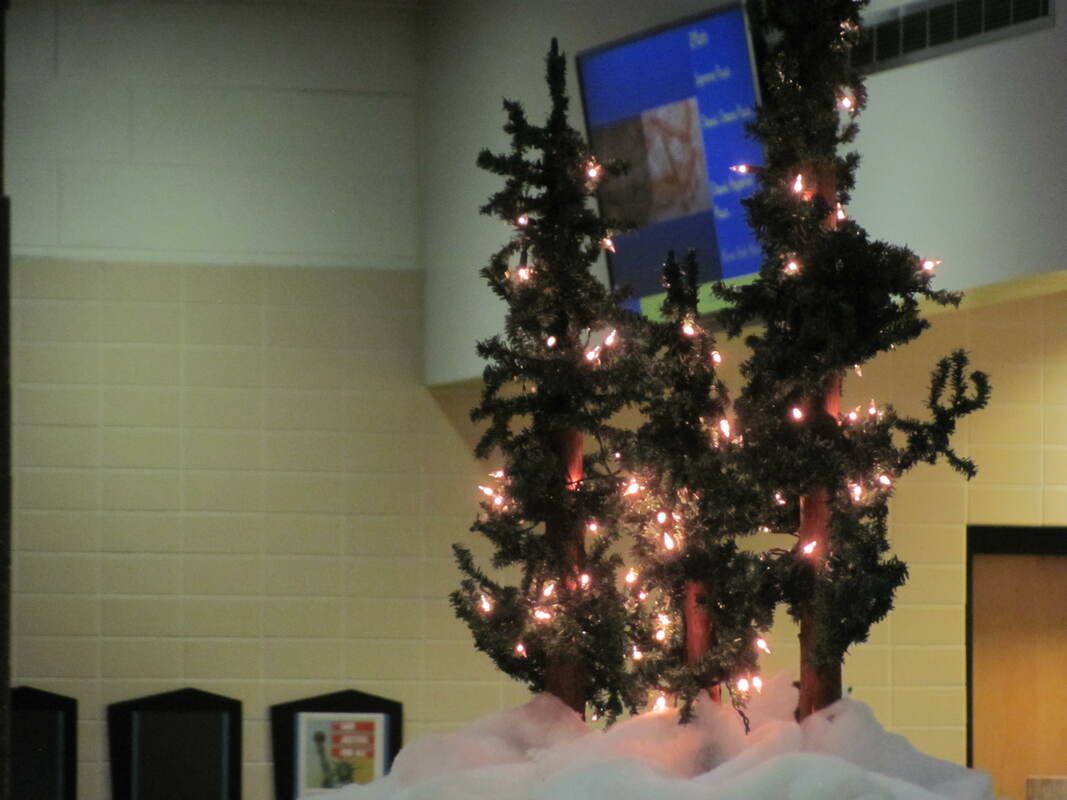
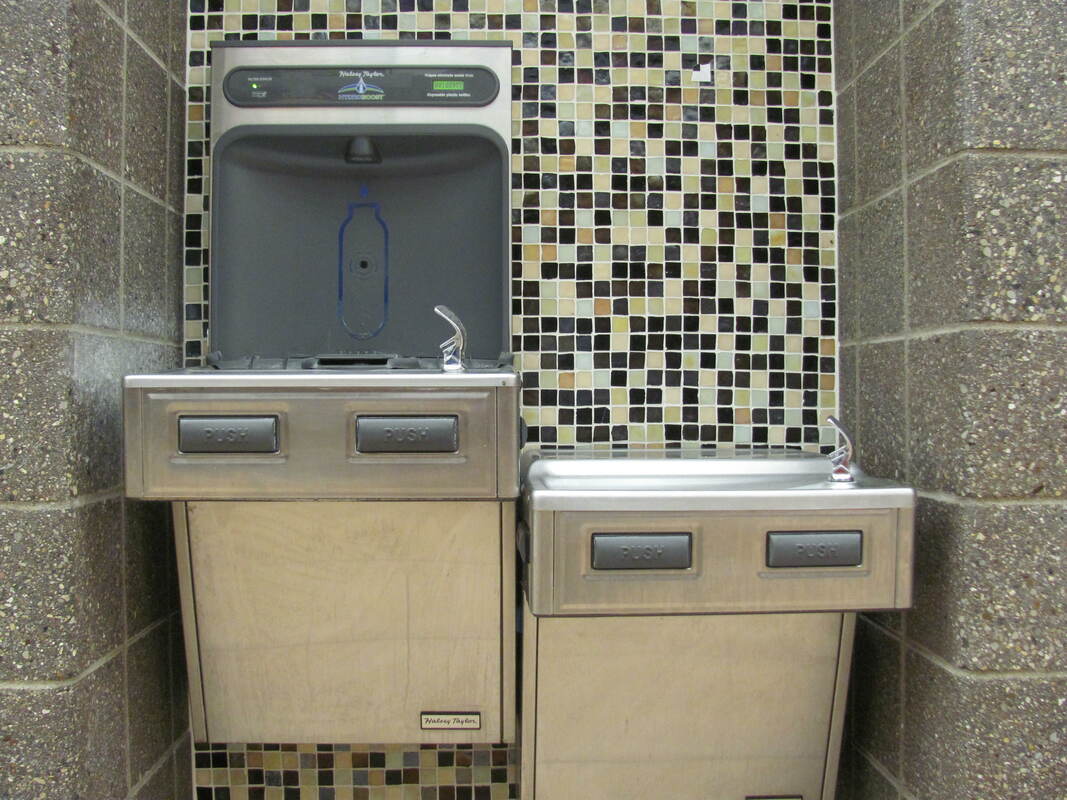
For this assignment I was asked to take a photo of my school and use photoshop to change the context of the photo. Here are my two attempts: 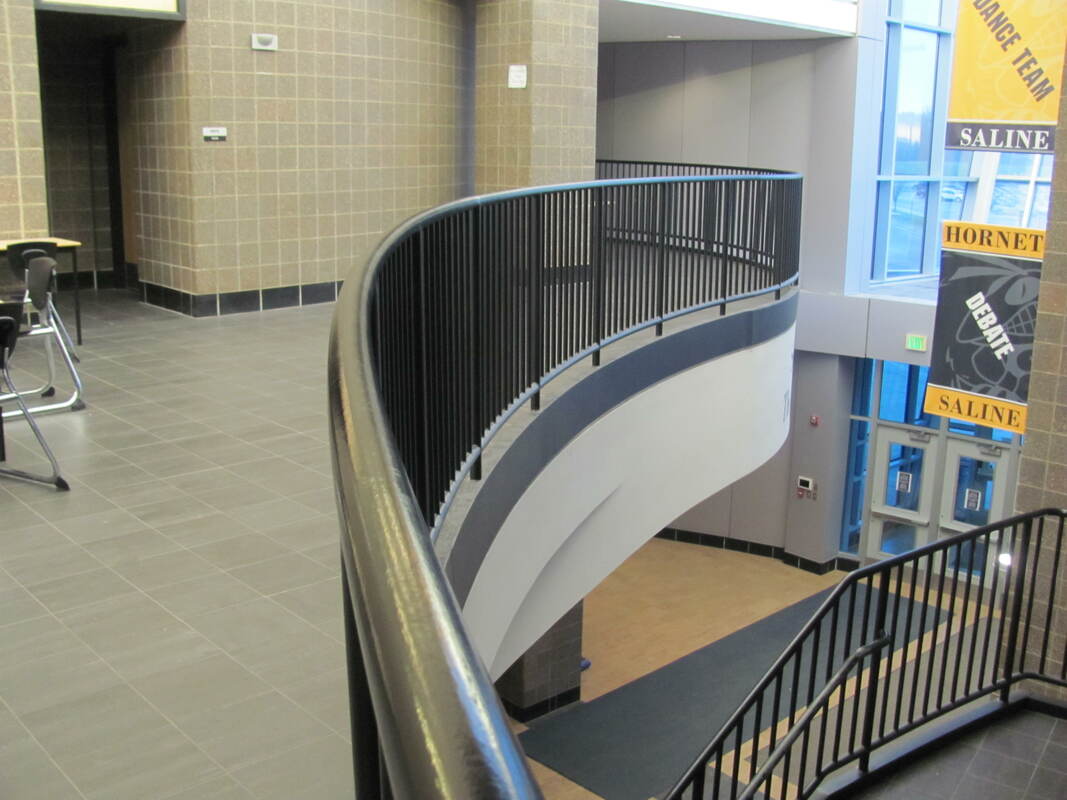 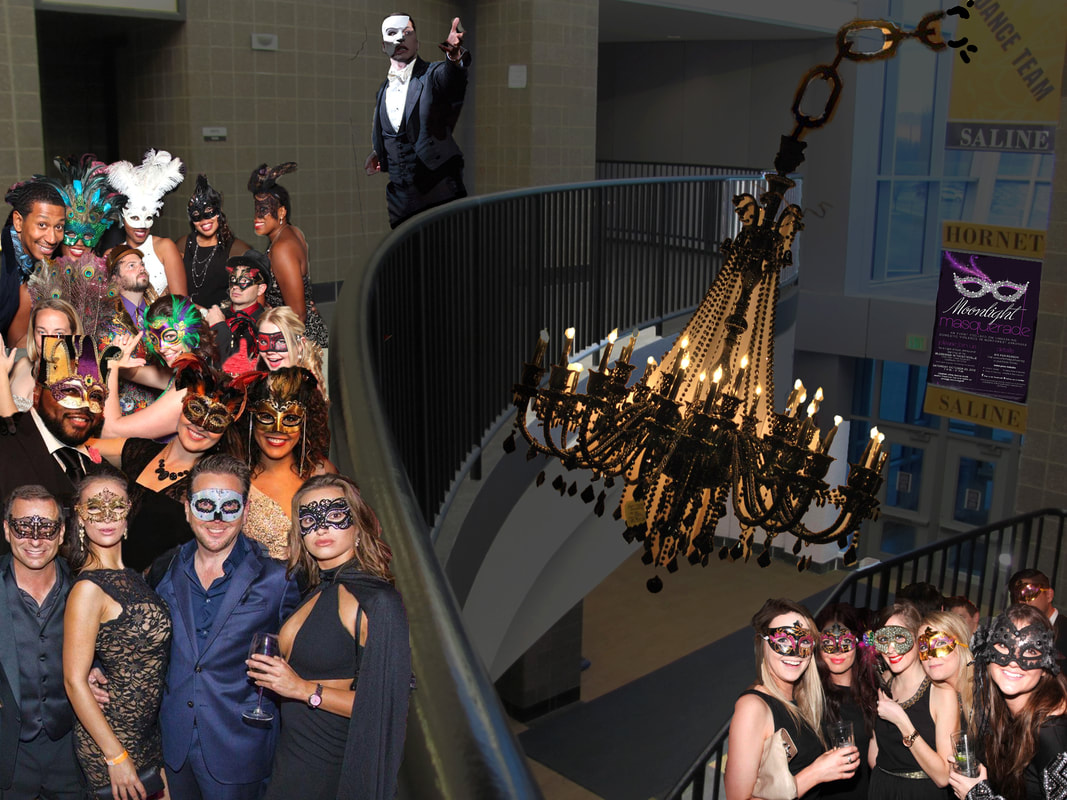 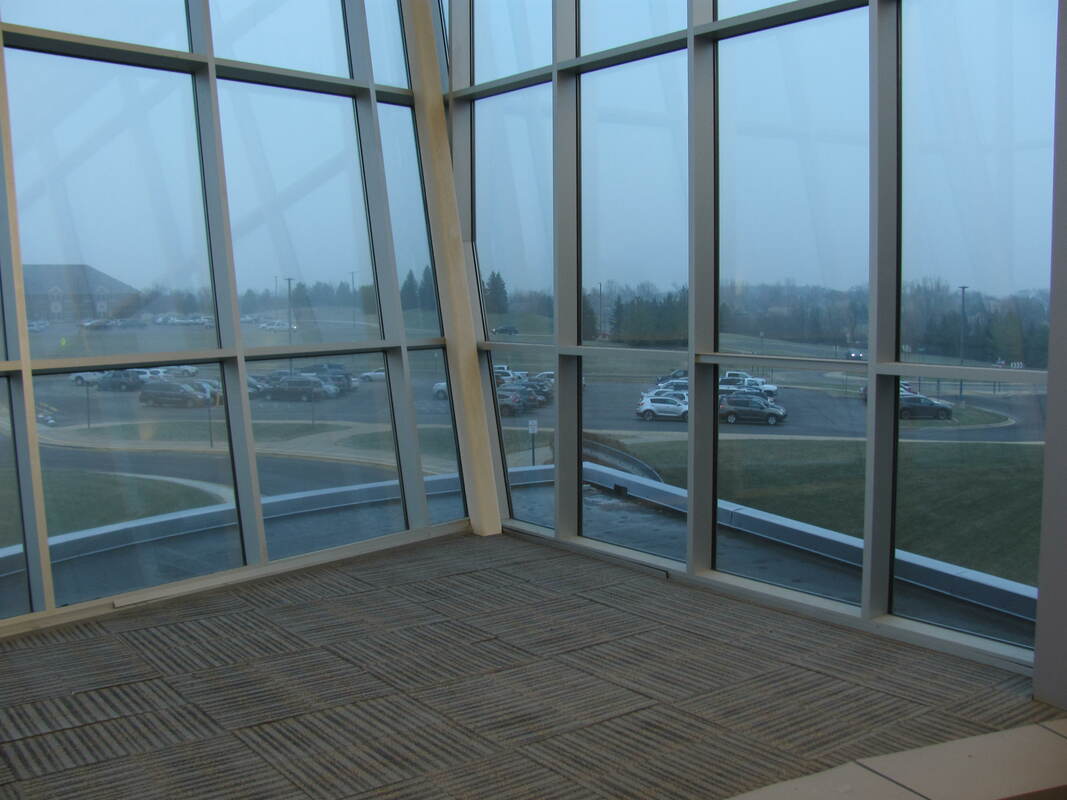 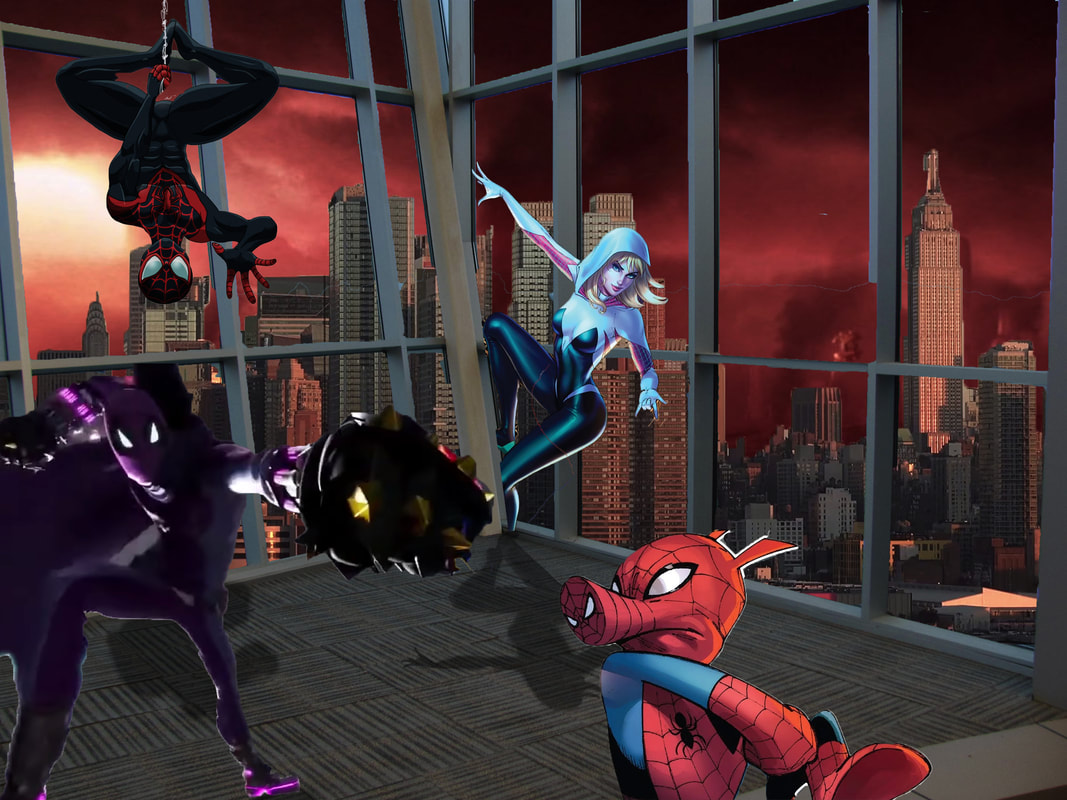 This assignment was a lot of fun for me because I got to really get creative and learn how to utilize the tools available to me with photoshop and the internet.
|
AuthorI'm Jamie! I'm taking a photography class this year, and this is my blog for that class. Archives
March 2019
Categories |


 RSS Feed
